

- Recipe Index

- Desserts
- Cookies
- White Chocolate Red Velvet Sandwich Cookies
White Chocolate Red Velvet Sandwich Cookies
This website uses affiliate links which may earn commission for purchases made at no additional cost to you.
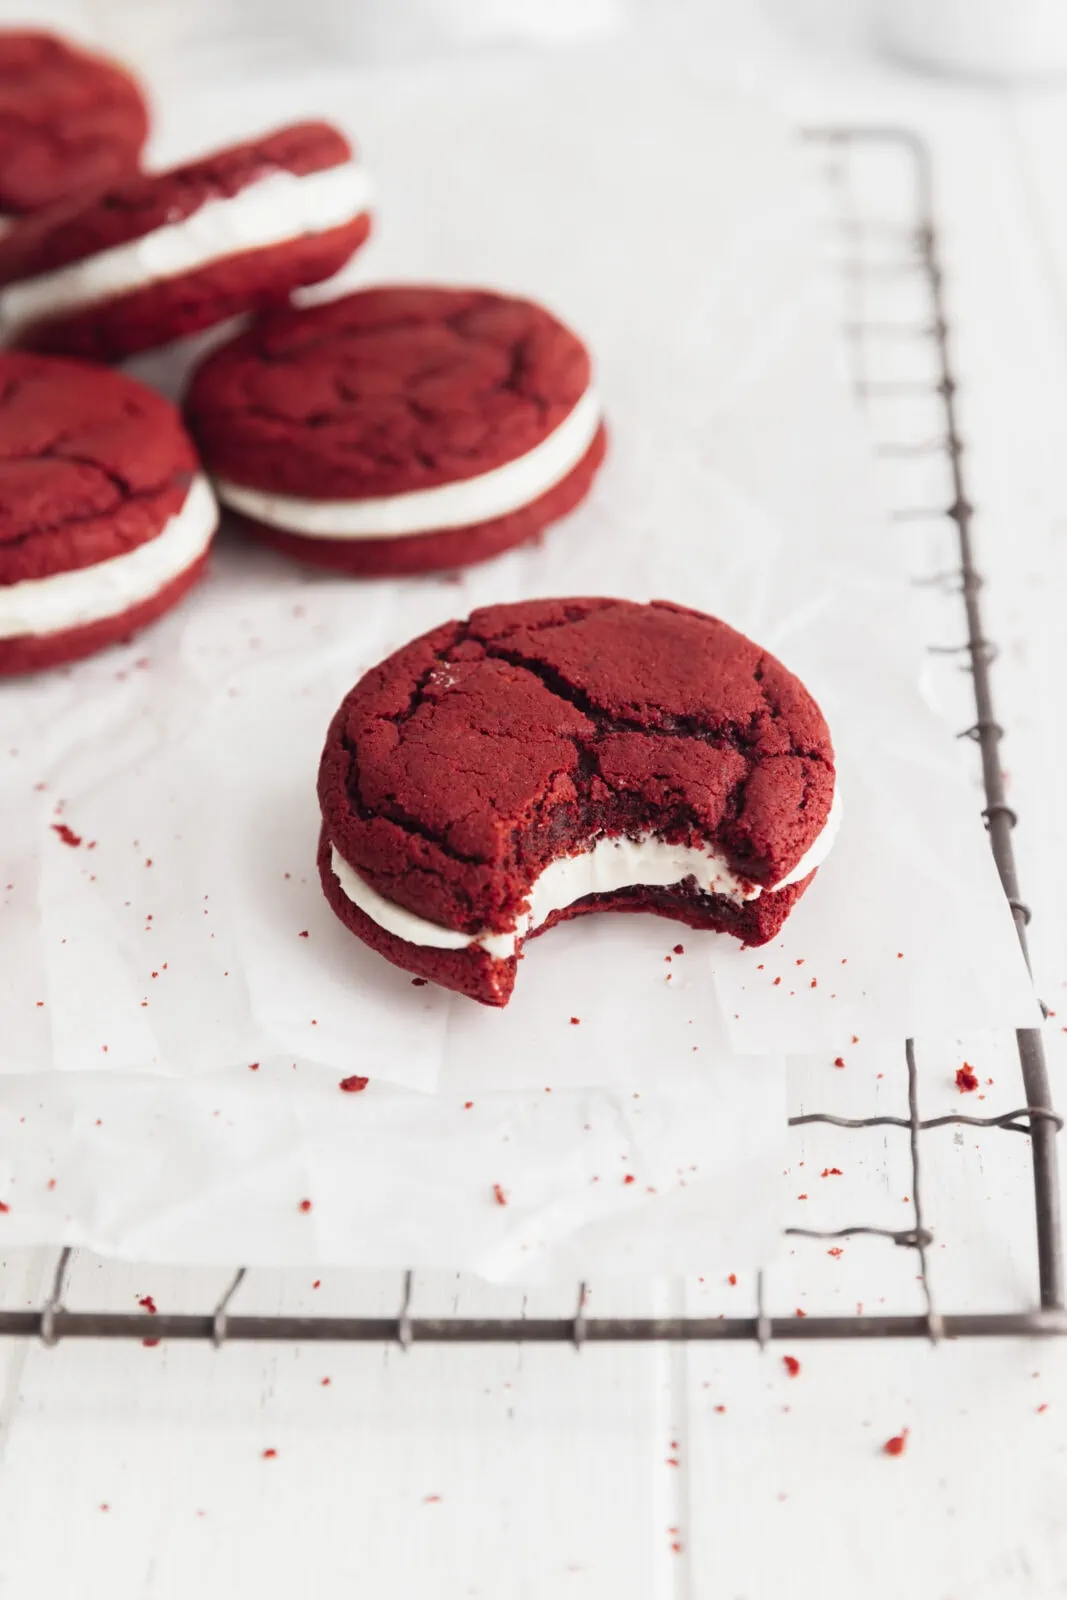
If two red velvet cookies are better than one, then two red velvet cookies with white chocolate frosting in the middle? THE BEST.
This post is sponsored by ALDI. Thank you for continuing to support the brands that help make Broma possible!
White Chocolate Red Velvet Sandwich Cookies
Cookie monsters, this one’s for you. Not cookie people, not cookie fans, not cookie lovers…no, these white chocolate red velvet sandwich cookies are only for the monsters. Because sandwich cookies are for people who are truly CRAZY for cookies and know that the only thing better than one cookie, is two cookies. And the only thing better than two cookies, is two cookies sandwiched together with a thick layer of frosting.
And I’m pretty sure Santa is a cookie monster (I would expect no less), so these are highly recommended for all your holiday baking needs.

Sandwich Cookies > Regular Cookies
These sandwich cookies take two of my favorite things: white chocolate and red velvet, and put them together into the most decadent sandwich cookie. The red velvet cookies are soft and fudgy, with a slightly crunchy edge and just the right amount of chew. The white chocolate buttercream is silky smooth and perfectly sweet. Two perfect things come together to make the ultimate holiday sandwich cookie that’s perfect for holiday cookie boxes, school bake sales, or as a sweet after dinner treat.

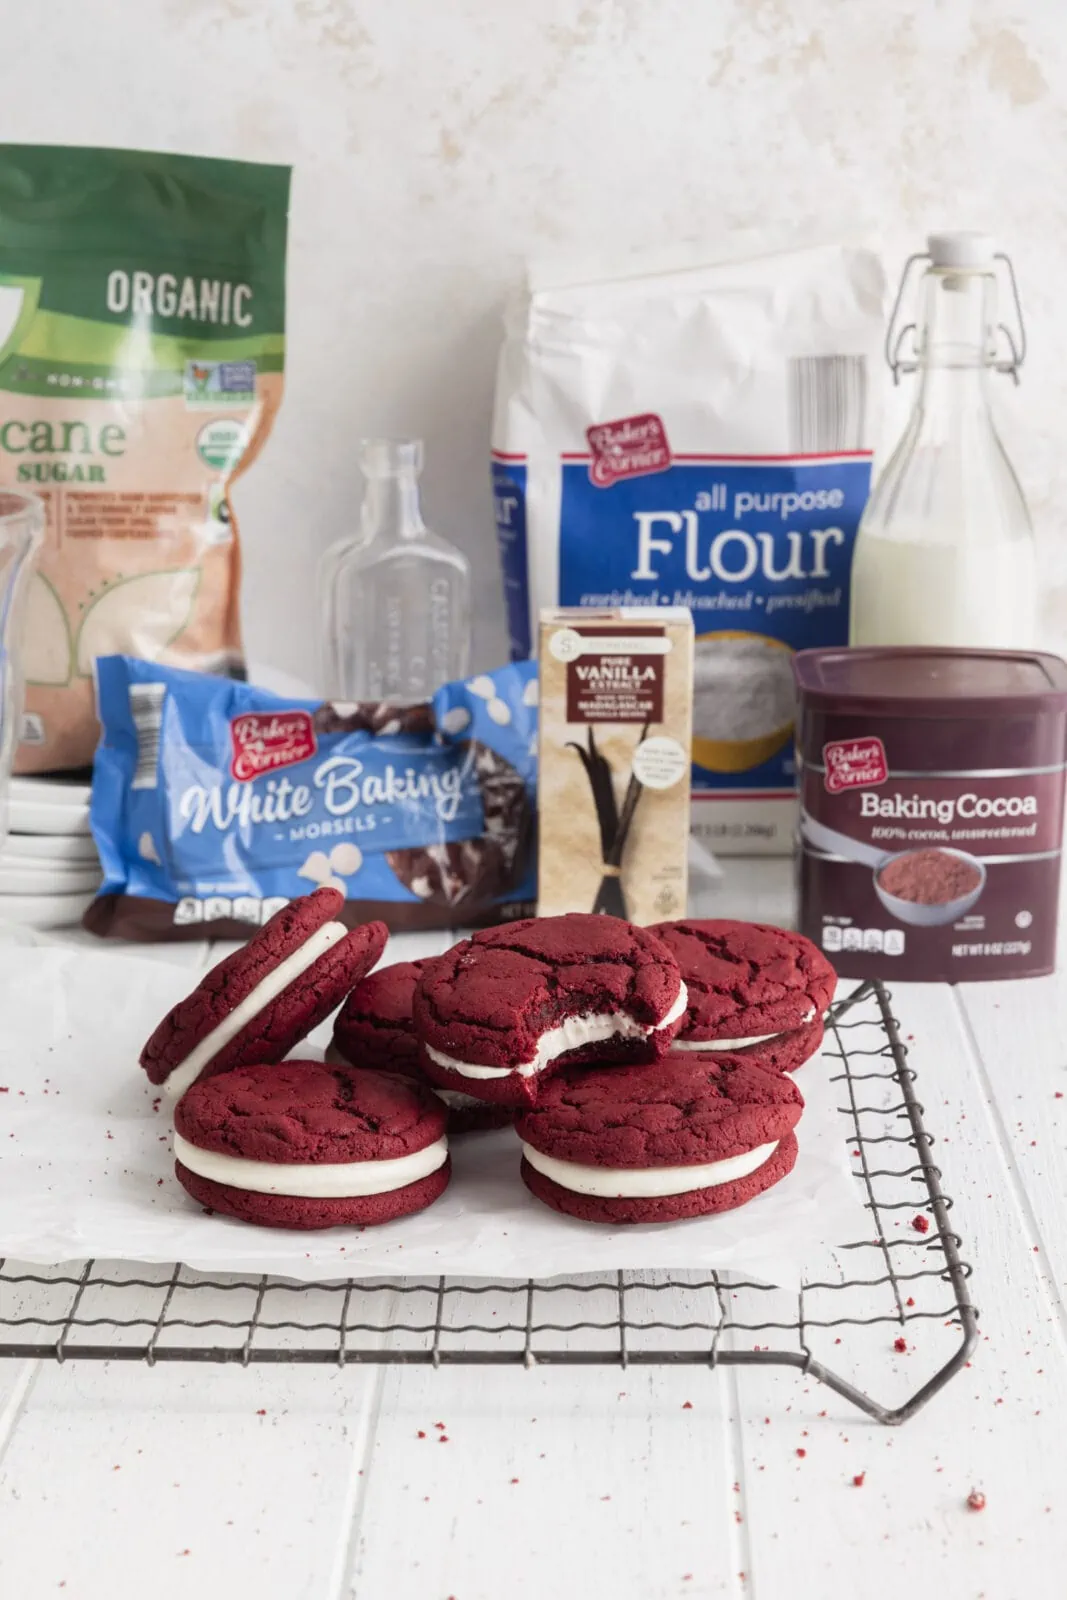
What ingredients do you need to make these red velvet sandwich cookies?
With holiday baking in full swing, you KNOW we are going through ingredients like nobody’s business. These red velvet sandwich cookies call for all of your usual suspects (flour, sugar, butter, etc.), but if you’re like me, you might be running to the store every 3 days to replenish your flour stash as you frantically bake Christmas cookies. Luckily, ALDI has everything you could possibly need this holiday season at INCREDIBLE prices all in one place. From baking staples to gourmet cheeses for a holiday cheeseboard to stocking stuffers and everything in between, ALDI always has you covered. So, you can stress less about the grocery shopping and spend more time baking cookies with friends and family 🙂
You can shop in stores, through Instacart for delivery or do curbside pickup! Whatever way you choose to shop, here’s your grocery list:
- Countryside Creamery Unsalted Butter: You’ll use butter for the base of your red velvet cookies and your white chocolate buttercream, so make sure you have at least 2 sticks (1 cup) on-hand for these sandwich cookies.
- Simply Nature Light Brown Sugar: Brown sugar will keep your cookies super soft and chewy and perfectly complement the slightly chocolatey flavor of red velvet.
- Baker’s Corner Granulated Sugar: White sugar will give your soft, gooey cookies a crisp edge with just the right amount of texture. This is why we love to use a mixture of granulated sugar and brown sugar–you’ll get a crunchy edge and a soft center!
- Goldhen Free Range Large Brown Eggs Grade A: One egg and one egg yolk will give your cookies just the right amount of structure without being cakey!
- Stonemill Pure Vanilla Extract: Vanilla extract is a staple ingredient in most homemade baked goods for a reason. It really brings a delicious, nuanced flavor to all your sweet treats.
- Red Food Coloring: Red velvet sweets need red food coloring to get that signature, deep red coloring!
- Bakers’ Corner Cocoa Powder: A little cocoa powder will give your cookies a fudgy, slightly chocolate-y taste.
- Baker’s Corner All Purpose Flour: We always have all- purpose flour on hand because it’s the most versatile flour you can use in all your baking project.s.
- Baking Soda: Baking soda will give your cookies a crackly top and just the right amount of rise.
- Salt: All sweet treats need a little salt to offset any overpowering sweetness.
- Baker’s Corner Powdered Sugar: Any good buttercream needs a powdered sugar to sweeten and thicken it and this white chocolate buttercream is no exception! We love the Baker’s Corner Powdered Sugar because it’s clump free and beats up into a silky smooth frosting.
- Milk: You’ll need just a bit of milk to make your white chocolate frosting.
- White Chocolate: And of course, you’ll need white chocolate to make white chocolate frosting!! A little goes a long way in creating the most nuanced, tasty white chocolate buttercream.
Tips for making the most perfect white chocolate frosting
Homemade buttercream is pretty straightforward to make but adding white chocolate into the mix does add a little complexity to the process. Don’t worry – it’s not difficult, but white chocolate can be a bit finicky, so we rounded up all our tips to ensure a silky-smooth buttercream frosting.
- Use high quality white chocolate: Just like regular chocolate, white chocolate comes in varying qualities and unfortunately low-quality white chocolate can really make or break your buttercream. I love the Baker’s Corner white chocolate chips because they melt up beautifully and don’t have that weird, artificial aftertaste that other white chocolate chips can sometimes have.
- Melt the white chocolate over super low heat and stir frequently: It’s important to melt white chocolate on very low heat because it can seize up very easily if it gets too hot. You’ll be left with a chalky paste which is such a waste of ingredients and so sad! If your microwave is high powered, I’d recommend stopping it frequently to stir and make sure your white chocolate isn’t getting too hot!
- Make sure ALL ingredients are at true room temperature: I cannot stress how important this is in this frosting recipe. If your butter and milk aren’t at room temperature, the warm white chocolate will harden into little white chocolate pieces in your frosting which is not what you want!
How to prep these red velvet sandwich cookies ahead of time?
Sandwich cookies are a bit more work than regular cookies, so I recommend you work strategically to make them a pinch to make. Of course, you can bake off and assemble them all in one go, but I like to break it up a little for ease. Here is my preferred method:
- Make the red velvet cookies in advance – You can make the cookies a few hours before you assemble the sandwich cookies, or you can make them up to 3 months in advance and freeze them until ready to use! Just be sure to let them cool completely before freezing!
- When ready to assemble the cookie sandwiches make sure the cookies are room temperature or cooler – The number one rule of sandwich cookie making is that you shouldn’t put any frosting on your cookies until they are fully cool. If they are warm, the frosting will melt, and your cookies will become a mess!
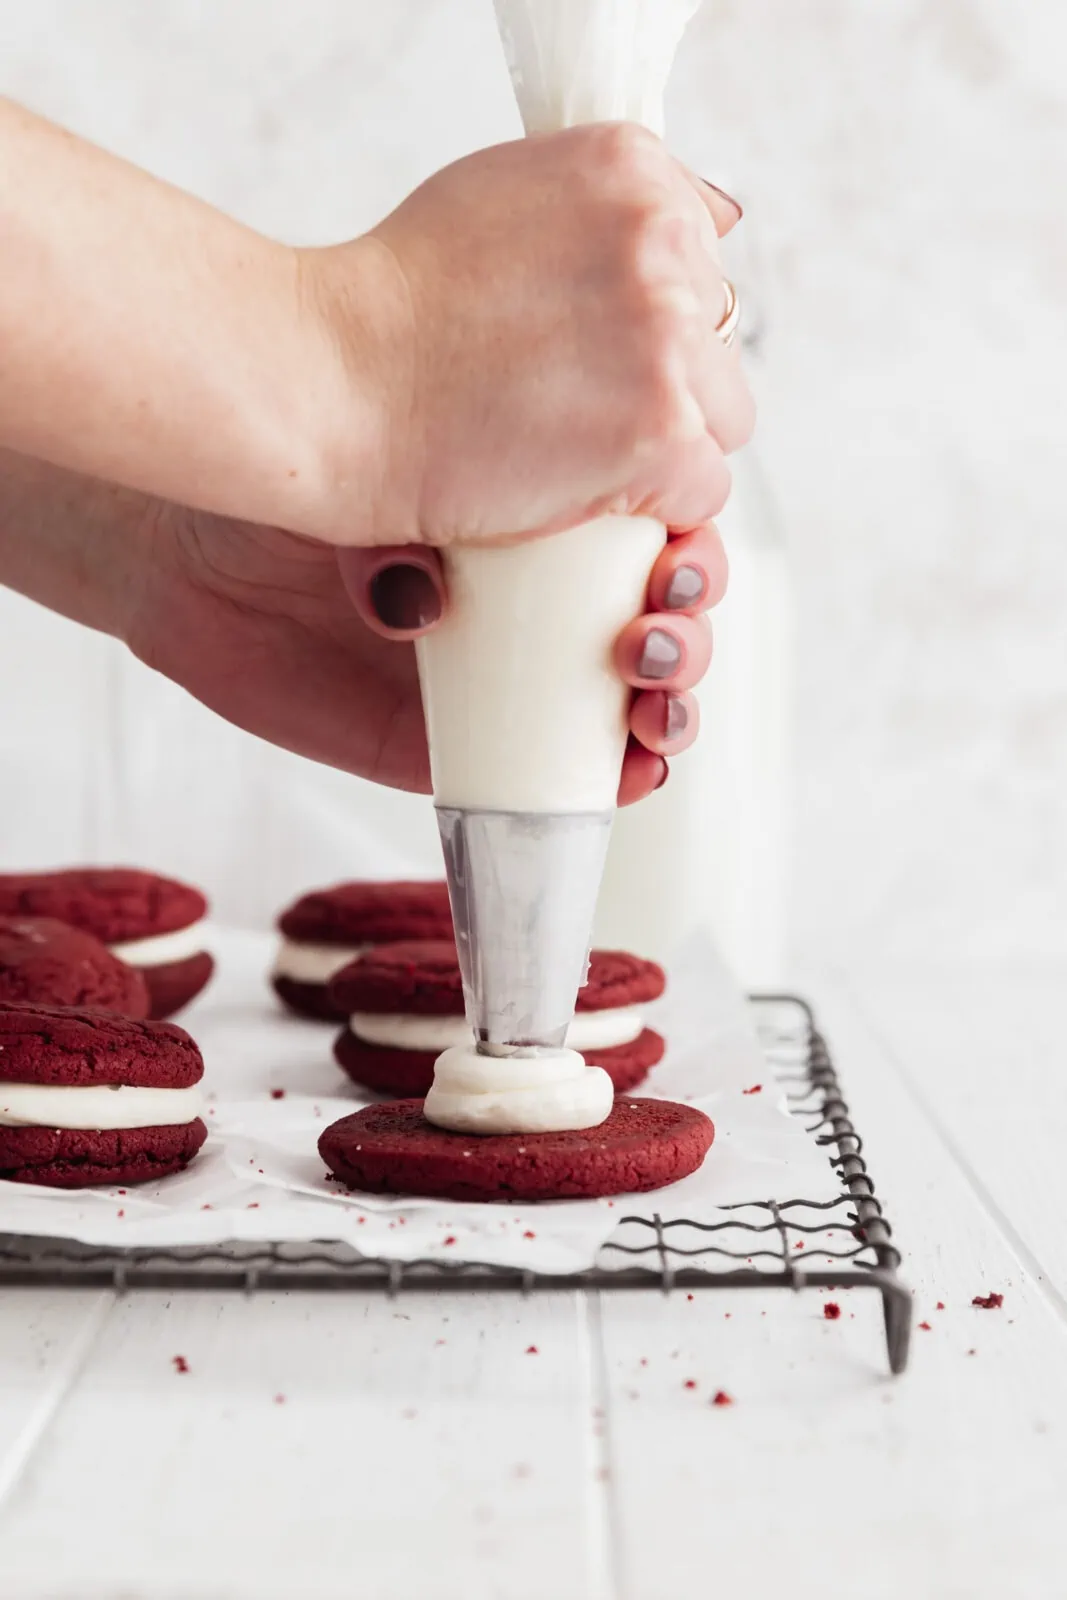
- Make your frosting – You’ll want to wait to make the frosting until you’re ready to assemble so it stays nice and light and fluffy!
- Assemble the cookies – Once your cookies are cool and your frosting is made you can slap those bad boys together! Pipe a generous amount onto the bottom of a cookie and sandwich the two together to make the ultimate holiday treat!
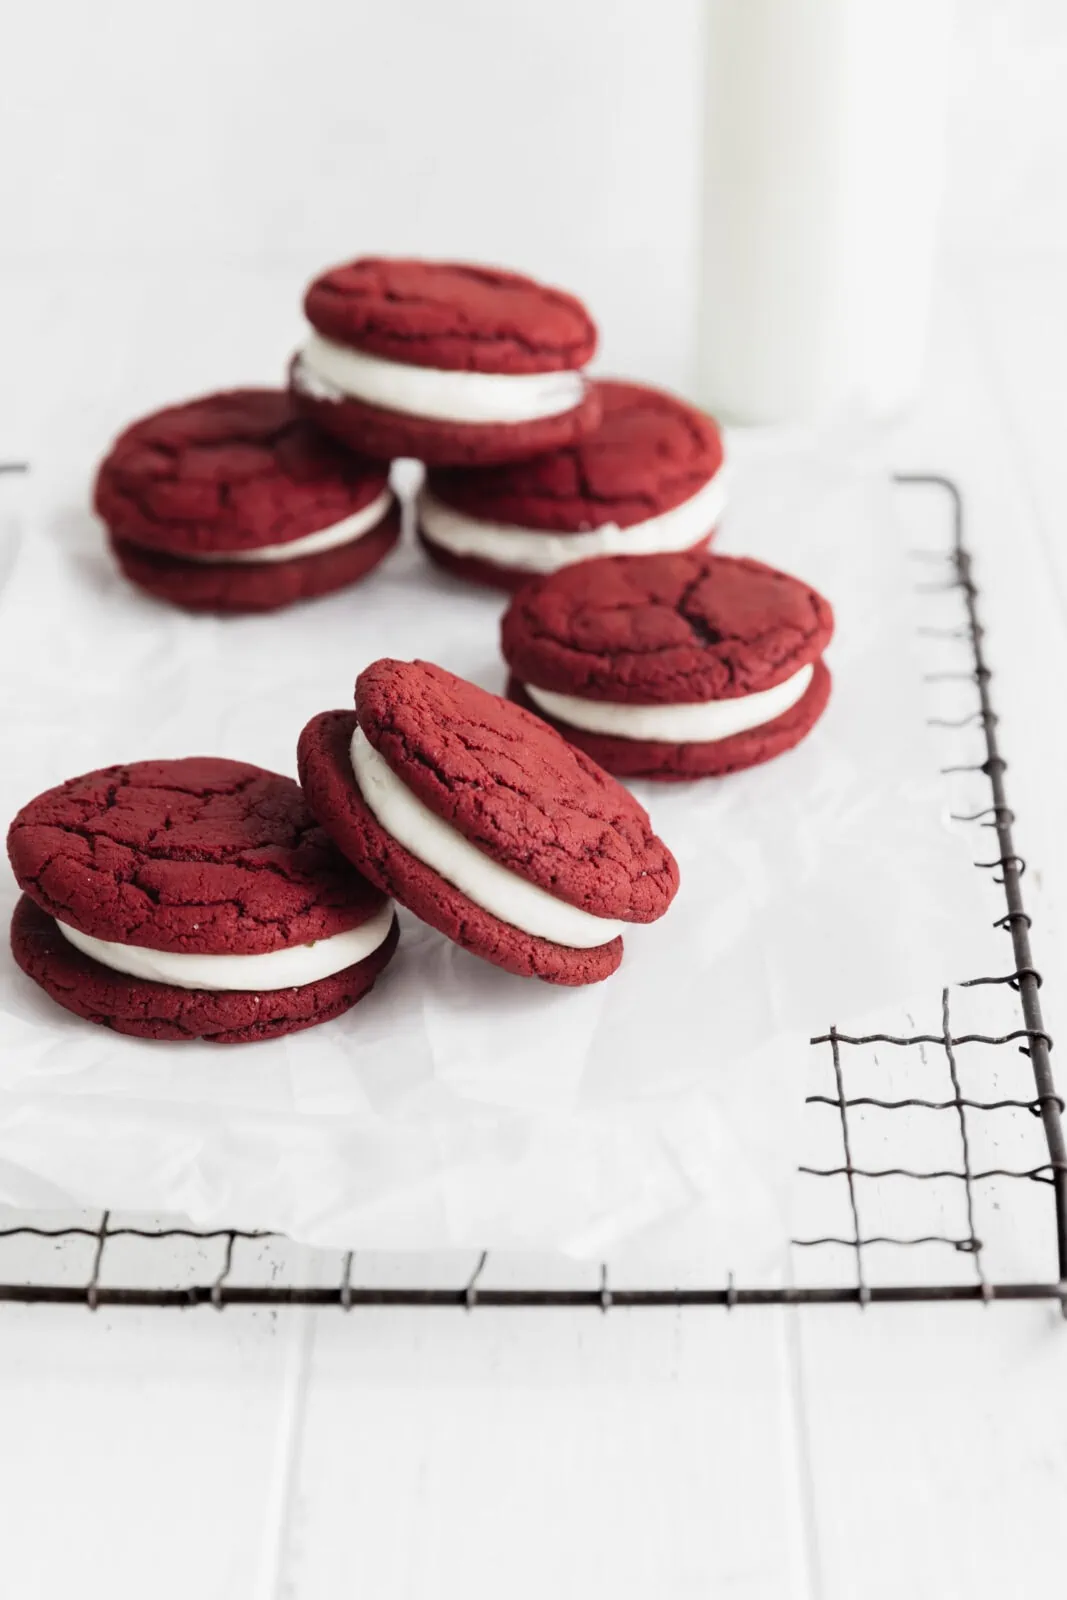
How to store white chocolate red velvet sandwich cookies so they stay soft for dayyyyyys
If stored properly, these white chocolate red velvet sandwich cookies will stay soft and chewy for days. I recommend storing them in an airtight container or plastic bag in the fridge for the best results. As long as they are properly sealed, they’ll stay fresh for up to 7 days!
Happy baking, my friends!
XXX
Print
- Prep Time: 20 minutes
- Chill Time: 1 hour
- Cook Time: 10 minutes
- Total Time: 1 hour and 25 minutes
- Yield: 10 sandwich cookies
- Category: dessert
- Method: oven
- Cuisine: american
White Chocolate Red Velvet Sandwich Cookies
If two red velvet cookies are better than one, then two red velvet cookies with white chocolate frosting in the middle? THE BEST.
- Prep Time: 20 minutes
- Chill Time: 1 hour
- Cook Time: 10 minutes
- Total Time: 1 hour and 25 minutes
- Yield: 10 sandwich cookies
- Category: dessert
- Method: oven
- Cuisine: american
Ingredients
For the red velvet cookies
- 1/2 cup Countryside Creamery unsalted butter, melted and cooled
- 1/2 cup Simply Nature light brown sugar
- 1/2 cup Baker’s Corner granulated sugar
- 1 egg
- 1 egg yolk
- 2 teaspoons Stonemill pure vanilla extract
- 1 teaspoon red food coloring
- 1/4 cup Baker’s Corner cocoa powder
- 1 1/2 cups Baker’s Corner all-purpose flour
- 3/4 teaspoon Baker’s Corner baking soda
- 1/2 teaspoon salt
For the white chocolate buttercream
- 1/2 cup Countryside Creamery unsalted butter, room temperature
- 3 ounces Baker’s Corner white chocolate baking morsels, melted
- 1 1/2 cups Baker’s Corner powdered sugar
- 1 – 2 tablespoons whole milk
- Pinch of salt
- 1 teaspoon Stonemill pure vanilla extract
Instructions
- Preheat the oven to 350°F and line a baking sheet with parchment paper. Set aside.
- In a large mixing bowl, combine the melted butter and sugars. Mix well. Add the egg and egg yolk, vanilla extract and red food coloring and mix until smooth.
- In a separate bowl sift together the flour, cocoa powder, baking soda, and salt to combine. Add the dry ingredients to the wet and mix together until combined and no streaks of flour remain. Do not over mix.
- Use a 1-ounce cookie scoop (or tablespoon) to scoop cookies out. Roll the balls with your hands so they are smooth and place on the prepared cookie sheet an inch apart.
- Bake for 10 minutes or until the cookies have puffed up and crackled but are still a little gooey in the center. Do not over bake!
- Transfer the cookies to a cooling rack to cool completely before assembling the cookie sandwiches.
- While the cookies cool, make the white chocolate frosting. Chop the white chocolate into small pieces and place in a microwave safe bowl. Microwave for 15 seconds and use a rubber spatula to stir the chocolate. Repeat this in 15 second increments until the chocolate is smooth and completely melted (roughly about 45 seconds).
- In the bowl of a stand mixer fit with the paddle attachment, add the softened butter, powdered sugar, milk, vanilla extract, and melted white chocolate. Beat on low speed, gradually increasing to high speed.
- Mix for 1 minute or until light and fluffy.
- Place the frosting into a piping bag fitted with a medium tip.
- Pipe roughly 1 tablespoon of frosting onto the bottom of half of the cookies, then sandwich with remaining cookies. If desired, roll the sides in white chocolate shavings. Enjoy!
Hi Sofi! I would love to try this recipe, but I am confused. I see here that this calls for chill time of 1 hour, but do not see it on the instructions. Maybe I overlooked it. Do I chill the cookies before I bake them? Would appreciate your response. Thank you so much!
Hi Cindy! The chill time is for the cookies to cool before adding frosting and sandwiching them together!
I just made these cookies and when I took them out of the oven to cool the middles sank. They looked finished but do you think they possibly weren’t? Thank you- I love your recipes!
Helloooo! So I just made this cookies….. And my soul just left my body ahhahah they were perfect.. in flavour! I had one issue with them about the shape… How do I make them small and a little high like in the photo? Mine turned out flat.