- Recipe Index
- Breads
- Homemade Chocolate Babka
Homemade Chocolate Babka
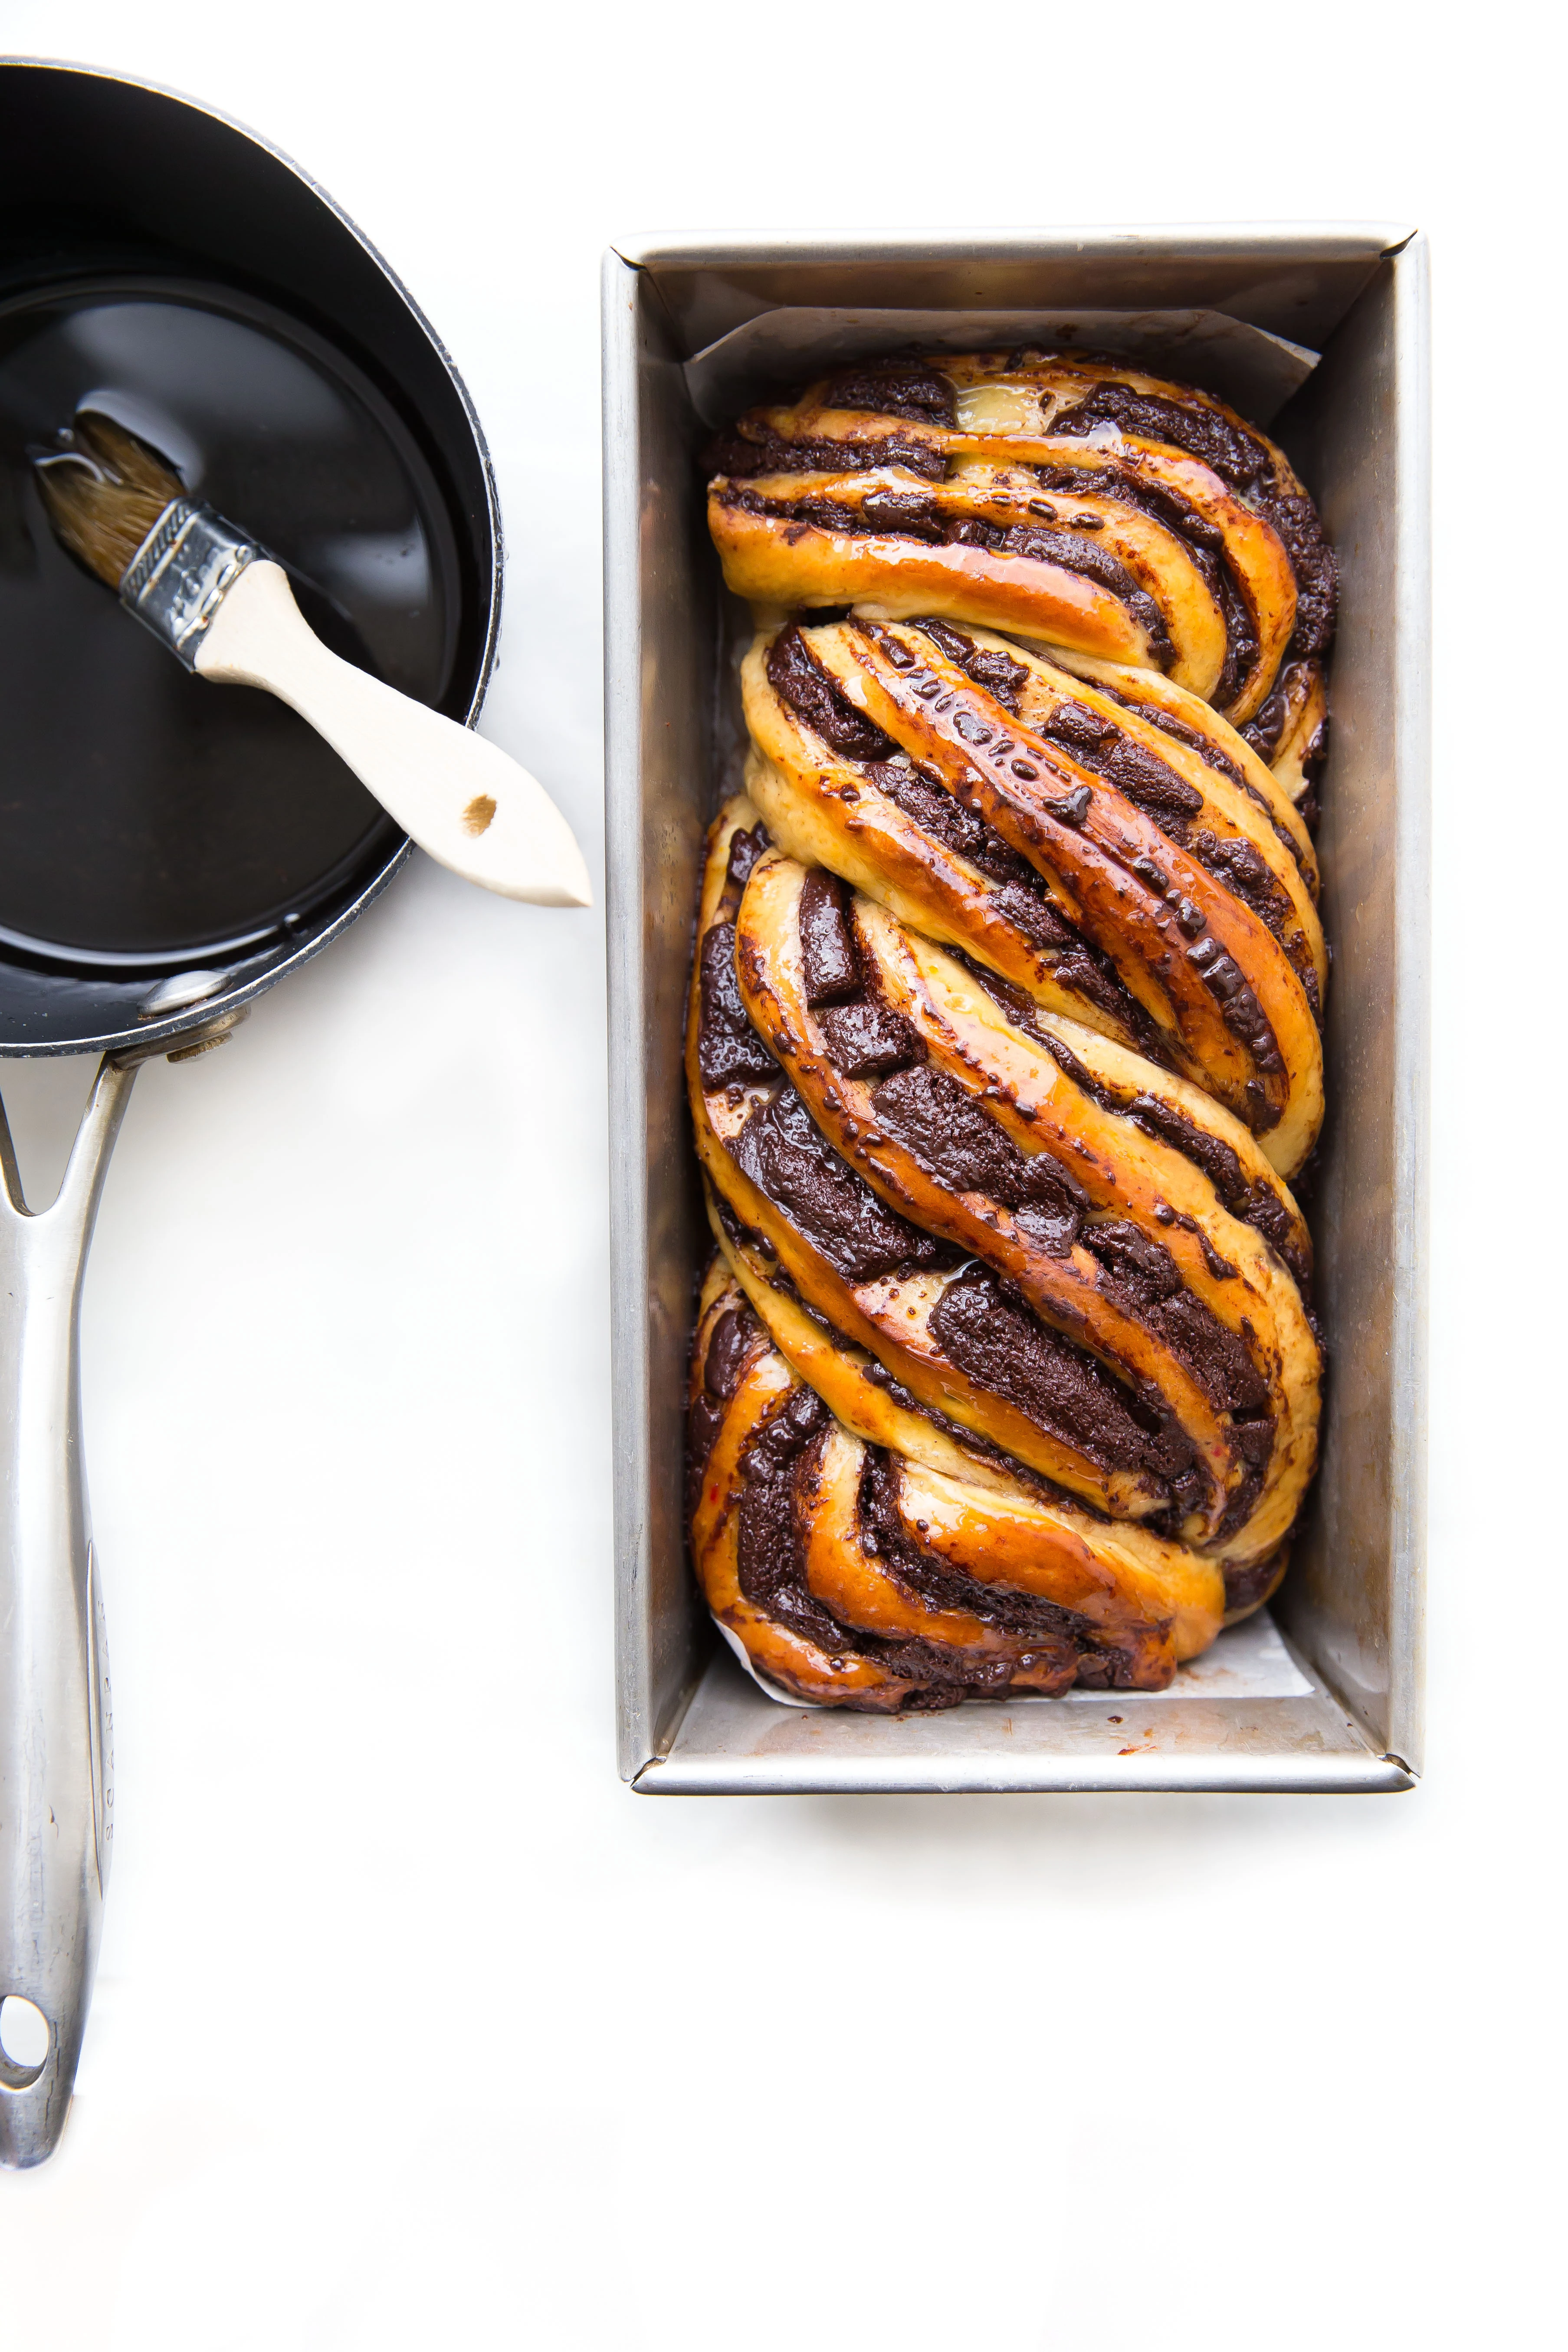
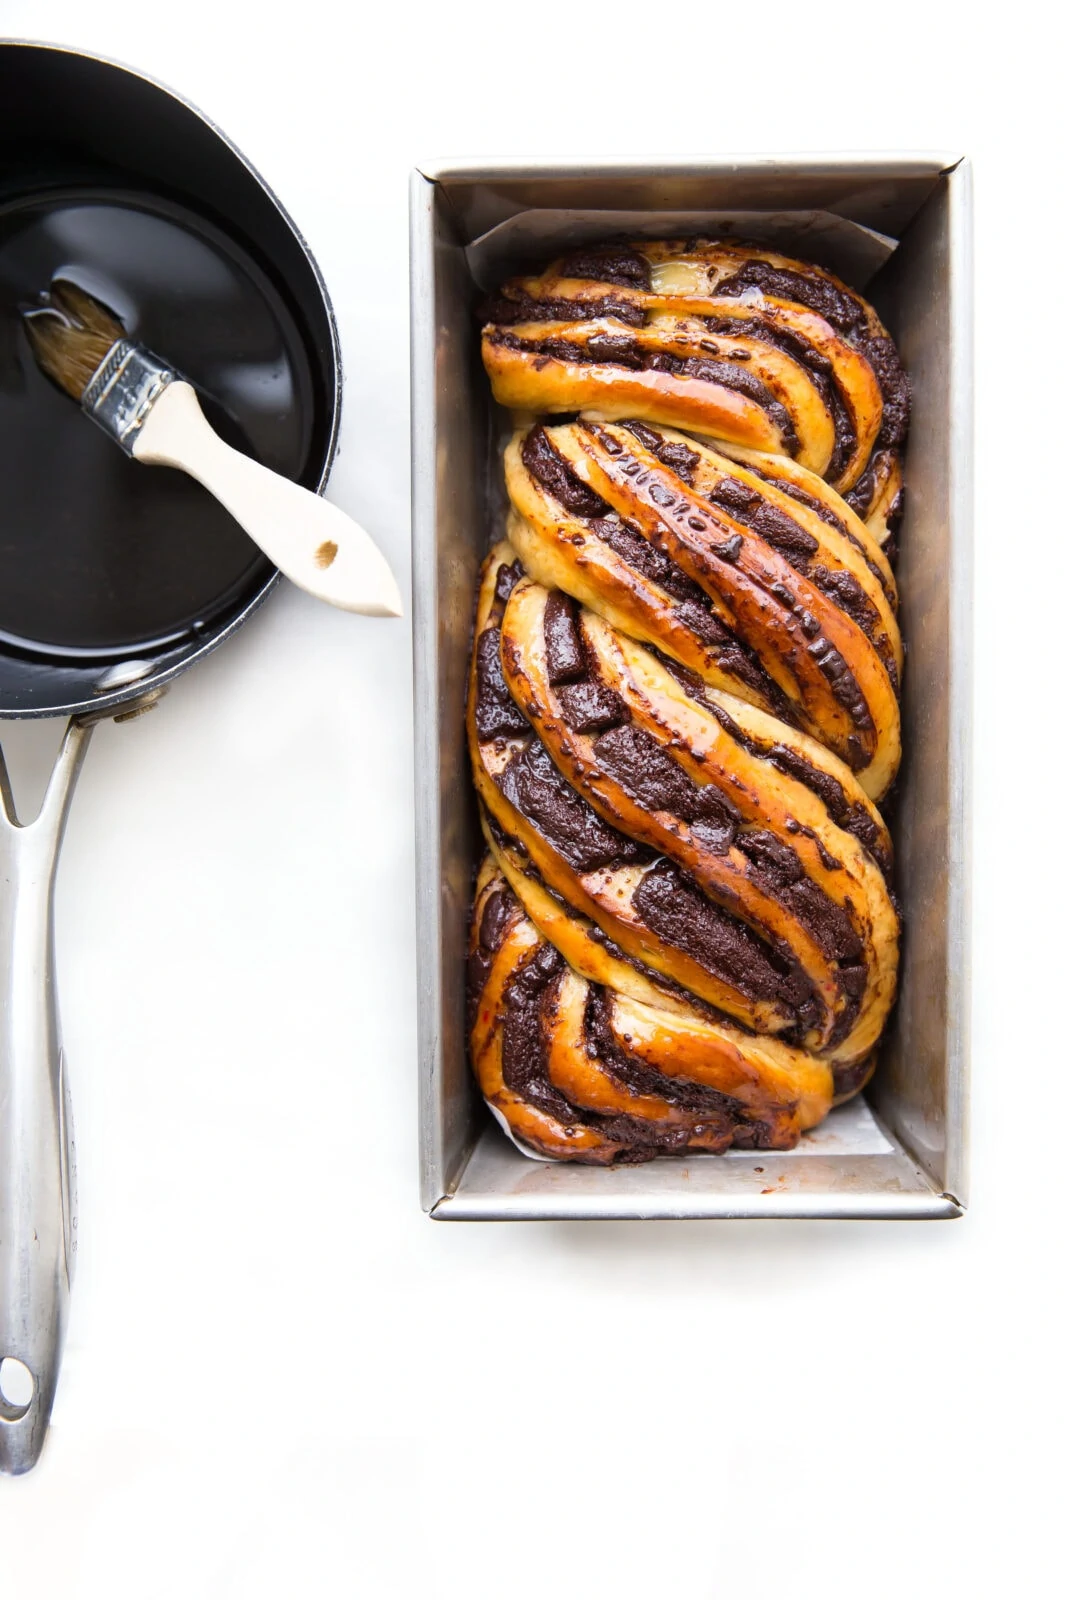
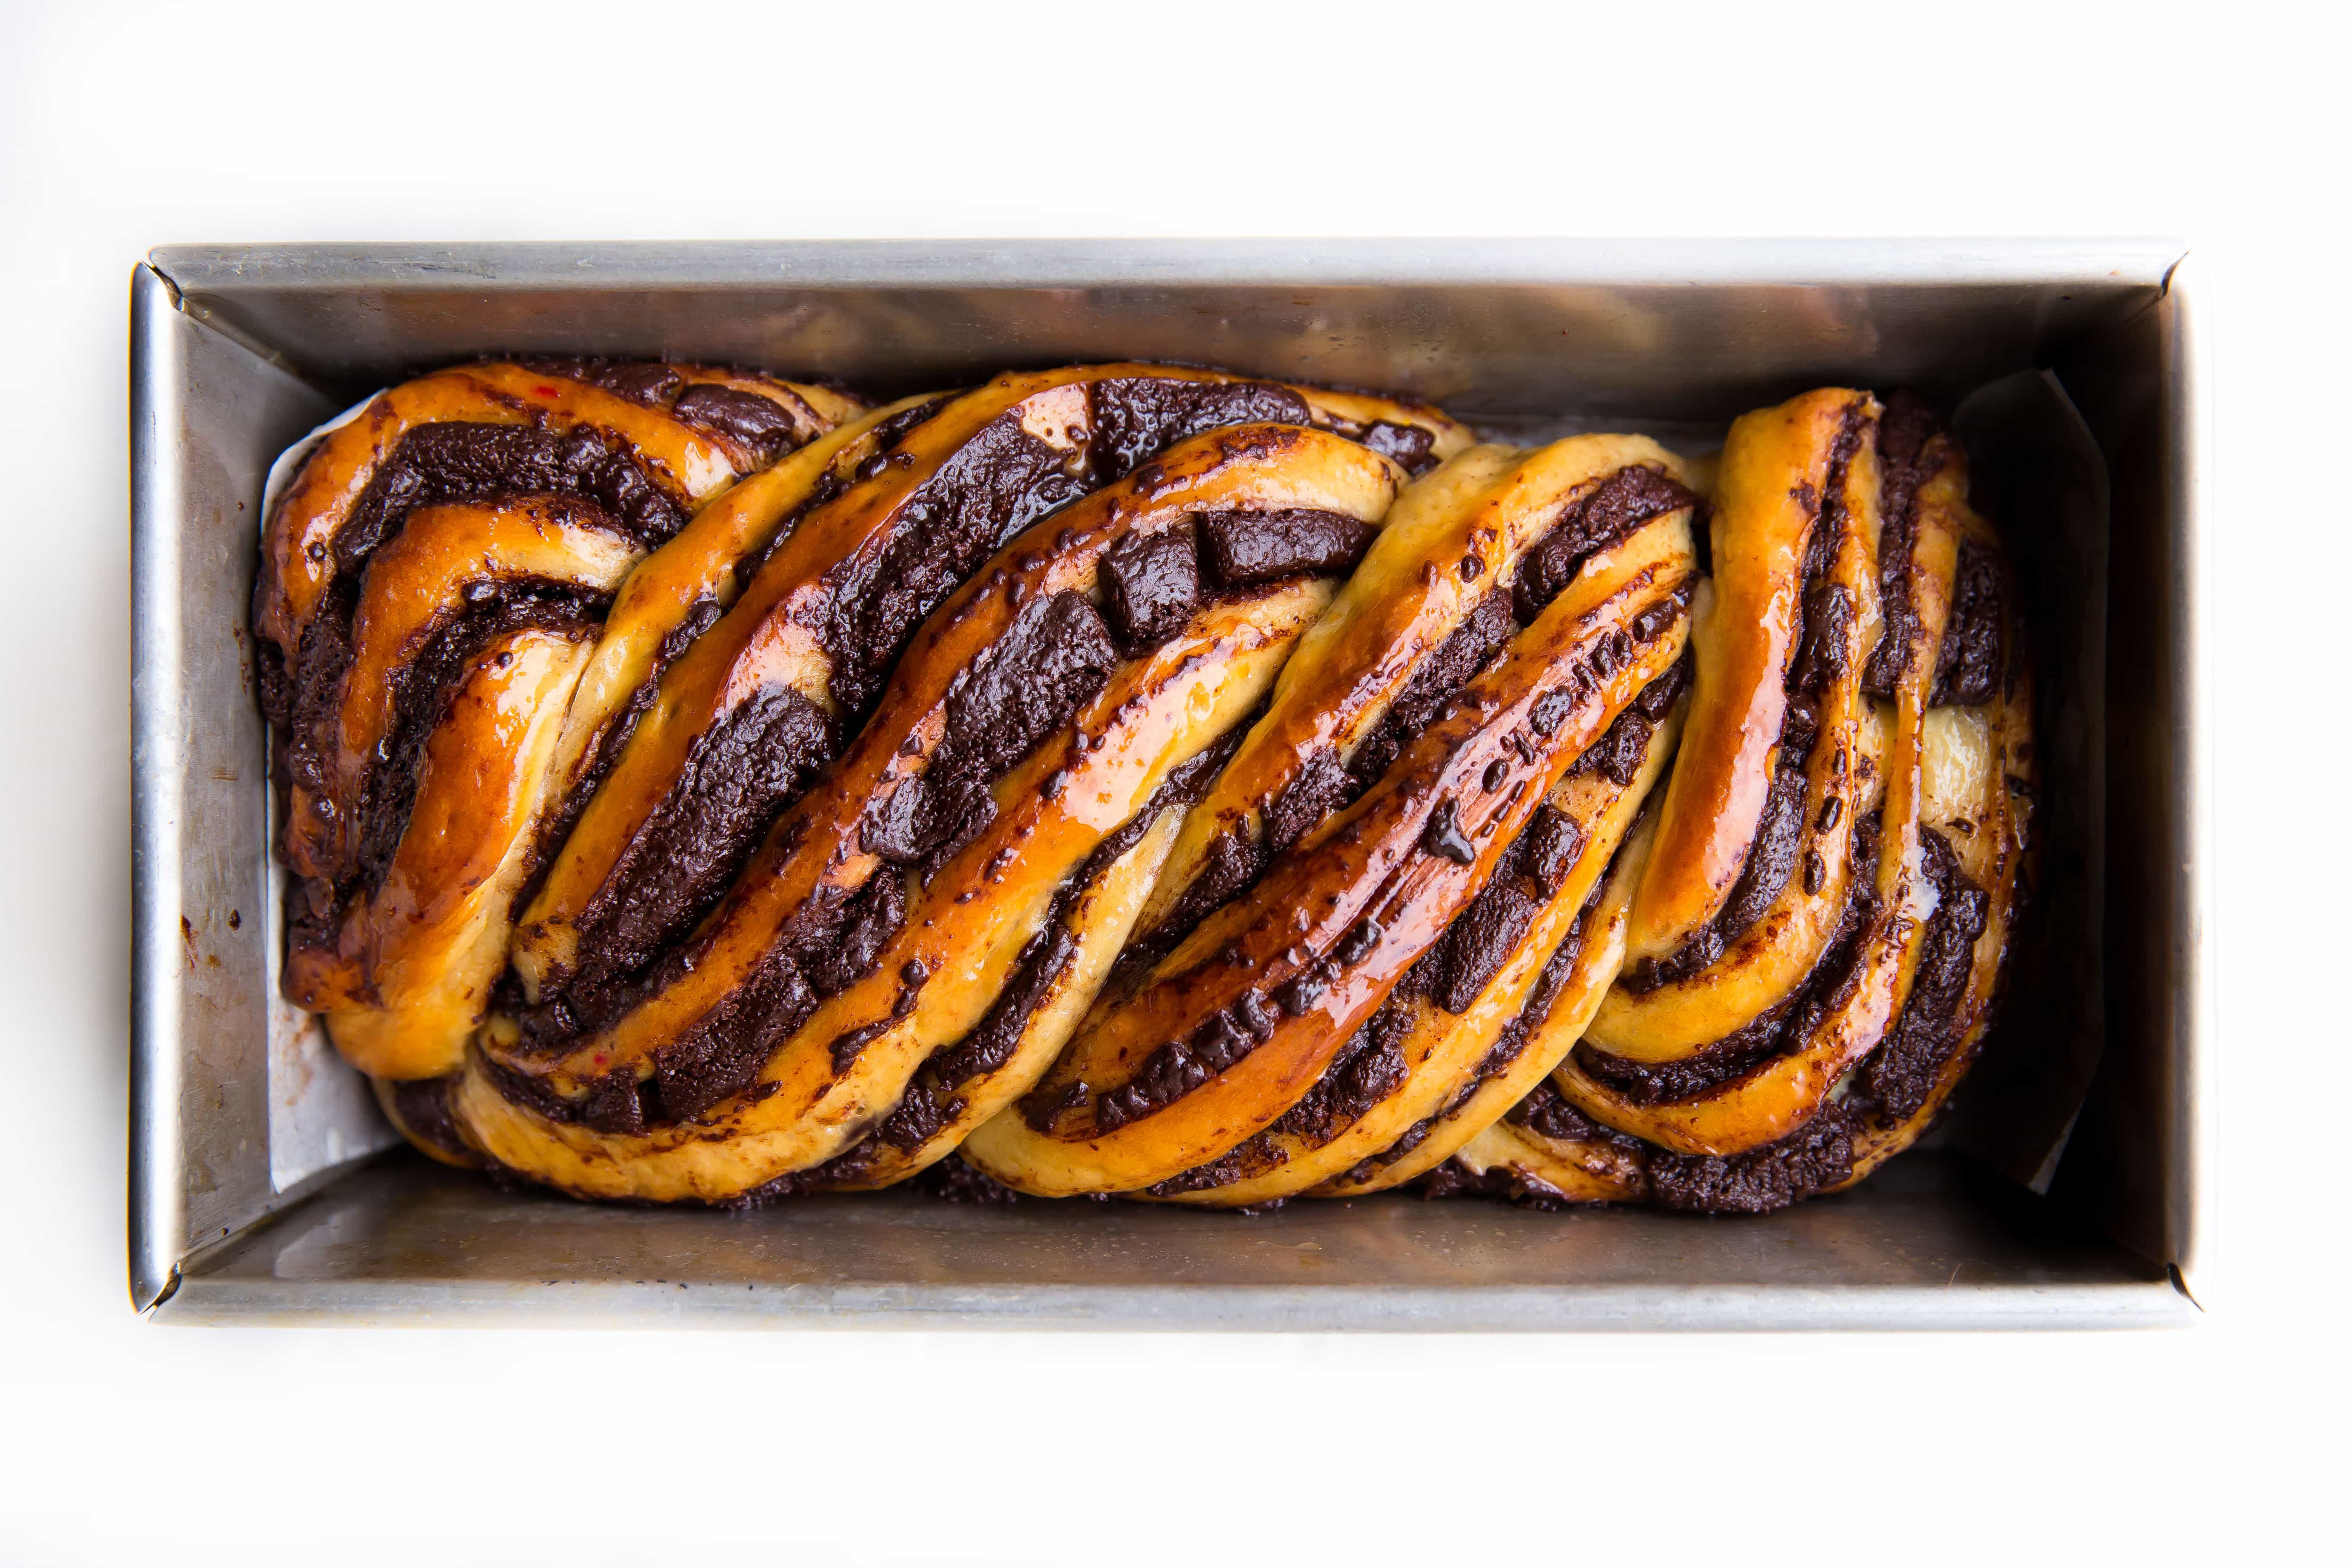
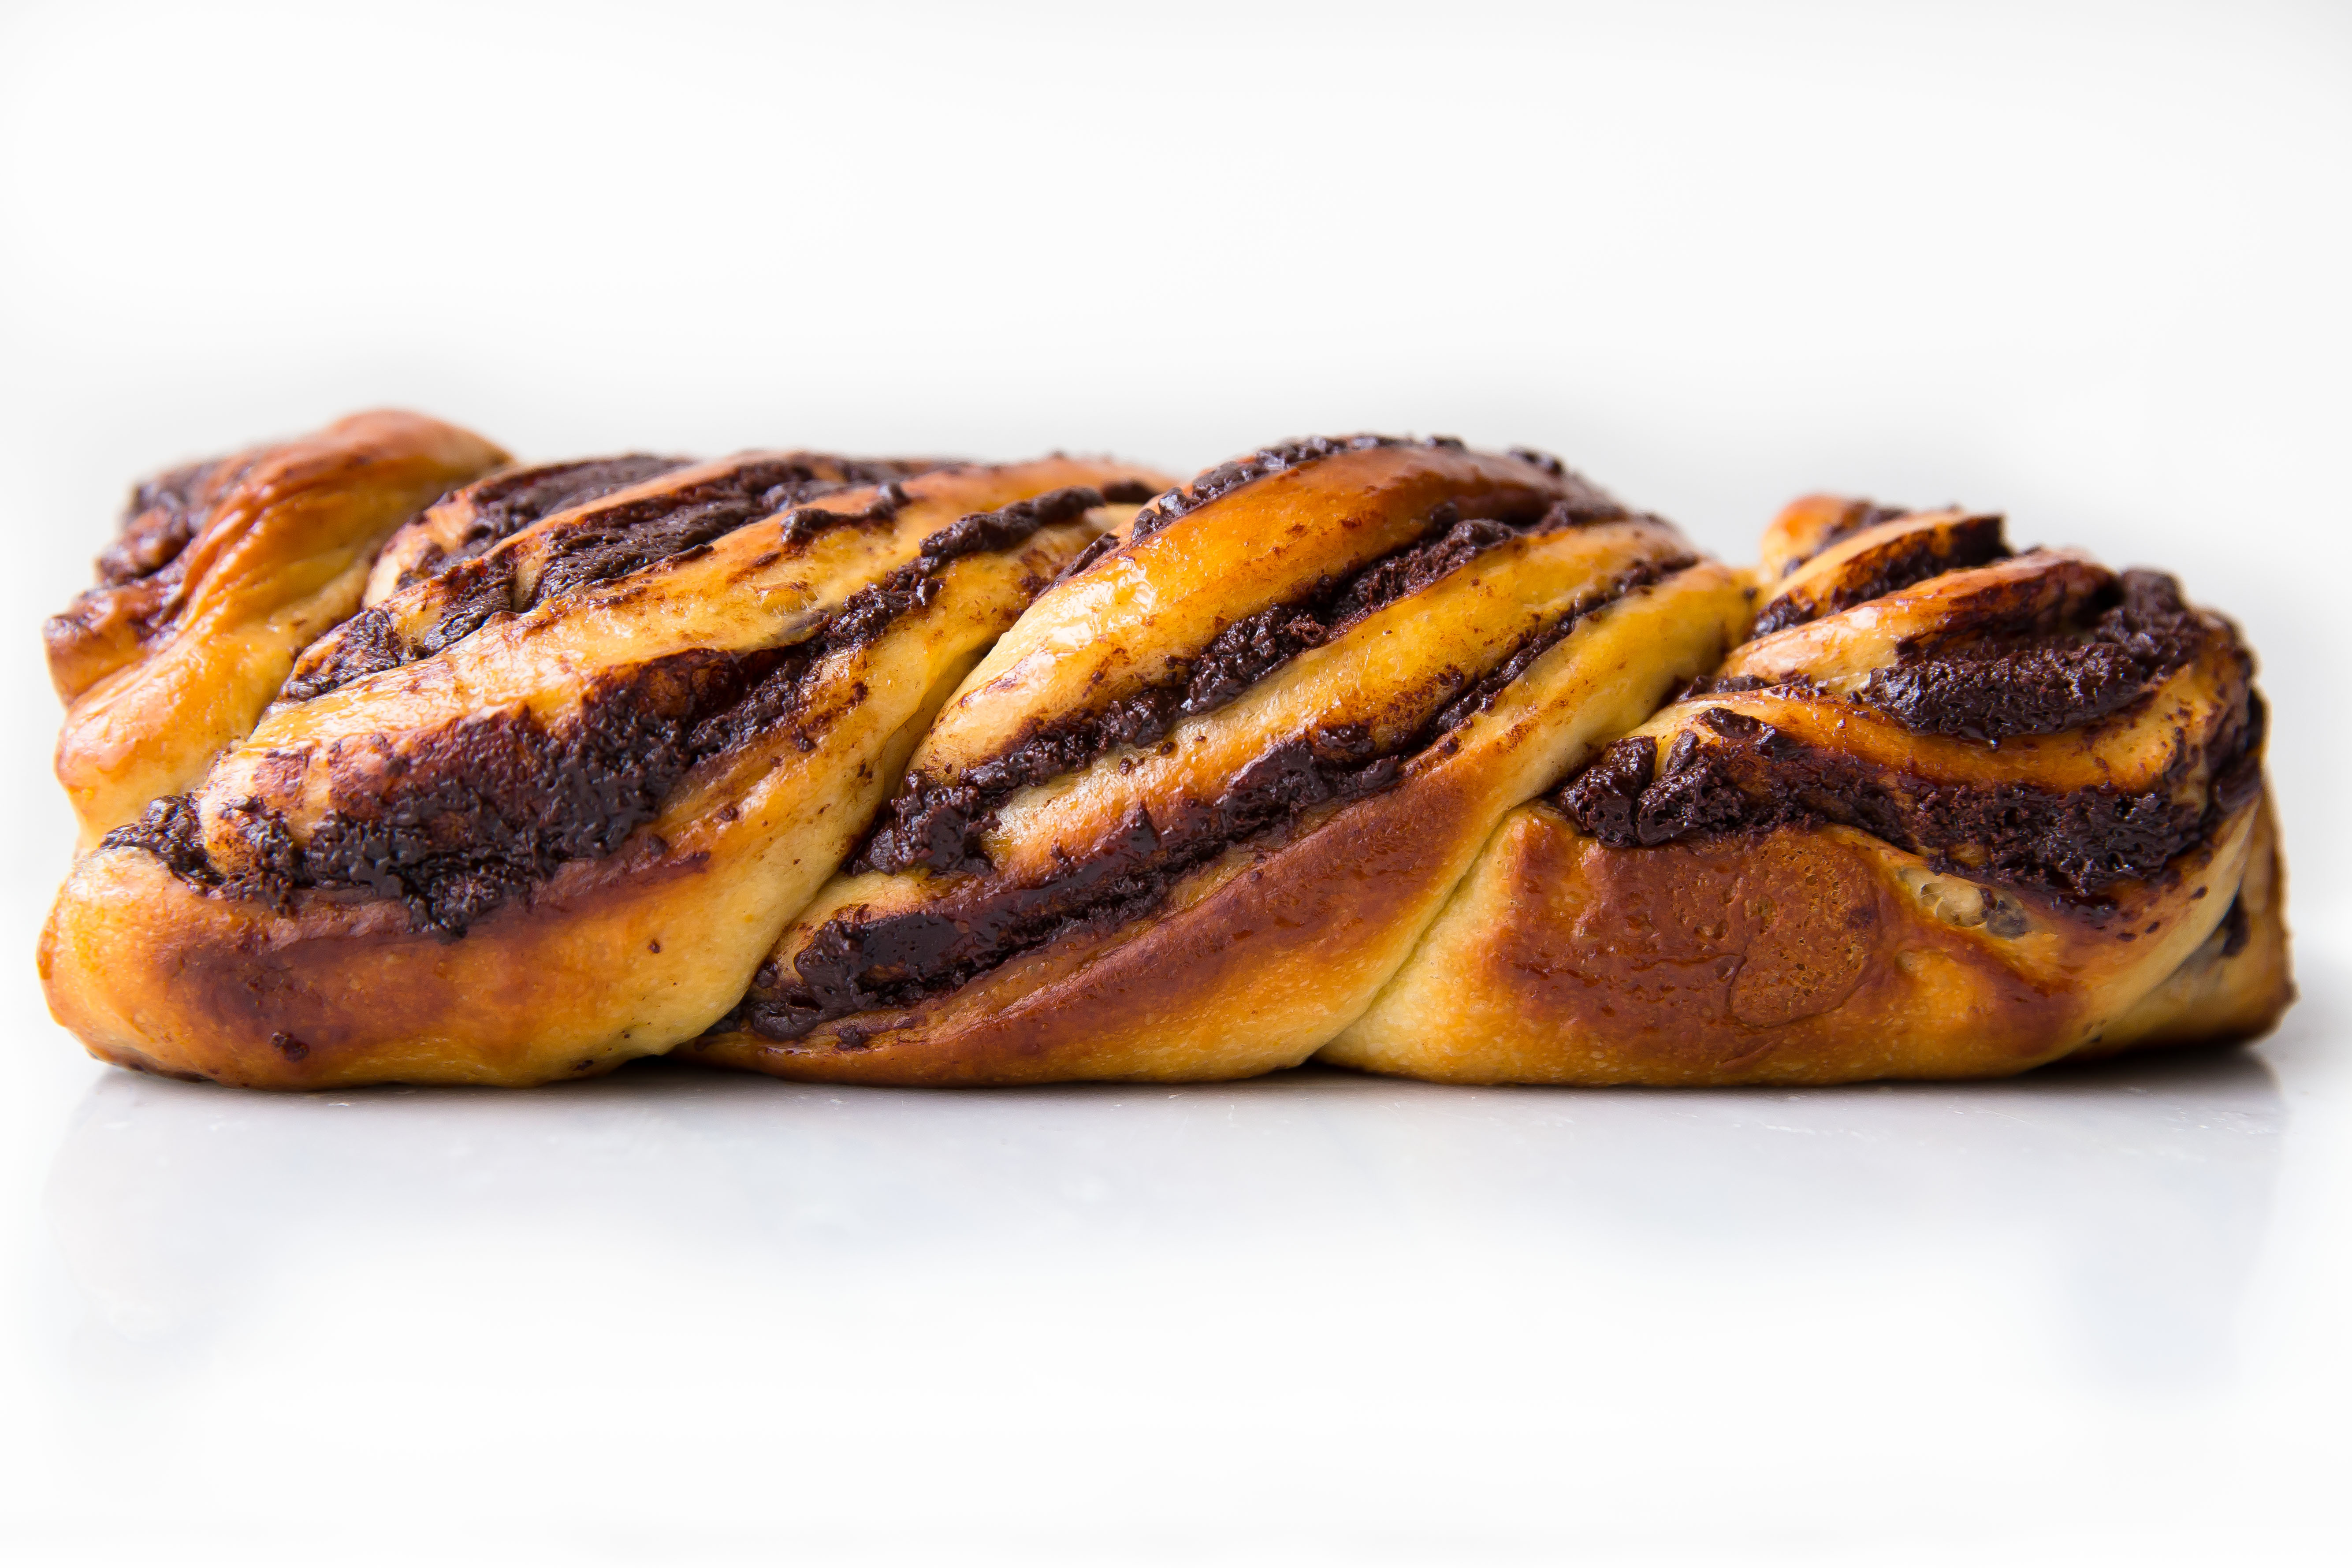
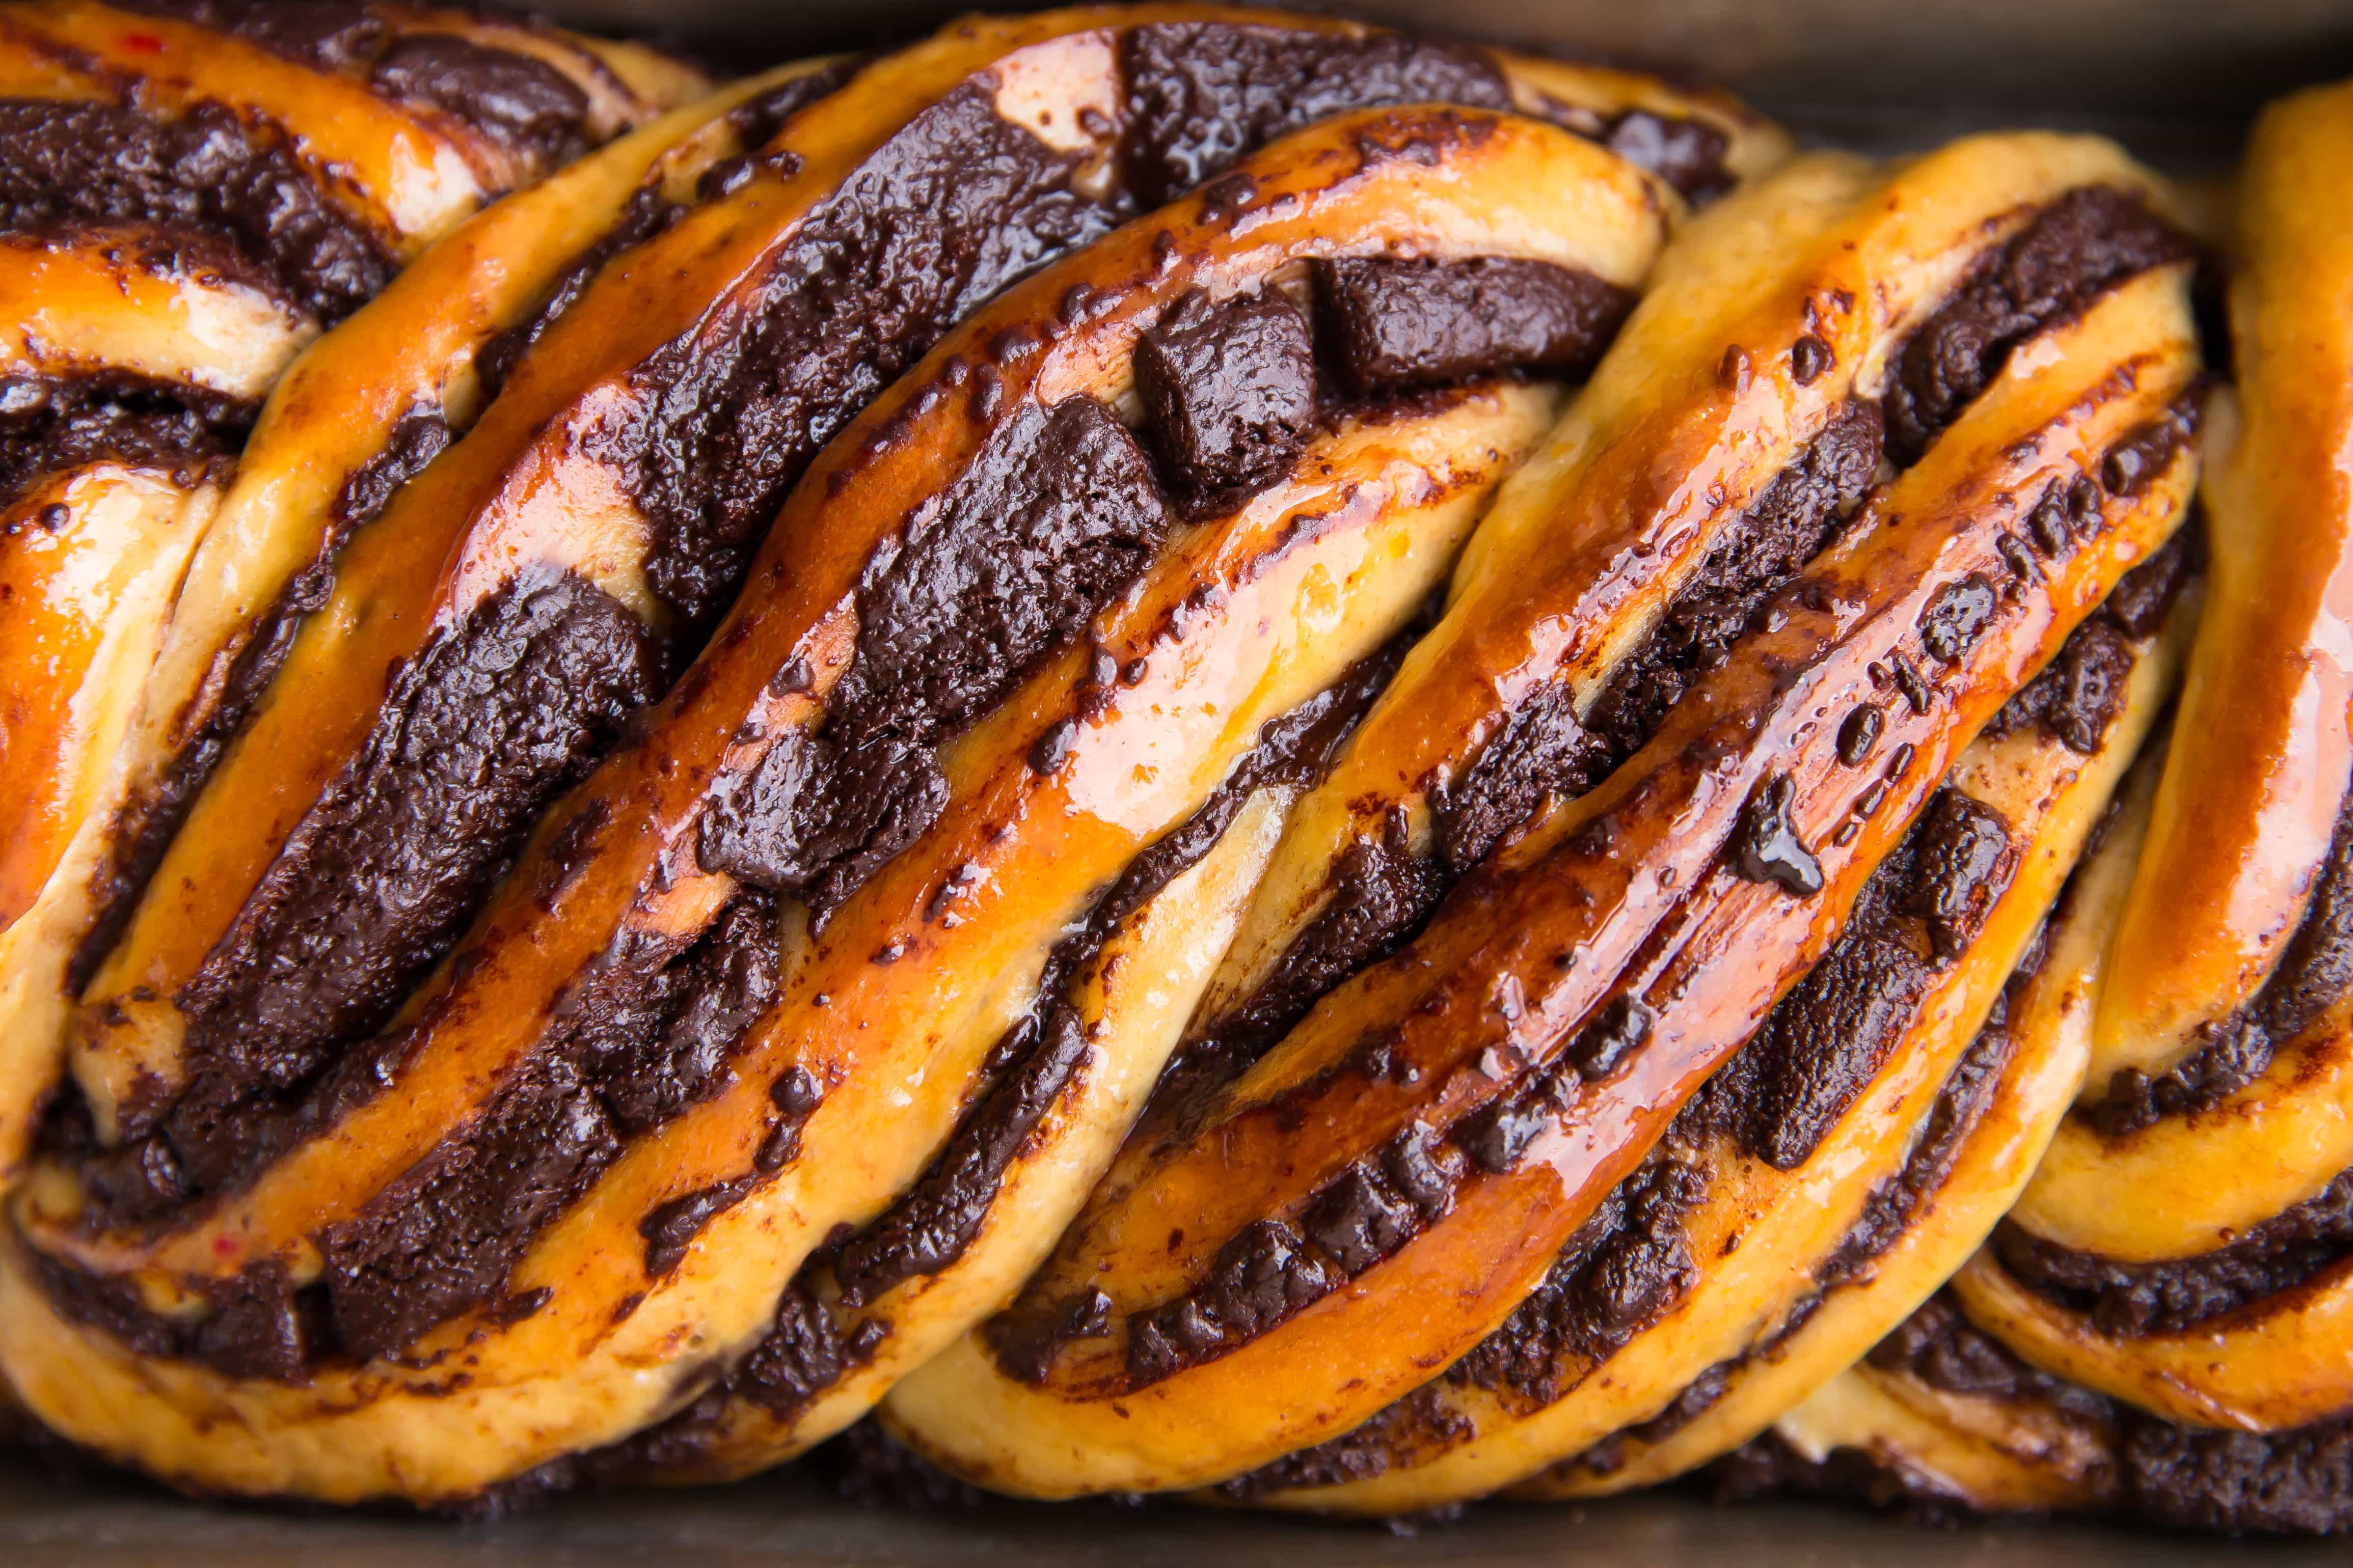
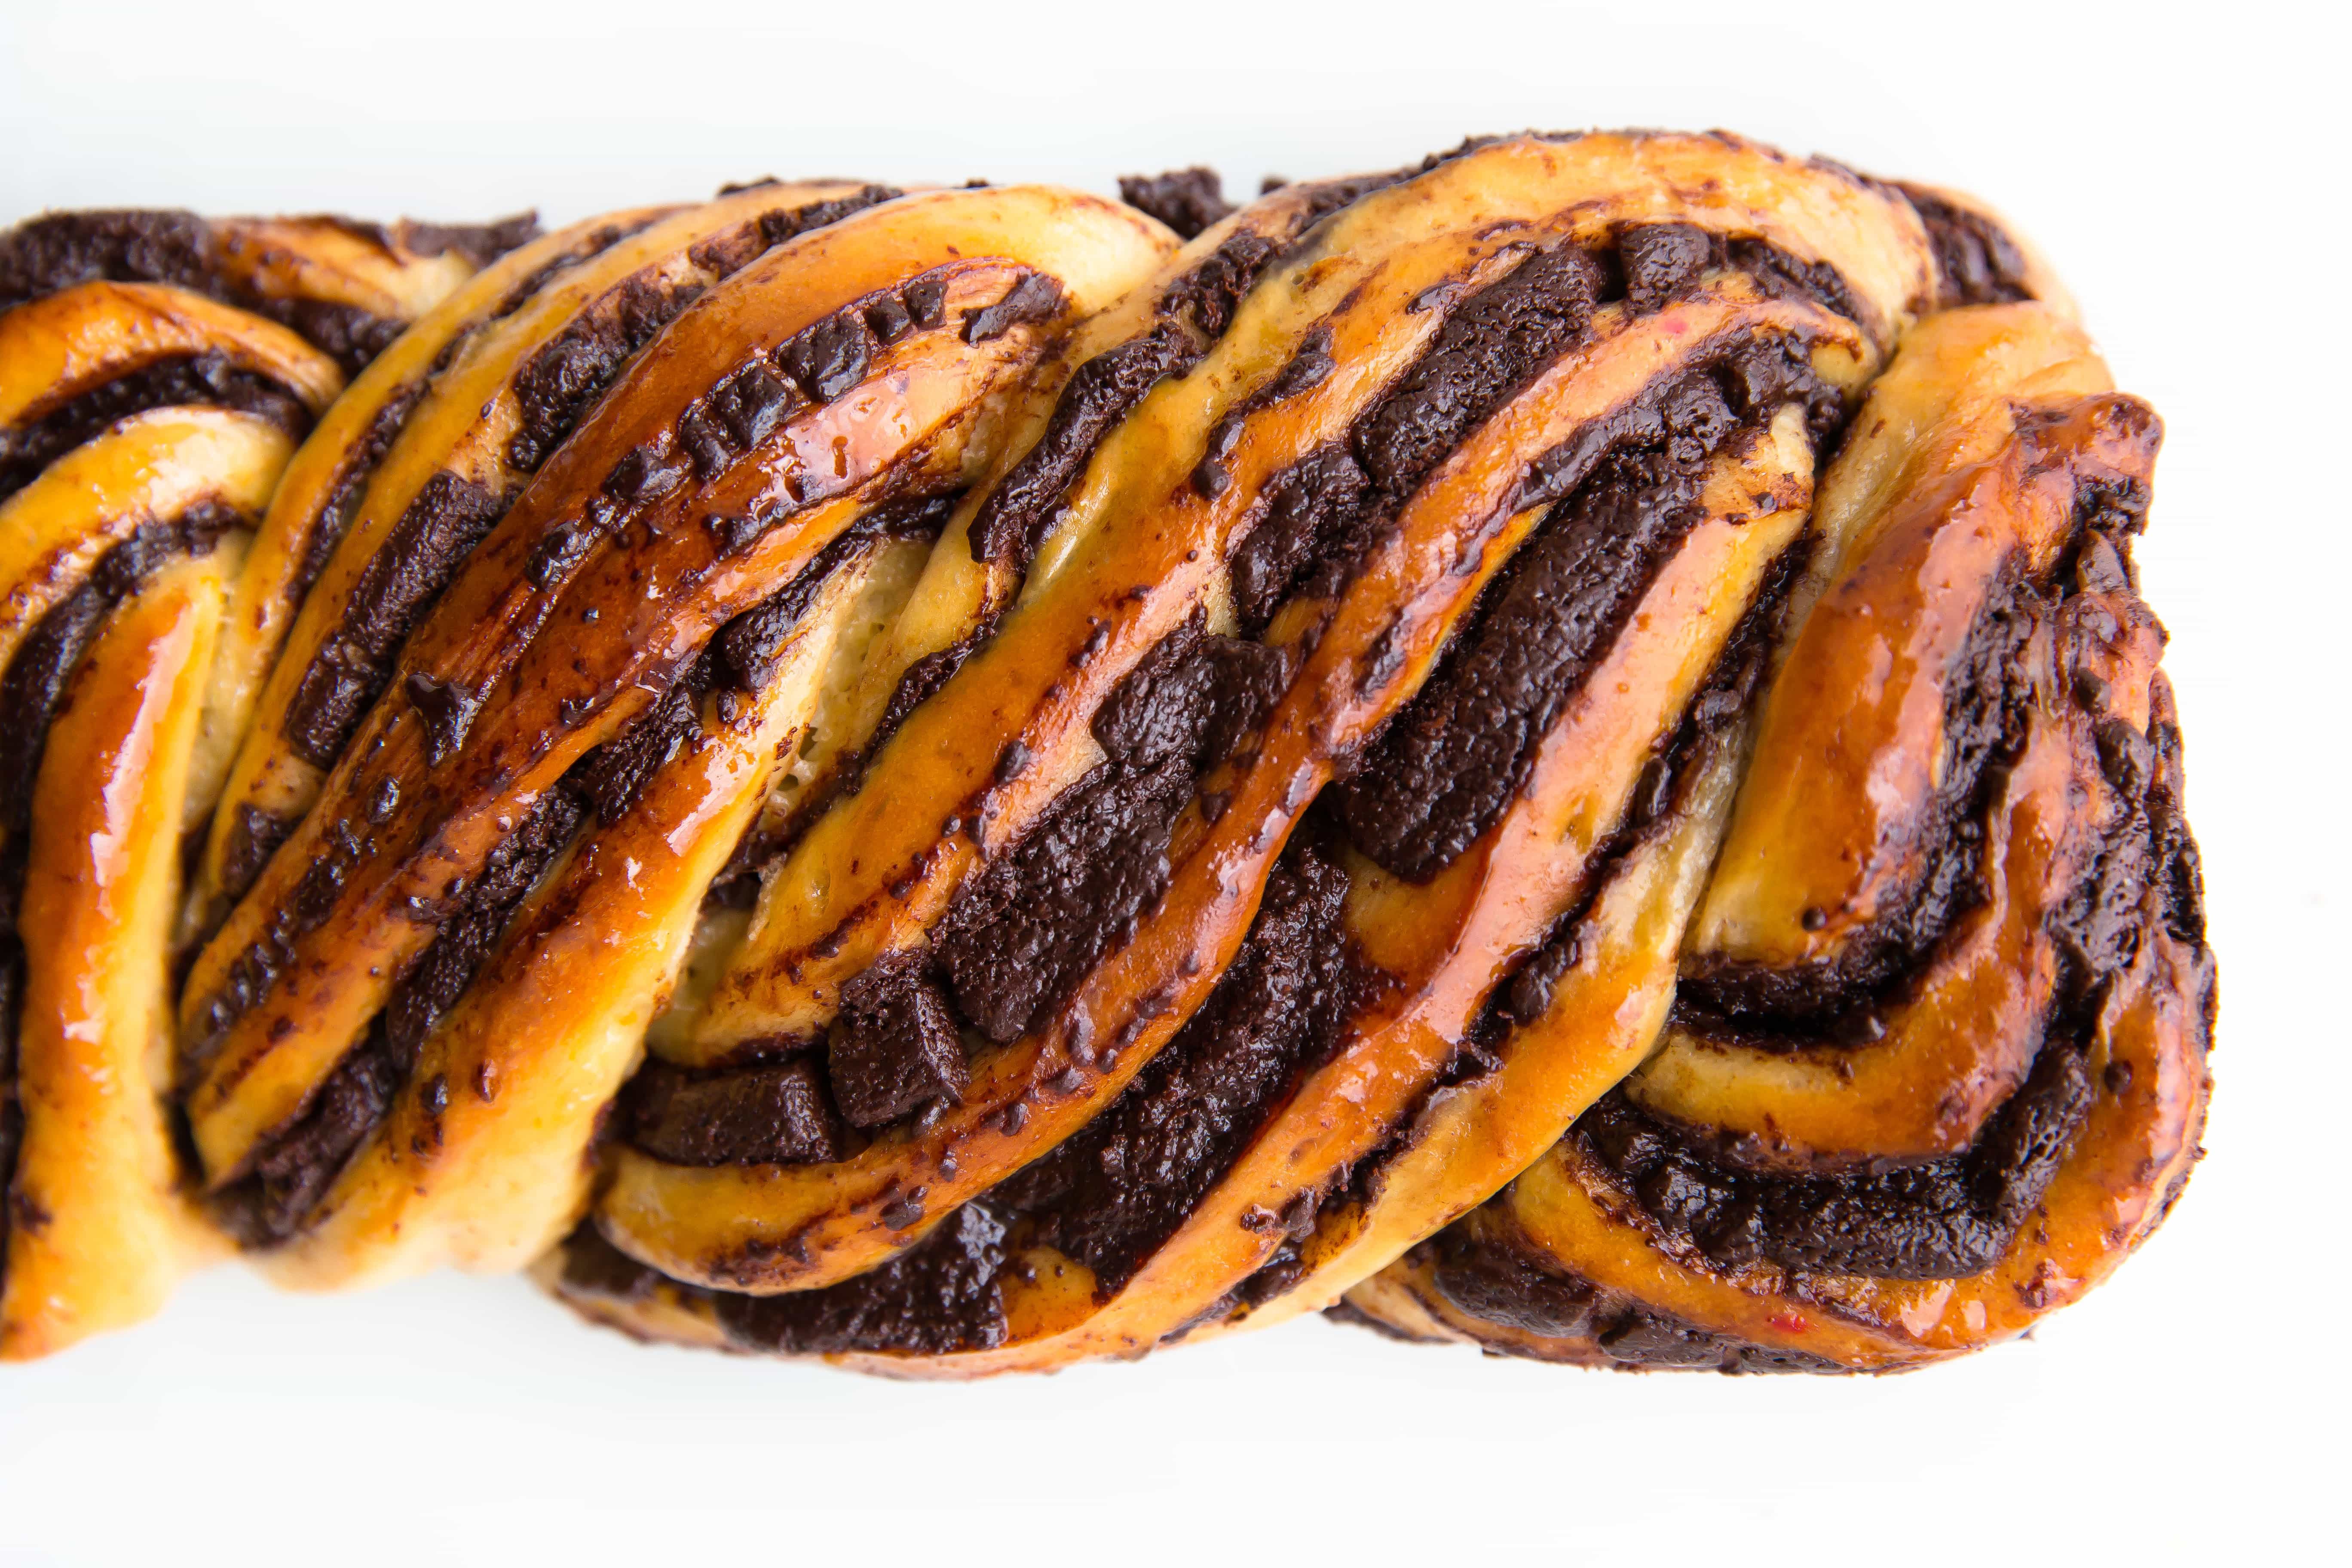
Happy Monday, loves! As we all wipe the sleep out of our eyes, drink our morning coffees, and otherwise try to get over this Monday hump, let me introduce you to Chocolate Babka. He’s beautiful, isn’t he? Doughy, chocolaty, and braided to perfection. I got the recipe straight from Deb of Smitten Kitchen, one of my personal idols. I love the simplicity of her site and photography, and how she always manages to create beautiful, inspiring food that pops out of the screen.
I haven’t made one of her recipes in a while (has anyone tried her Red Wine Chocolate Cake? You should), so when I recently popped on over to the blog and saw this Chocolate Babka, I knew I had to make it. How could you not? Though at first it looks like a complicated recipe, it’s pretty simple. That beautiful braiding? Just roll up the dough like a sticky bun, cut it in half, and twist it on itself. That’s it! (Reminds me of my Estonian Kringle, another must-try).
This homemade babka would be perfect served with a nice cup of coffee or a PSL (I hear people love those? I’ve never tried one. Whatever). Just make sure you’re around other people when you make your babka, because I can assure you you’ll eat a majority of it yourself if you’re alone.
Spread the calories, that’s my motto. A friend in need deserves a babka indeed.
OK. Maybe not. I tried.
What is babka?
If you’ve never been lucky enough to try babka before, you’re probably a little confused about what makes this braided loaf so special. Pronounced ‘Bahb-kah’, this sweet treat is a dense bread that’s usually swirled with either chocolate or a cinnamon sugar filling. Babka originated in Eastern Europe and has been a staple at Jewish bakeries for years. However, it has become extremely popular in recent years (on the East Coast, at least!), and can now be found in most bakeries and grocery stores around the holidays.
Babka is slightly dry, but the filling is typically quite melty and gooey—especially if you serve it warm straight from the oven! It really is a unique cake-like bread, and I highly recommend trying it at least once in your life to see what all the fuss is about.
How to make babka
I won’t beat around the bush here—babka is a labor of love. Each of the individual steps isn’t tough to do, but the dough needs a lot of time to rise and there are no shortcuts you can take with this recipe. The quick and dirty on how to make this chocolate babka is as follows:
Make the babka dough
Babka uses an enriched dough, which means there’s eggs, butter, and sugar in it. To make the babka dough, you’ll first need to combine the dry ingredients, eggs, and water in the bowl of a standing mixer. Mix until combined (this will take a few minutes). Then, add in the butter a tablespoon at a time and continue kneading the dough for about 10 minutes until it’s completely smooth and begins to pull away from the sides of the bowl.
The babka dough will need to rest in your fridge for at least 6 hours, but overnight is best. Unlike most bread doughs, babka will not double in size, so don’t panic if your dough doesn’t rise a bunch in the fridge! Remember: you’re making a dense, cake-like loaf of bread here.
Make the chocolate babka filling
This is the easiest bit—hoorah! To make the gooey chocolate filling, you simply have to melt chocolate and butter together, and then stir in a little powdered sugar and cocoa powder. This should form a thick-ish paste that you’ll need to spread over the babka dough once it’s been chilled overnight and rolled out.
Assembling the loaves
This is the part of making homemade chocolate babka that intimidates people the most. Stick with me, you’ll be totally fine! To create that iconic babka swirl pattern, you’ll need to first roll the dough out into a long, thin rectangle. Spread the chocolate filling over the dough, leaving a border around the edge (this will prevent the filling from seeping out).
Roll the dough into a long, tight cigar and then seal the babka log with some water. You then need to trim the ends of the long log, and afterwards cut it lengthwise—you’ll be left with two long, skinny logs. Lay the skinny logs next to each other with the cut side facing up. You can then twist the logs together to form the babka braid (I’ve shared more detailed instructions in the recipe card below).
Once you’ve braided the babka, let it rest in the loaf pan and leave it to rise for another hour or so. Then, just pop it into the oven and bake!
Make the syrup
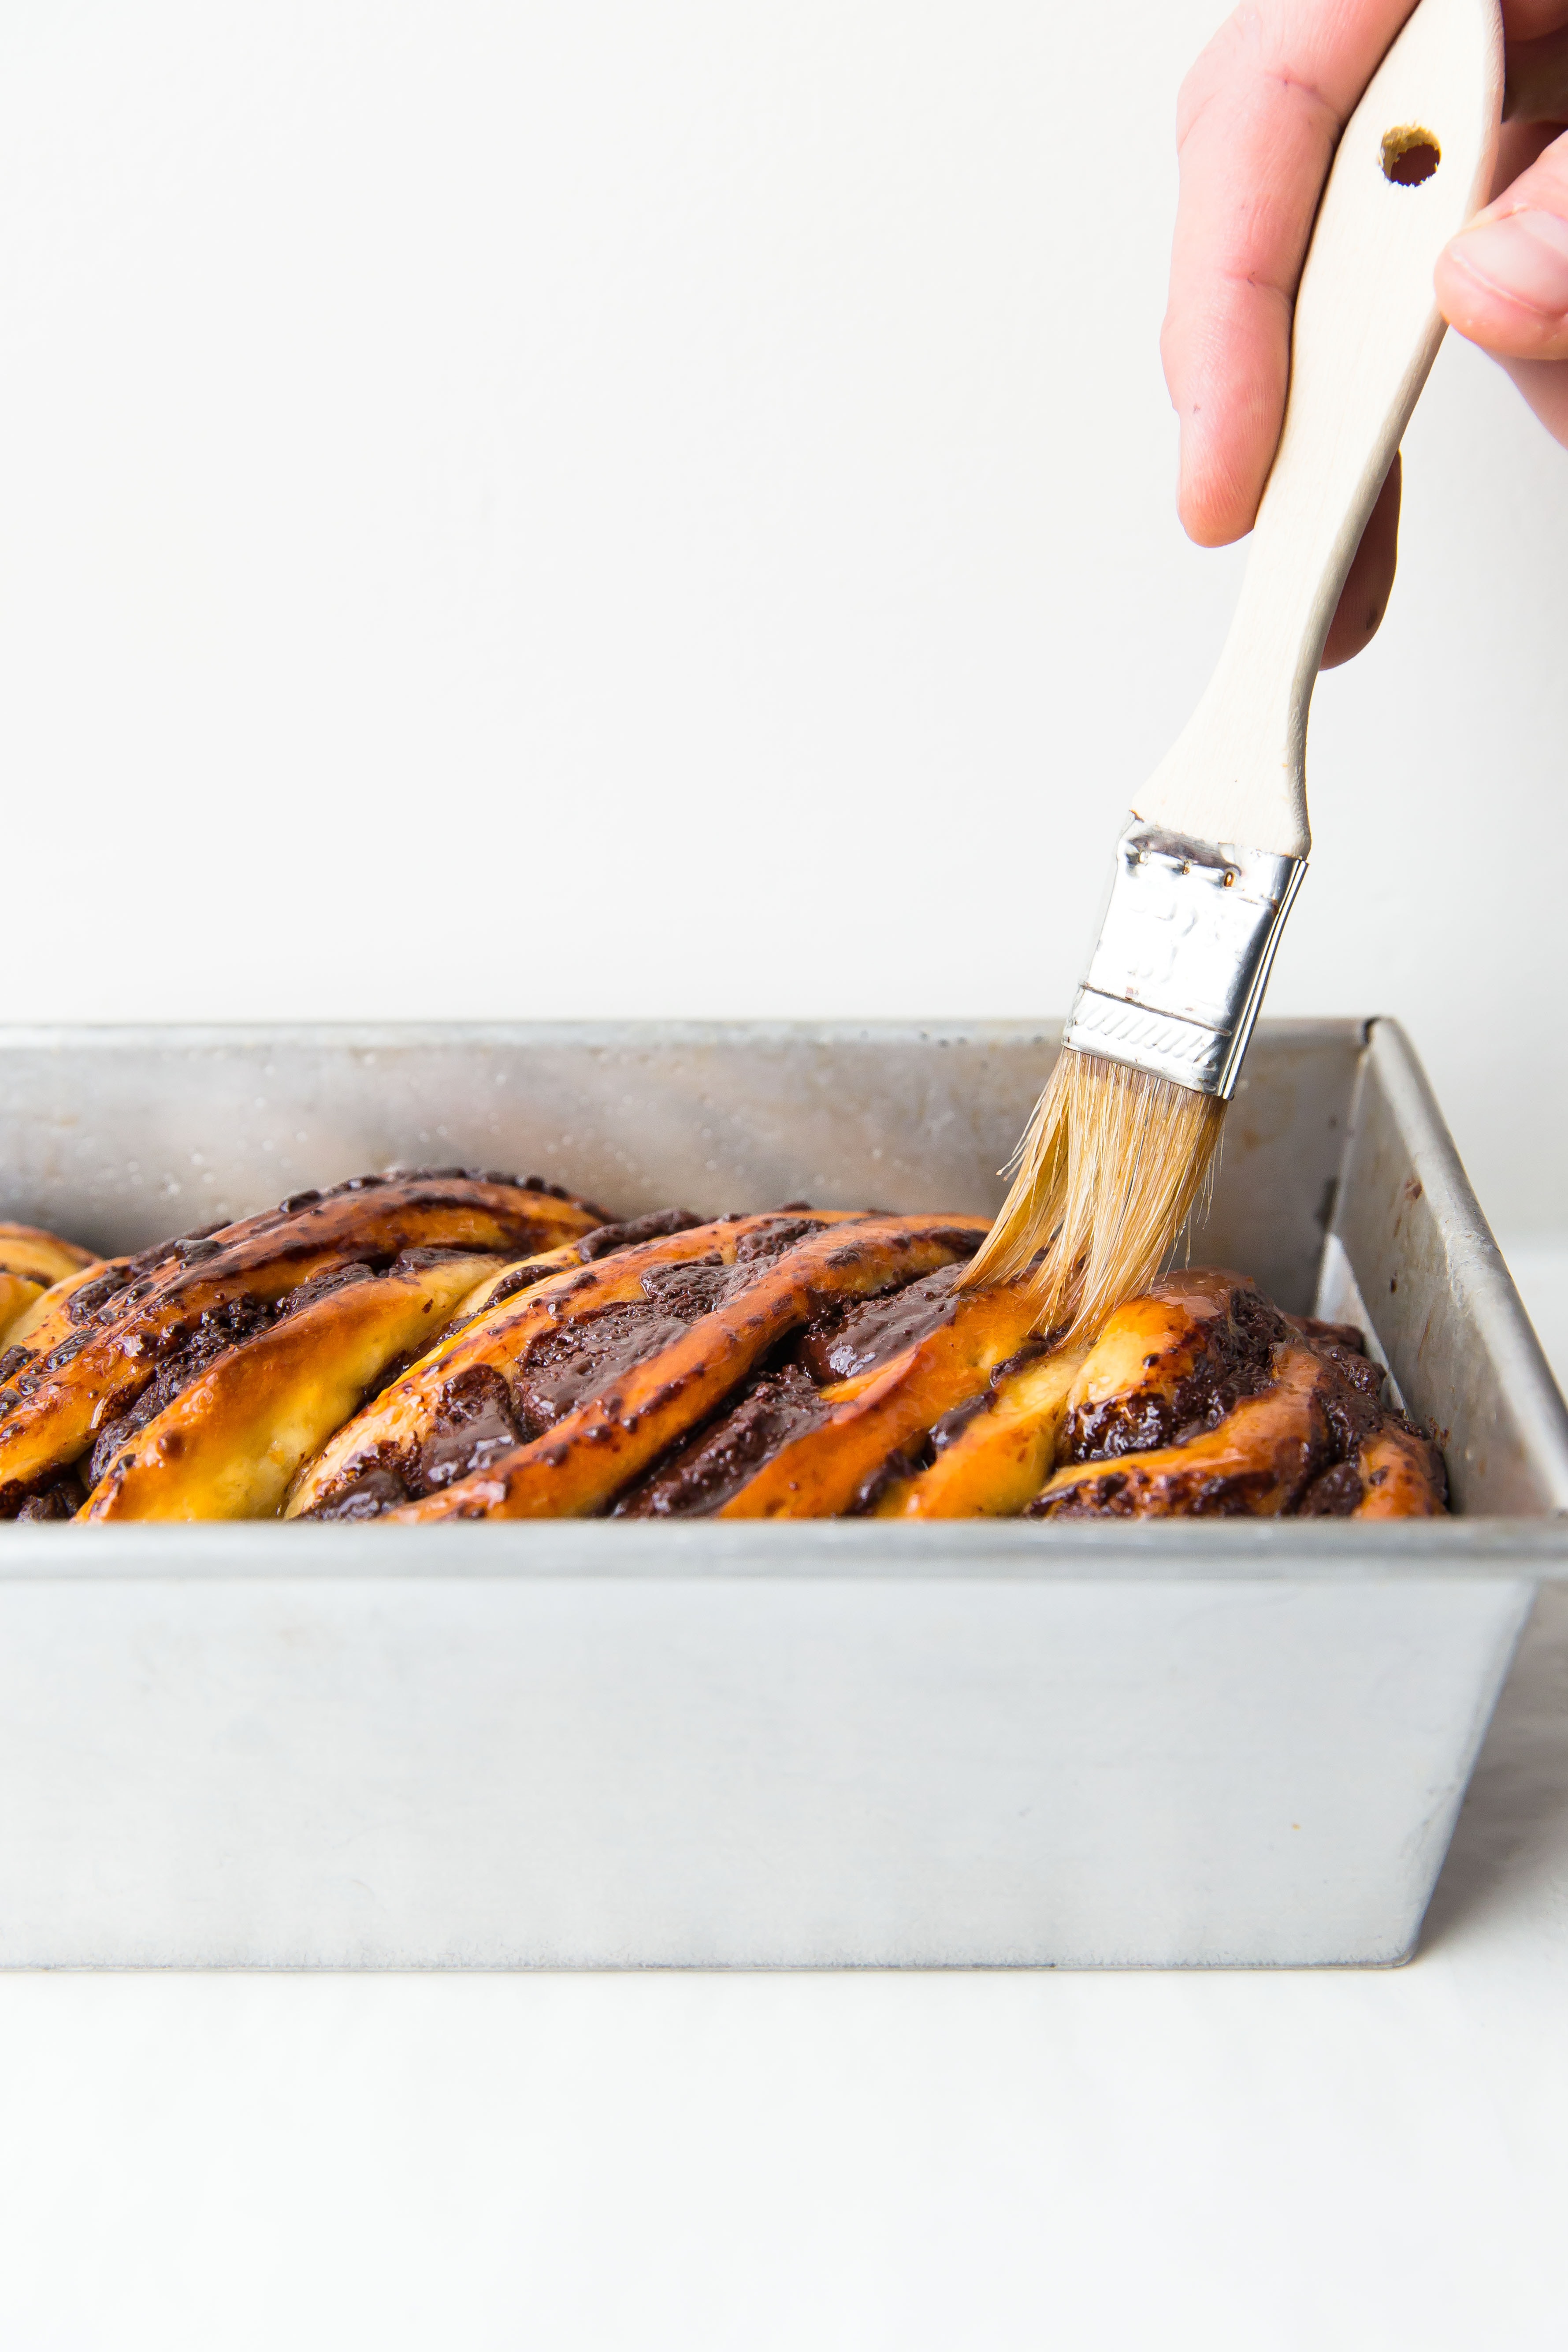
While the babka bakes, you’ll need to make a simple syrup to brush over top of it. As soon as the babka is taken out of the oven, brush it with the syrup—it’ll seem like a lot, but it’s necessary to achieve that glossy sheen on top. Plus, it adds a little moisture to the dense loaf.
How to freeze babka
Babka thaws surprisingly well after being frozen! To freeze a loaf of babka, let it cool completely on your counter before wrapping it in a few layers of plastic wrap. Then wrap it in a layer of tin foil and put it in your freezer. It’ll keep for up to a month this way.
When you’re ready to eat the frozen babka, place it on your counter (in all it’s plastic wrap, etc) and let it thaw to room temperature. Then, take it out of the plastic wrap you froze it in and rewrap it in a single layer of tinfoil. Place it in a 325ºF oven for 8-10 minutes to warm it through before serving.
In other news, I’m heading home to Boston this week for a much anticipated getaway. I miss fall in New England so much, and can’t wait to be back with friends and family. I’ve got more than a few activities planned for this week, so be sure to follow me on Instagram for Boston updates 🙂
Head over to Smitten Kitchen for the full recipe!


I’ve been waiting to bake this, and now the recipe is missing. Where can I find it? 🙂
You can find the recipe on Smitten Kitchen! It’s linked at the end of the blog post!
Hi there i was wondering if i shape the dough with the chocolate and let it prove overnight and then bake it in morning already shaped?
Hi Liz! You can proof the bread in the fridge overnight, then let it come to room temperature and bake it off!
It was my first attempt to bake a babka. And it came out amazing!! Thank you for the great recipes!! You always give detailed instructions that are easy to follow and guarantee successful results! 🙂