- Recipe Index

- Desserts

- Cookies

- Kitchen Sink Cookies
Kitchen Sink Cookies
This website uses affiliate links which may earn commission for purchases made at no additional cost to you.
Is there anything better than a cookie that uses up all the ingredients you already have on hand? I think not. These kitchen sink cookies are soft, chewy, and loaded up with everything but the kitchen sink!
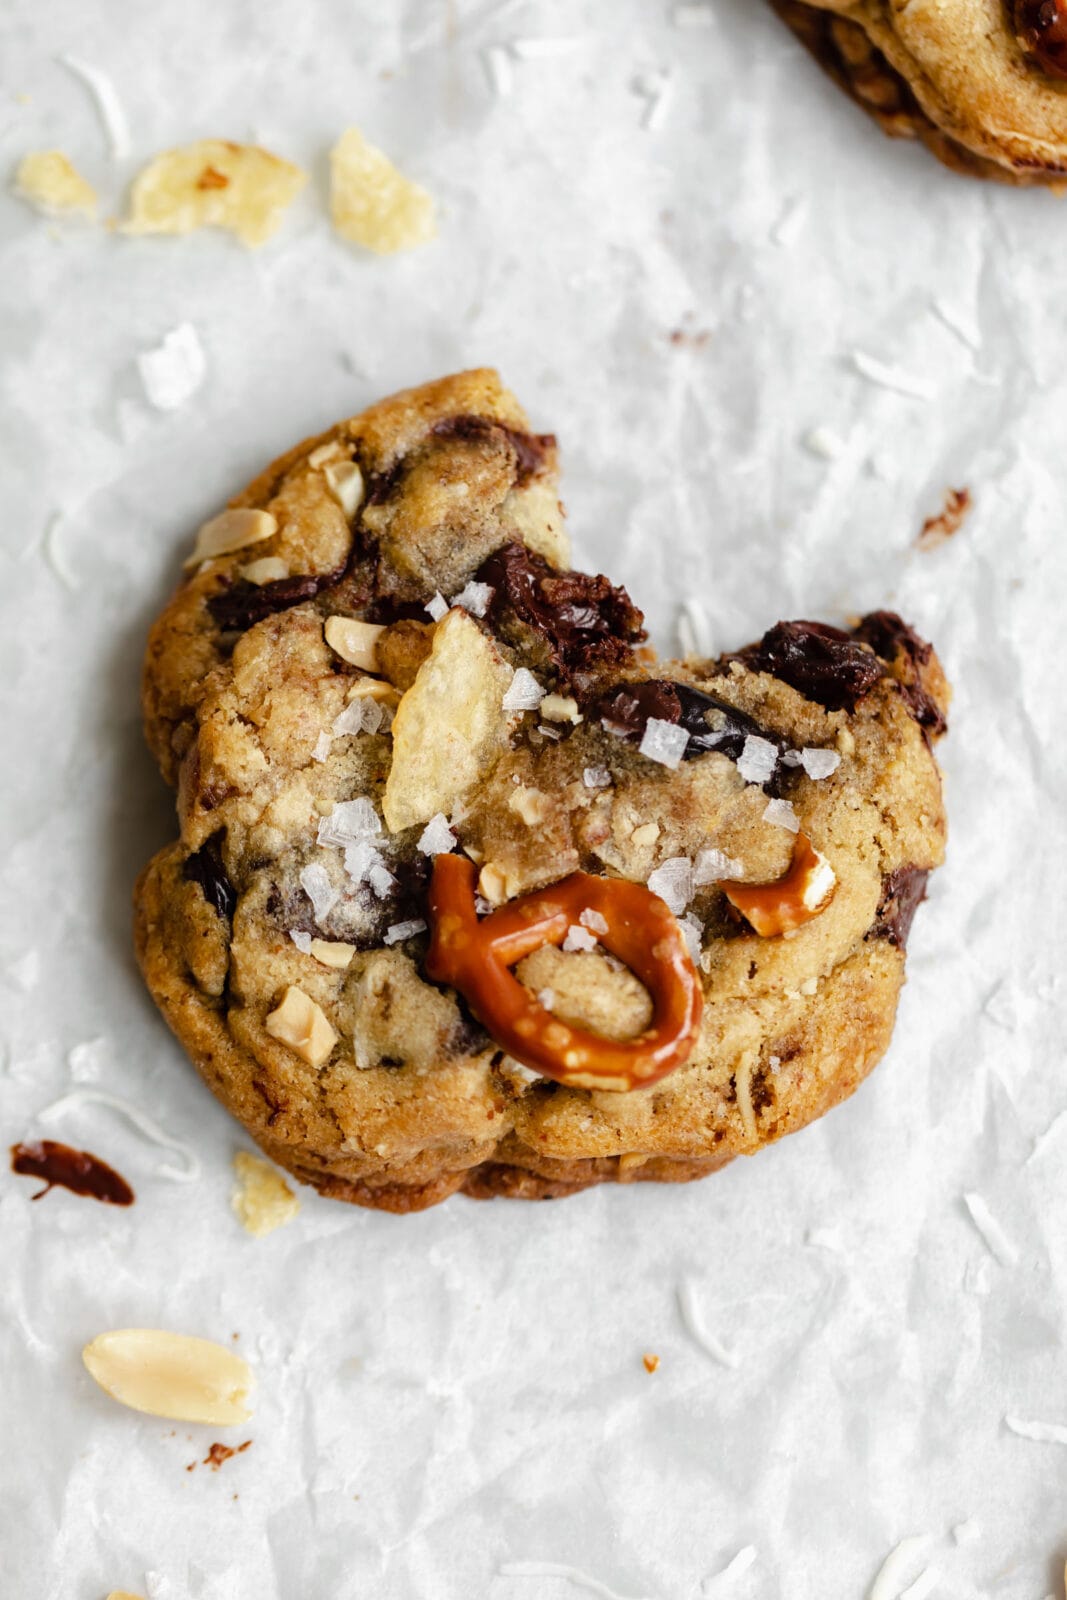
Kitchen Sink Cookies
The time has come. The time for kitchen sink chocolate chip cookies is here. I have been wanting to do a kitchen sink cookie on the blog for eons, but the time has never felt quite right…that is, until now. These loaded up kitchen sink cookies are made with our fav chocolate chip cookie base with the welcome addition of everything but the kitchen sink.
Heh. That’s an expression. These kitchen sink cookies are loaded up with whatever you have lying around in your kitchen cupboards! They’re buttery, gooey in the middle, crunchy on the edges, and loaded with salty-sweet flavor in every single bite. You’re going to love them.

What are kitchen sink cookies?
Kitchen sink cookies are on of the most nostalgic cookies in my opinion. We made these kitchen sink cookies with our favorite browned butter chocolate chip cookies loaded with nuts, chocolate, pretzels, and crunchy potato chips. They’re the ultimate salty-sweet cookie of your dreams with melty chocolate chunks, crunchy mix-ins, and chewy cookie in every darn bite. They are seriously addicting and pair beautifully with a glass of cold milk. *chefs kiss*
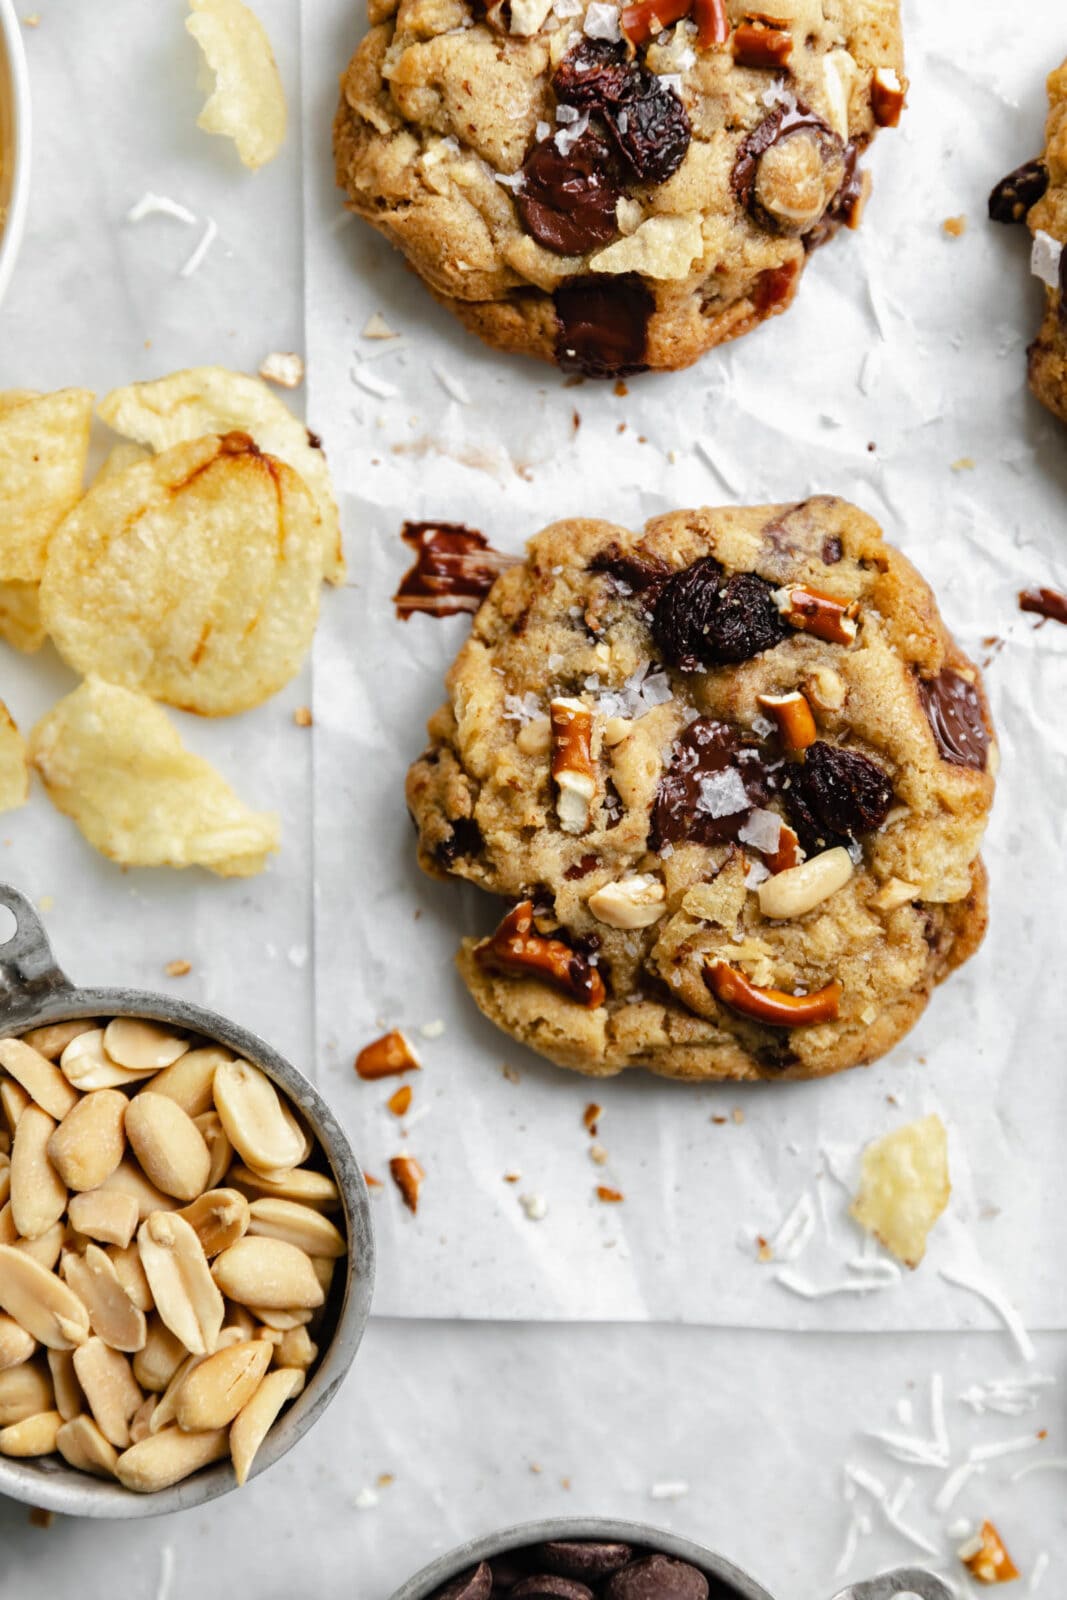
What do you need for these kitchen sink cookies?
These fun chocolate chip cookies call for all your standard chocolate chip cookie recipe ingredients plus whatever you’re feeling in your kitchen cabinet. Most of these are pantry staples, that you probably already have on hand!
- Unsalted Butter: You can also use salted, but we like being able to control exactly how much salt is going into our cookies.
- Brown Sugar + White Sugar: A combination of brown and white sugar give these cookies the perfect chewy texture.
- Eggs: You’ll need one egg and one egg yolk for the perfect soft, not too cakey, chewy cookie.
- Vanilla Extract: Make sure you splurge on the good stuff–it will really make or break your cookies. We love Rodelle.
- All Purpose Flour: Plain old all purpose flour will produce the perfect soft and chewy cookie.
- Baking Soda: Any good cookie needs a little oompf. Baking soda will give these cookies the perfect rise.
- Salt: Hot take: salt is the most important ingredient in these potato chip chocolate chip cookies. Salt is so important in baked
- goods. It will deepen the flavor and take your cookies from homemade to gourmet.
- Chocolate: We love using a chopped up chocolate bar or some high quality disks. They don’t have any additives or fillers, so they tend to puddle more and stay melty, rather than drying out in the oven!
- Stir-Ins: The beautiful thing about kitchen sink cookies is that you can customize them to whatever you have on hand. Some of our favorites include chocolate, peanuts, walnuts, coconut, oats, pretzels, chips, m & m’s, chopped up candy bars, raisins, or really whatever floats your boat!
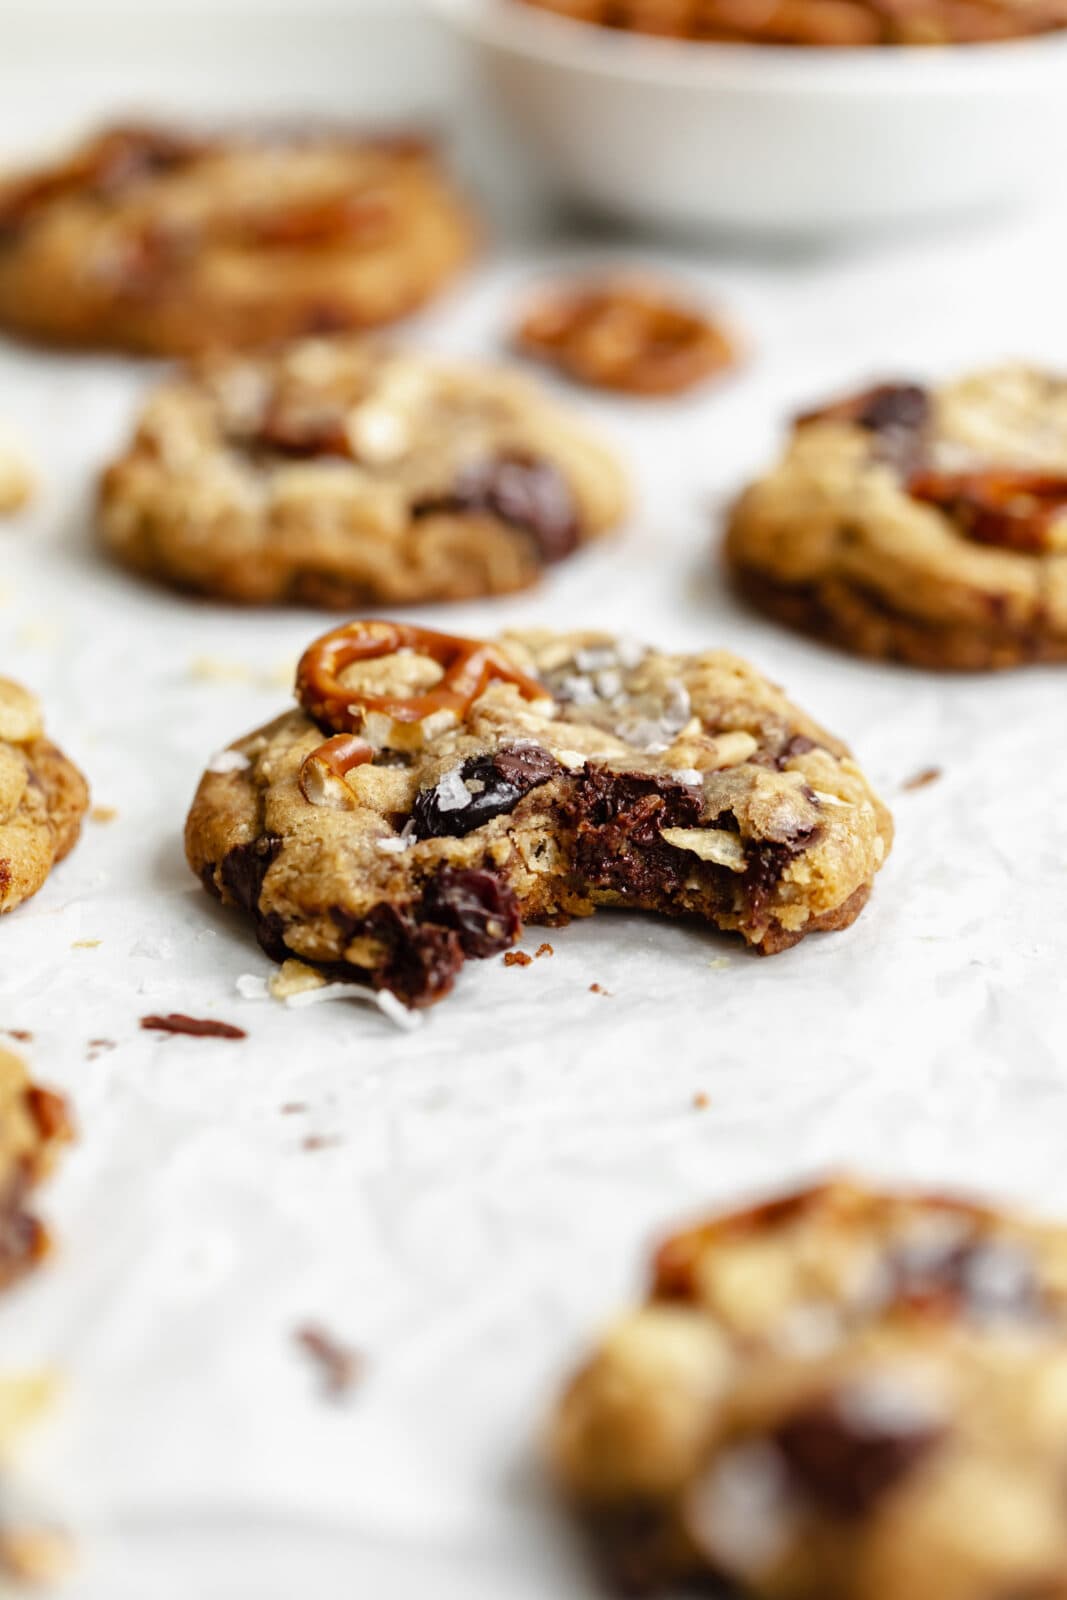
How to freeze these kitchen sink cookies
You have two options when it comes to freezing these bad boys, and luckily both are great options!
- Freeze the dough to bake at a later date: Scoop the cookie dough into balls using a 1 ounce cookie scoop while the dough is at room temperature. Place the dough balls in a freezer safe ziploc bag or airtight container and freeze for up to 3 months. When ready to bake your cookies, set the dough on the counter for an hour to thaw out before baking according to directions. The cookies might take a little bit longer to cook depending on how cold they are!
- Freeze the baked cookies: You can also freeze the baked cookies! Allow the cookies to cool completely before placing in an airtight plastic bag in an even layer. Cookies will keep for up to 3 months.
Happy kitchen sink cookie eating, my friends!
XXX
Print
- Prep Time: 15 minutes
- Cook Time: 11 minutes
- Total Time: 2 hours
- Yield: 14 cookies
- Category: dessert
- Method: oven
- Cuisine: american
Kitchen Sink Cookies
- Prep Time: 15 minutes
- Cook Time: 11 minutes
- Total Time: 2 hours
- Yield: 14 cookies
- Category: dessert
- Method: oven
- Cuisine: american
Ingredients
- 3/4 cup unsalted butter
- 1 cup brown sugar, packed
- 1/4 cup granulated sugar
- 1 egg + 1 egg yolk, room temperature
- 1 tablespoon vanilla extract
- 1 1/2 cup all purpose flour
- 3/4 teaspoon baking soda
- 1 teaspoon sea salt + more for sprinkling
- 1 cup semi sweet chocolate, chopped
- 1/2 cup raisins
- 1/2 cup potato chips, lightly crushed (we used Lay’s)
- 1/2 cup pretzels, roughly chopped
Instructions
- Brown the butter over medium heat, stirring constantly until the butter begins to foam and turns a golden brown, emitting a nutty aroma. Make sure you only brown the butter lightly. When butter browns the liquid evaporates off which can dry out your dough. As soon as the butter starts to turn brown and smell nutty, take it off the heat to prevent any more liquid from escaping. Take butter off the heat and allow to cool.
- In a large mixing bowl combine the cooled brown butter, brown sugar, and white sugar. Beat until mixed together. Add in the egg, egg yolk, and vanilla extract. Mix well.
- In separate bowl mix together the flour, salt and baking soda. Mix half the dry ingredients into the wet until everything comes together. Slowly add in the remaining flour a little bit at a time, stopping if the dough starts to get too dry.* Fold in the chocolate and other stir ins. Do not over mix.
- Use a 1 ounce cookie to scoop the cookie dough into balls. Refrigerate the cookie dough for at least a half hour, or overnight.
- When you are ready to bake the cookies, preheat the oven to 350°F and line a cookie sheet with parchment paper. Place the chilled cookie dough balls 2 inches apart on the prepared sheet. Bake for 11 minutes*, or until the edges are just golden brown and the centers have puffed up but are still gooey.
- Sprinkle with sea salt. Allow to cool before eating!
Notes
*Make sure to not over crush the chips, as they’ll break down even more as they mix into your batter!
*Browned butter can evaporate off at different levels, so sometimes you may be left with less liquid than others. For this reason, we recommend adding the flour in increments to make sure you’re not adding too much and left with a dry dough.
*Every oven is different, so make sure you keep an eye on your cookies. We recommend taking them out right when they have puffed up and just turning golden brown on the edges. The cookies should still be raw in the middle. If you leave them in past this point they will not have that gooey center you’re looking for.



These are my family’s favorite cookies! The brown butter sets them over the edge. Thank you for sharing your delicious recipes!
Delicious. Thank you!!!! I didn’t have caramels….but did use both chocolates, pretzels and added walnuts. Next time I will make the original recipe.
Could you make these using Bob’s 1:1 gluten free flour? Thanks!
Yes!