


- Recipe Index

- Desserts
- Cakes & Cupcakes
- Easy Pavlova
Easy Pavlova
This easy pavlova recipe melts in your mouth with a crisp exterior and marshmallow center. Top your pavlova with fresh fruit and whipped cream for the ultimate summer treat!
Pavlova
I just want to start by saying, if you’ve never had pavlova, I am so sorry. No, really. I won’t sugar coat it: you are truly missing out. But all of that can change today with this foolproof pavlova recipe. Pavlova is what I imagine the gods would feast on and what New York socialites serve at their dinner parties. I don’t really know that–I’ve never been to one, but I can tell you that pavlova is a classy lady. It’s what you’d call a “show stopper”, but I’ll tell you a secret: it’s actually pretty darn easy to make and it only requires 5 ingredients.
What is pavlova?
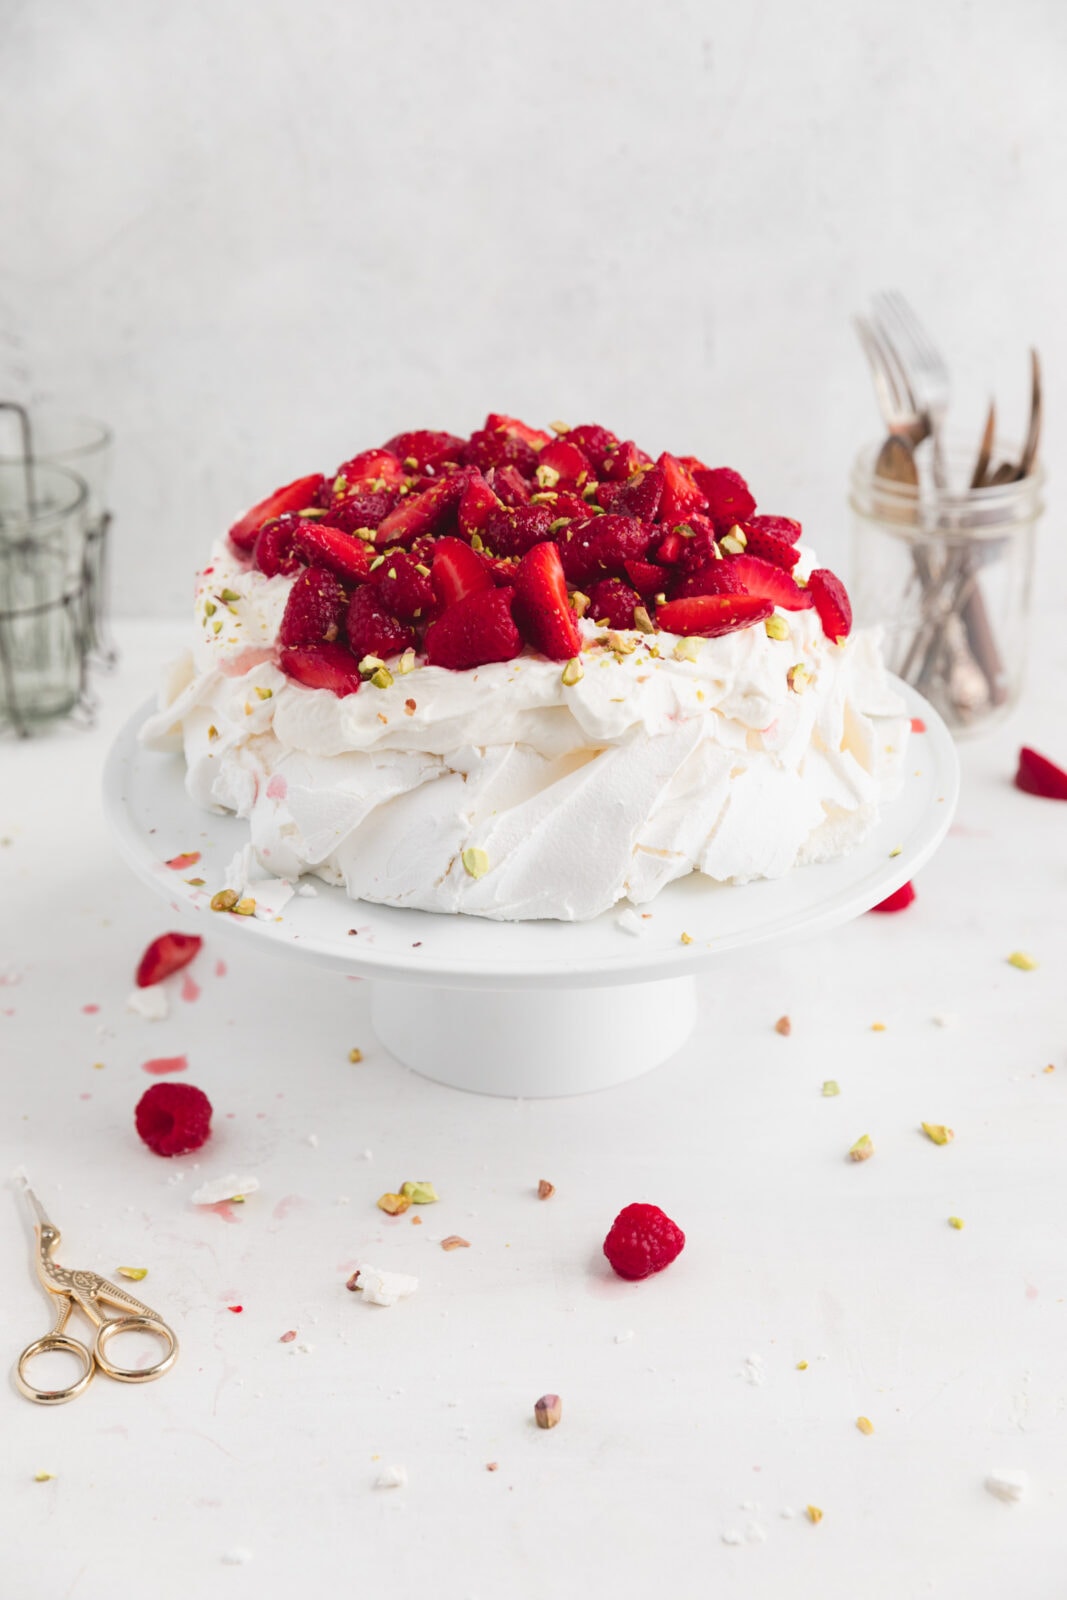
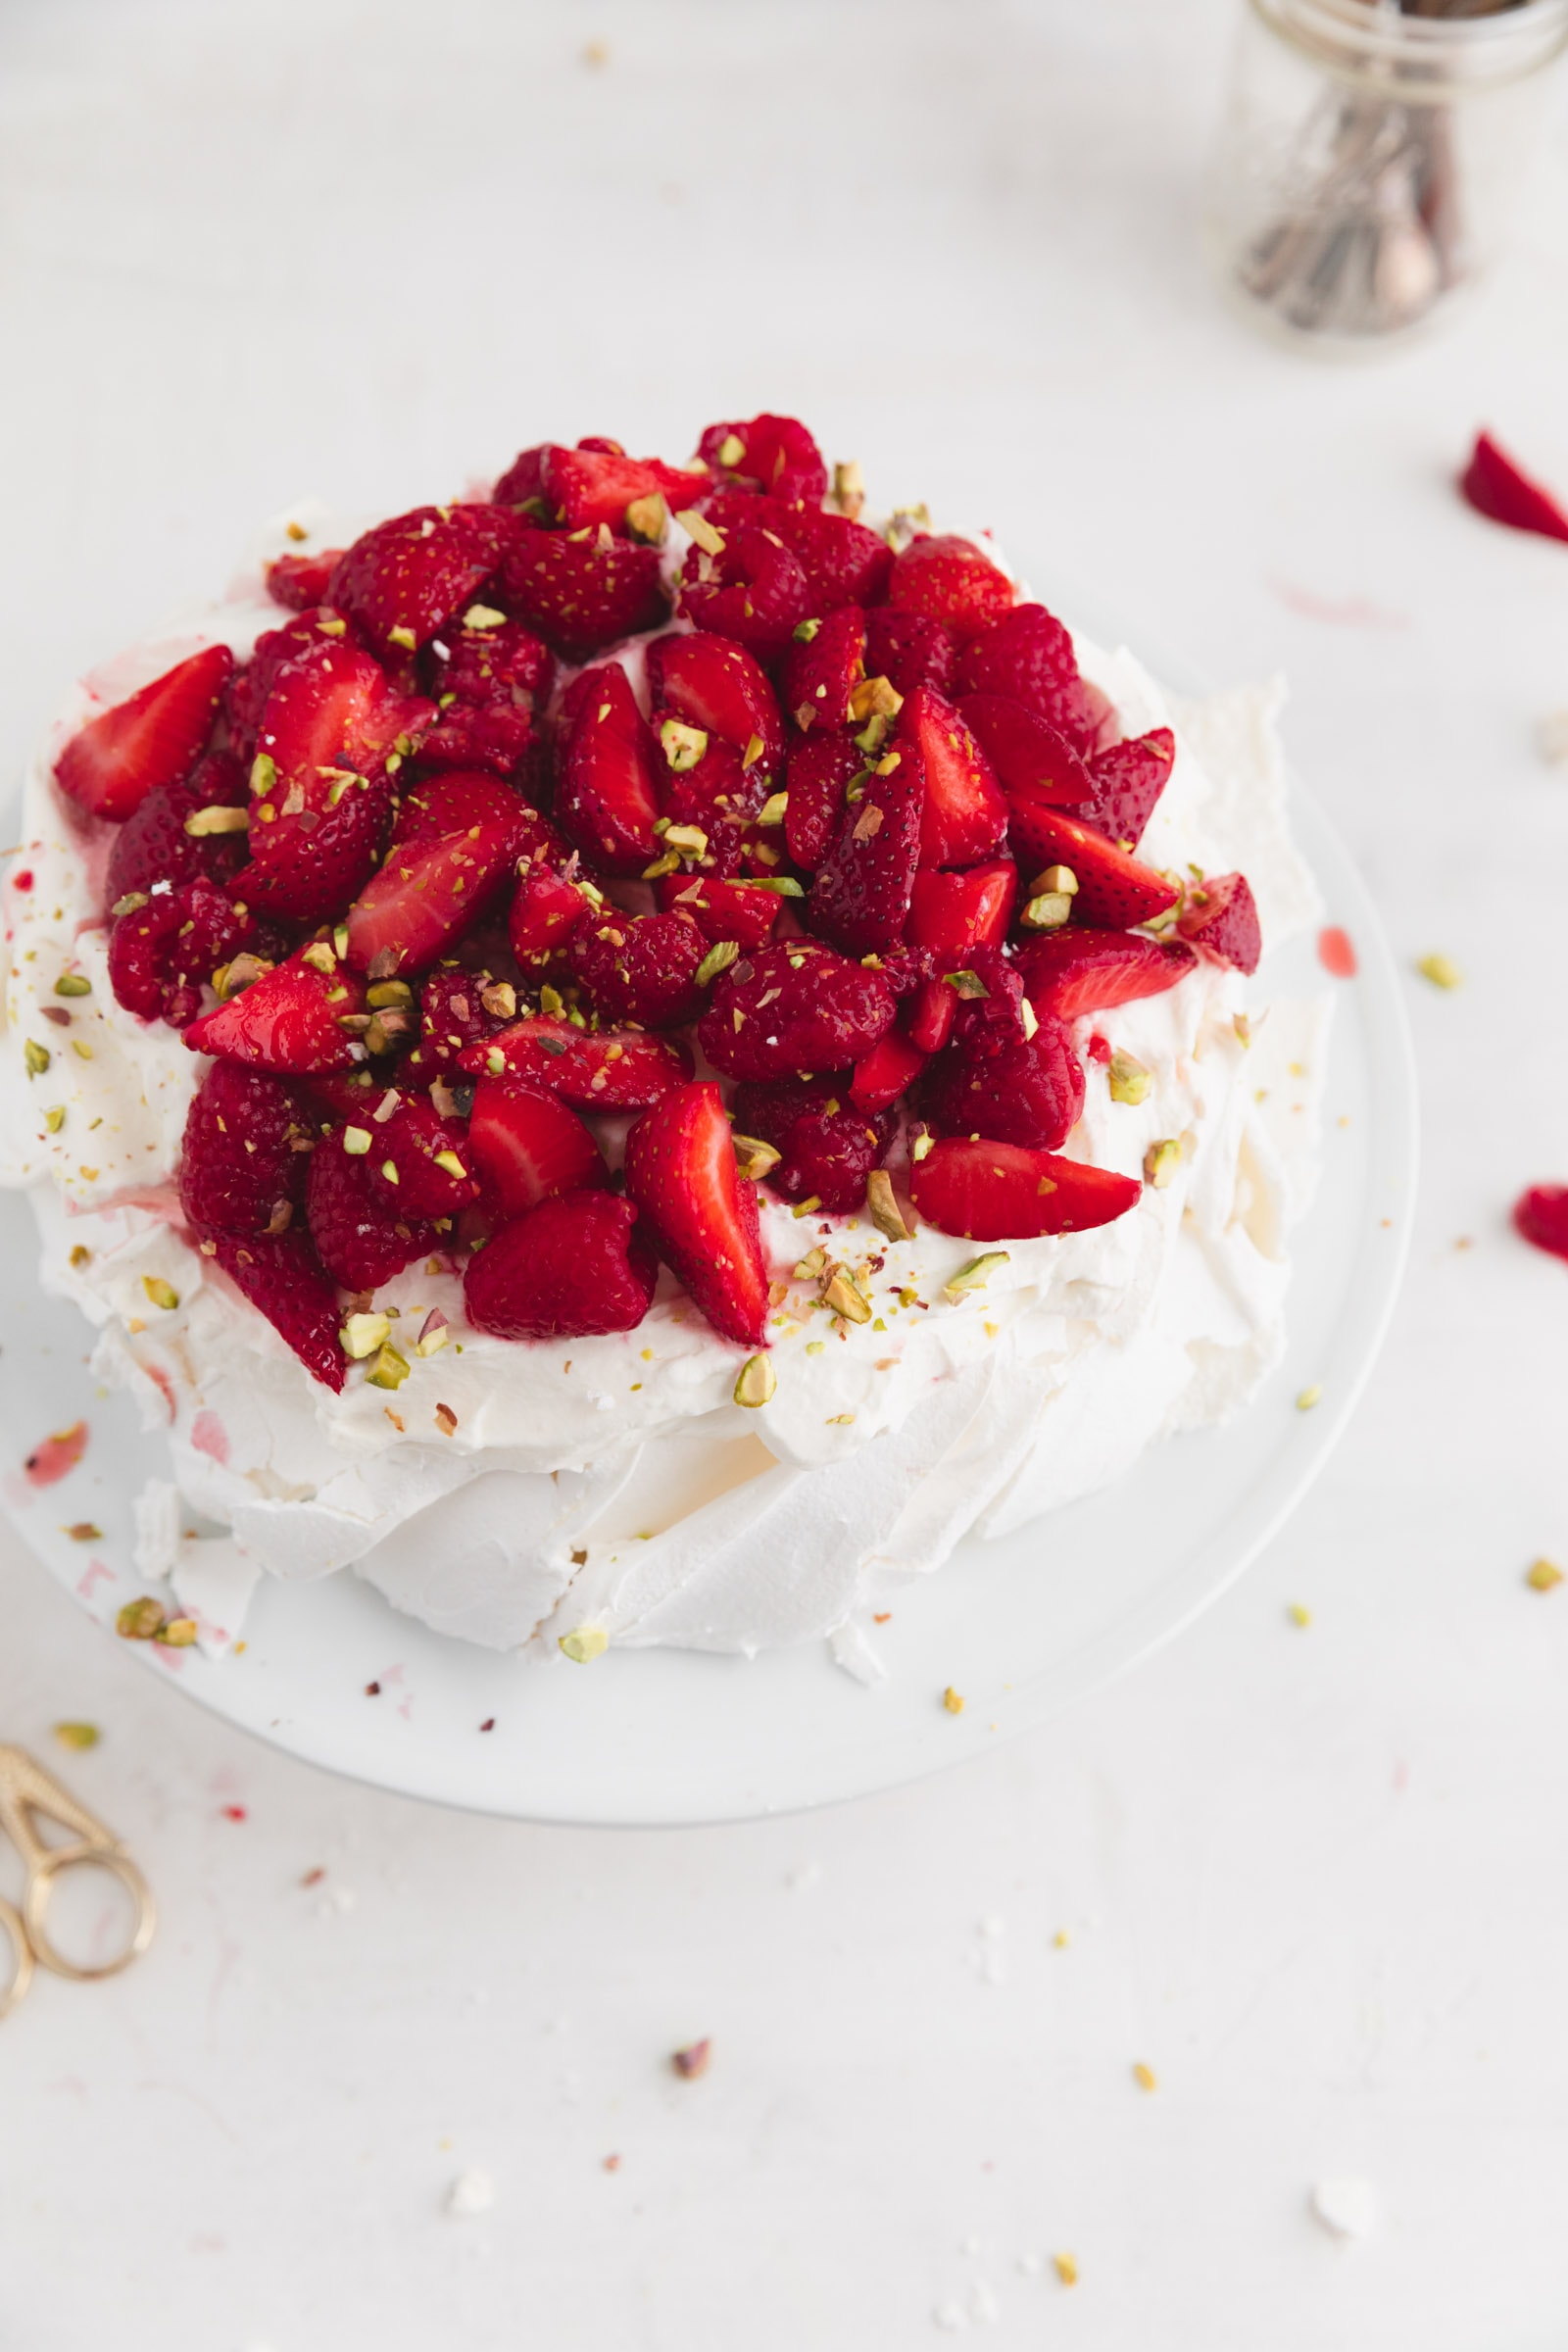
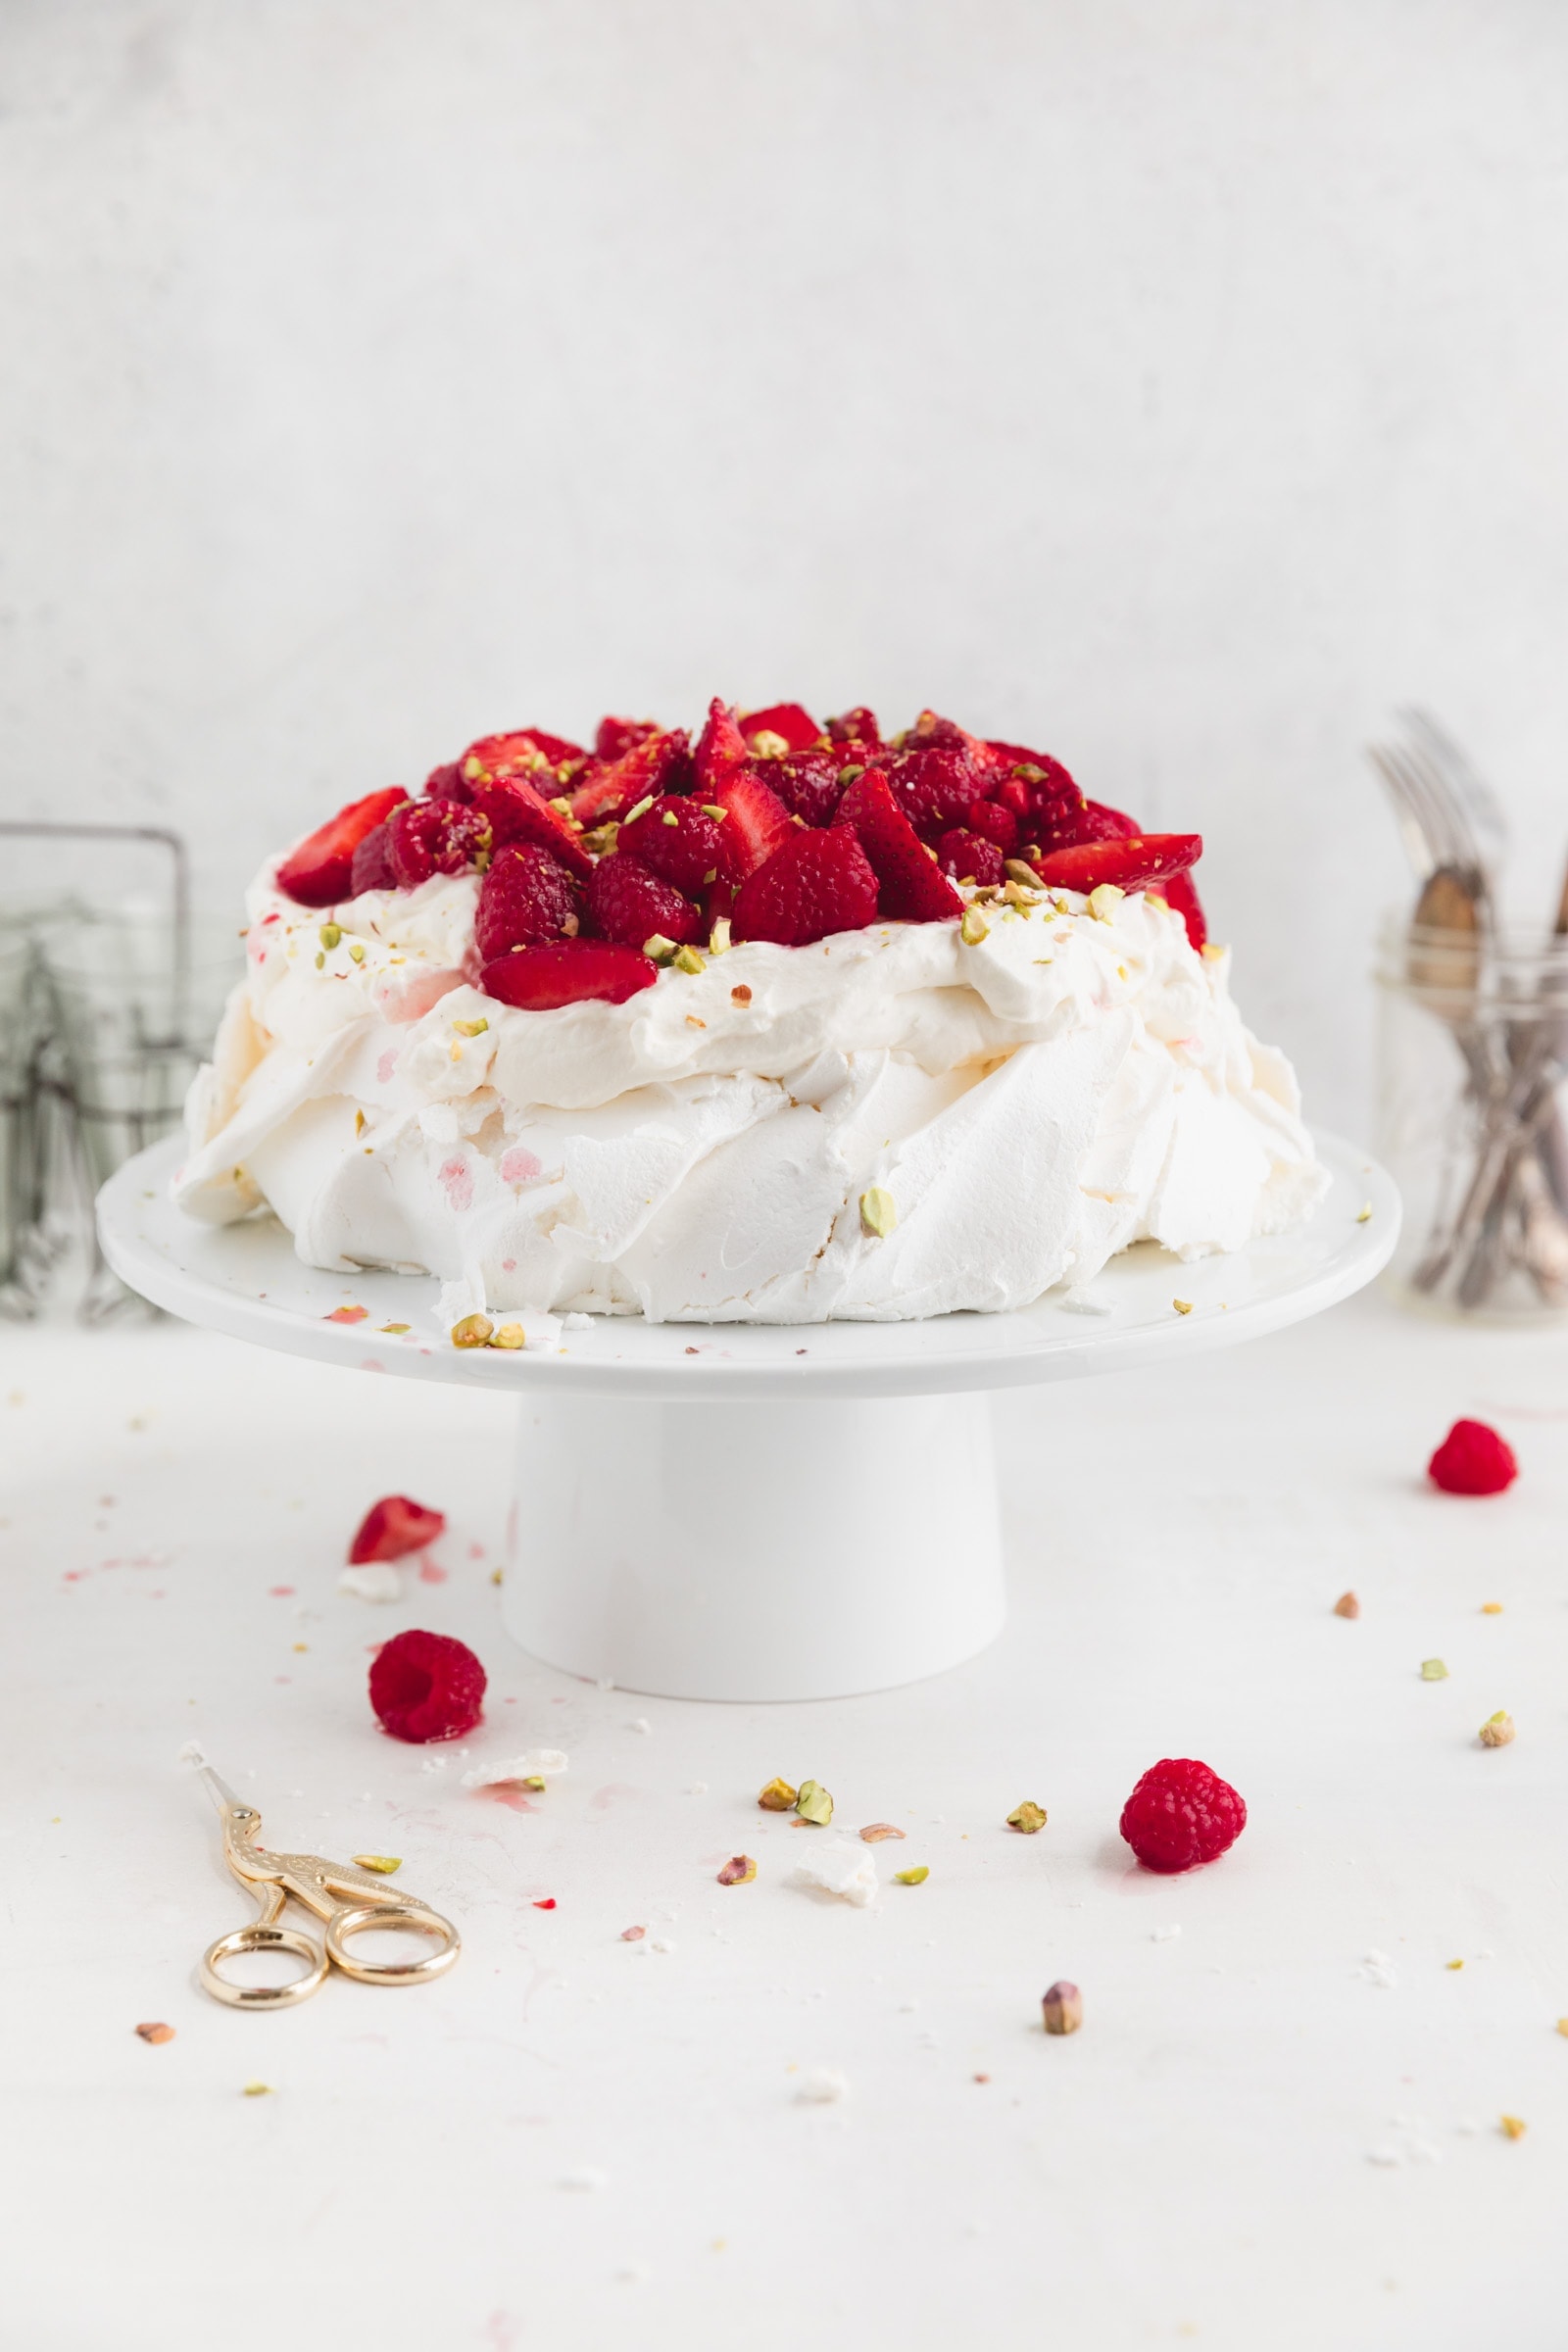
If you’ve never tried pavlova before, you might be looking at these photos and thinking, what the heck is that?! Named after the famous Russian ballerina Anna Pavlova, a pavlova is essentially a meringue cake made of whipped egg whites and sugar. It’s perfectly light and crisp on the outside, ever so slightly chewy, and the middle tastes like a light, airy marshmallow. Its an explosion of textures that melt in your mouth with each light, sugary bite. It’s divine. It’s traditionally topped with whipped cream and fruit, or sometimes a lemon curd or jam if you’re feeling extra fancy. Pavlova is very popular in Australia and New Zealand, and they’re slowly creeping into American culture.
Plus they’re naturally gluten free (score) and the perfect light and breezy summer dessert to finish off a dinner party on a sweet note. But even though they’re traditionally a warmer-weather dish, I say let’s eat ’em all year round. I mean just look at this baby…why limit yourself to it for only 3 months of the year?
Ingredients for pavlova
Pavlova is not an especially hard dessert to make, but it does require patience and attention. You only need 5 ingredients, all of which you probably already have in your fridge or cupboard
- Egg whites: Like any meringue, stiffly beaten egg whites will form the light and airy structure of your pavlova.
- Granulated sugar: Sugar will most importantly sweeten, but also aerate the egg whites and create a beautiful crisp exterior. That being said, the last thing you want is a gritty pavlova, so make sure you beat the batter long enough to get rid of any granules.
- Vinegar or lemon juice: The acidity helps the egg whites to keep their structure and prevents any collapsing. We’ve tried this recipe with apple cider vinegar, white vinegar, and lemon and all will do the trick!
- Cornstarch: Cornstarch will help to soak up any extra liquid from the vinegar and provide a little boost of structure to the egg whites so you get that good marshmallowy center!
- Vanilla extract: Any good dessert needs a high quality vanilla extract to set it over the edge.
The whipped cream and fruit toppings are a must in my opinion, but it’s really up to you what you top the pavlova with.
Pavlova toppings
You can top pavlovas with a variety of different toppings. I LOVE a customizable dessert that you can throw together with whatever you on hand or whatever’s in season. Some of my favorites are:
- Whipped Cream
- Lemon Curd
- Homemade Jam
- Chopped Nuts
- Coconut
- Berries + Other Fruits
- Chocolate
Tips for the best pavlova
Admittedly, making a pavlova cake sounds like a daunting task. Just the thought of making a homemade meringue would’ve terrified me a few years ago. But as long as you keep these few tips in mind, your pavlova will turn out beautifully!
Pulse the sugar: Gritty pavlovas detract from the dreamy, marshmallowy texture, so we always give our sugar a few quick pulses in the food processor or blender to create finer granules. If you aren’t able to do this–don’t worry! You’ll probably need to beat the mixture a little longer to get any granules out, but it will still taste delicious!
Beat the eggs before adding the sugar—Meringue uses no leavening agents other than whipped egg whites, so you need to whip the eggs whites really well before incorporating the other ingredients. Whip the whites until soft peaks form, then slowly add in the sugar. You should continue to whip the egg whites until hard peaks form and no granules of sugar remain.
Be Patient: Pavlova is not a rushed dessert. It’s easy to throw together without much foresight because the ingredients are such pantry staples, but it does require some time to whisk the batter into the fluffiest, glossiest, sugar granule free meringue, and then to bake it off slowly at a low heat. It’s minimal effort, but a lot of waiting around.
Bake the meringue at a low heat for a a long time: To avoid cracking the meringue, you need to bake it for about an hour at a low temperature, then turn off the oven and let the meringue sit in the warm oven for another hour. This will dry out the meringue fully and help it cool off without breaking.
Let the pavlova cool COMPLETELY before assembling—Sorry, guys. You have to wait until the meringue is completely cooled before assembling your pavlova cake. Warm meringue won’t be firm enough to layer and can cause the whipped cream to melt right off.
How to shape pavlova
I recommend baking your cake on a cookie sheet lined with parchment paper or a silpat. You shouldn’t make meringues on a greased surface as the egg whites need a little something to grip to and hold their structure. I recommend tracing the size and shape you want the pavlova to be. You can trace an 8 inch cake pan for a big pavlova or you can always make about 6 to 8 mini pavlovas if desired. Tracing the shape will give you some guidelines to stick to in terms of size, but feel free to have fun with it. Once you’ve shaped the batter into a round, make sure you make a divot in the center (sort of like a very shallow volcano), so you have a little shallow hole to pile with toppings.
How will you know when the pavlova is done?
I’ve always found meringues tricky for this reason. With most dessert you stick a knife in the middle or give it a gently poke, but pavlovas are very delicate. and you should absolutely keep your knifes away 🙂 It’s a tricky balance between that sweet spot with a gooey marshmallow center and crisp edge. You never want a pavlova to brown or get dark in color (if yours is, your oven is probably too hot), which is why you’ll cook it at a low temperature for a long time and then let it cool in the oven for another hour to make sure it’s just set enough. Allowing it to cool in the oven will also prevent any cracking (Hopefully!) by limiting any temperature changes
Why does pavlova crack?
Cracking is inevitable with a meringue this big, so try not to sweat it. Air bubbles, abrupt temperature changes, and oven intricacies can all lead to cracking unfortunately. BUT here are a few things that we’ve found helpful to prevent cracking:
- Make sure the sugar is completely dissolved in the pavlova before baking: Granules of sugar not only make a gritty pavlova, but can also cause air bubbles to form which leads to cracks.
- Know your oven: If there’s one thing I wish was more common knowledge, it’s that ovens are extremely temperamental and vary A LOT. If you know your oven tends to run hot or cold, adjust the temperature accordingly. If the temperature is too high it can cause the pavlova to expand and crack.
- If your oven has a fan in it to disperse the heat bake the pavlova at 180°F instead of 200°. If possible, turn off the fan to prevent any uneven heating or disturbance.
- Try not to open the oven while the pavlova is cooking. I know it’s a LONG time to not take a peak, but changes in temperature cause cracks, so it’s best to leave it be.
That’s being said, don’t cry over cracked pavlova. It will be every bit as scrumptious and just as beautiful with a few cracks!
Happy baking, my friends!
XX
PrintPavlova Recipe

- Prep Time 15 minutes
- Cook Time 2 hours
- Total Time 4 hours
- Yield 10 servings
- Category dessert
- Method oven
- Cuisine american
- Diet Gluten Free
Pavlova Recipe
This easy pavlova recipe melts in your mouth with a crisp exterior, marshmallowy center and the perfect amount of chew. Top your pavlova with fresh fruit and whipped cream for the ultimate summer treat!
- Prep Time 15 minutes
- Cook Time 2 hours
- Total Time 4 hours
- Yield 10 servings
- Category dessert
- Method oven
- Cuisine american
- Diet Gluten Free
Ingredients
for the pavlova
- 1 teaspoon vinegar*
- 1 1/2 teaspoons corn starch
- 6 large egg whites, at room temperature
- 1 1/2 cups granulated sugar
- 2 teaspoons vanilla extract
- 1/4 teaspoon salt
for the topping
- 1 1/2 cups heavy whipping cream
- 1/4 cup confectioner’s sugar
- 1 cup fresh fruit, sliced
- 1/4 cup chopped nuts
Instructions
- Preheat oven to 200°F and adjust the rack to the lower part of the oven.
- Using a pencil, draw an outline of an 8-inch cake pan on parchment paper. Flip the paper over and place on a cookie tray. Set aside.
- In a small bowl, combine the vinegar and cornstarch, whisking to combine. Set aside.
- In a stand mixer fit with the whisk attachment, beat the egg whites on low speed until their foamy and little bubbles form. Continue whisking, gradually bringing the speed up to medium, beating until the egg whites forms soft peaks. In small additions (I mean this–do not just dump the sugar in in a few editions!), begin to gradually beat in the granulated sugar until stiff peaks form and the sugar is almost completely dissolved.*
- Add the cornstarch and vinegar mixture, and the vanilla extract and salt. Beat on high speed for 4-5 minutes until the meringue is stiff, glossy, and has no granules of sugar remaining.
- Spoon the meringue onto the parchment paper and, using a cake scraper, form the meringue into a tall cylindrical disk within the 8 inch circle you previously outlined with the cake pan. Using the cake scraper, create a slight divot in the center of the meringue, like a volcano’s center. Last, use the scraper or a large spoon to shape the sides into desired design.
- Bake in the oven for 1 hour and 30 minutes, then turn off heat, crack the door of the oven so it stays ajar, and allow meringue to sit for an additional hour in the oven. It is in this hour that the meringue will dry out completely. Then, remove from oven and allow to cool completely on a wire rack.
- While the meringue is cooling, whip up the topping! In a stand mixer with a whisk attachment, whip the heavy cream and sugar until soft peaks form. Spread over the meringue, then top with fresh fruit and nuts if desired.
Notes
- Apple cider, white vinegar, or lemon juice will work!
- You can tell if the sugar has dissolved just by looking at it, or by taking a small amount of meringue between your fingers and rubbing them together to feel
- Prep Time 15 minutes
- Cook Time 2 hours
- Total Time 4 hours
- Yield 10 servings
- Category dessert
- Method oven
- Cuisine american
- Diet Gluten Free
It seems so daunting a task but Immlooking forward to the challenge! With that being said would it be possible to use a springform pan to bake this? Also, could cocoa powder be mixed into the merengue making a chocolate merengue pavlova? I’m imagining it with strawberries on top!
Thanks to the cartoon “Bluey” for piquing my interest! Thank you for the recipe post!
Hi Jeanine! I’ve never tried this in a spring form pan–I’d be worried the air wouldn’t circulate properly around it! You could make a chocolate meringue or you could also do a chocolate whipped crema and strawberries–the flavor will come out better I think!
This is the easiest and most perfect meringue recipe and my pavlova came out absolutely perfect for the first time.
Thanks for sharing it
It all sounds intimidating but follow the carefully detailed instructions of this recipe and you will have a spectacular dessert. I make my own cherry or strawberry compote. . This recipe is a winner . Truly a five star presentation.