- Recipe Index

- Desserts

- Cookies

- Red Velvet Cheesecake Cookies
Red Velvet Cheesecake Cookies
This website uses affiliate links which may earn commission for purchases made at no additional cost to you.
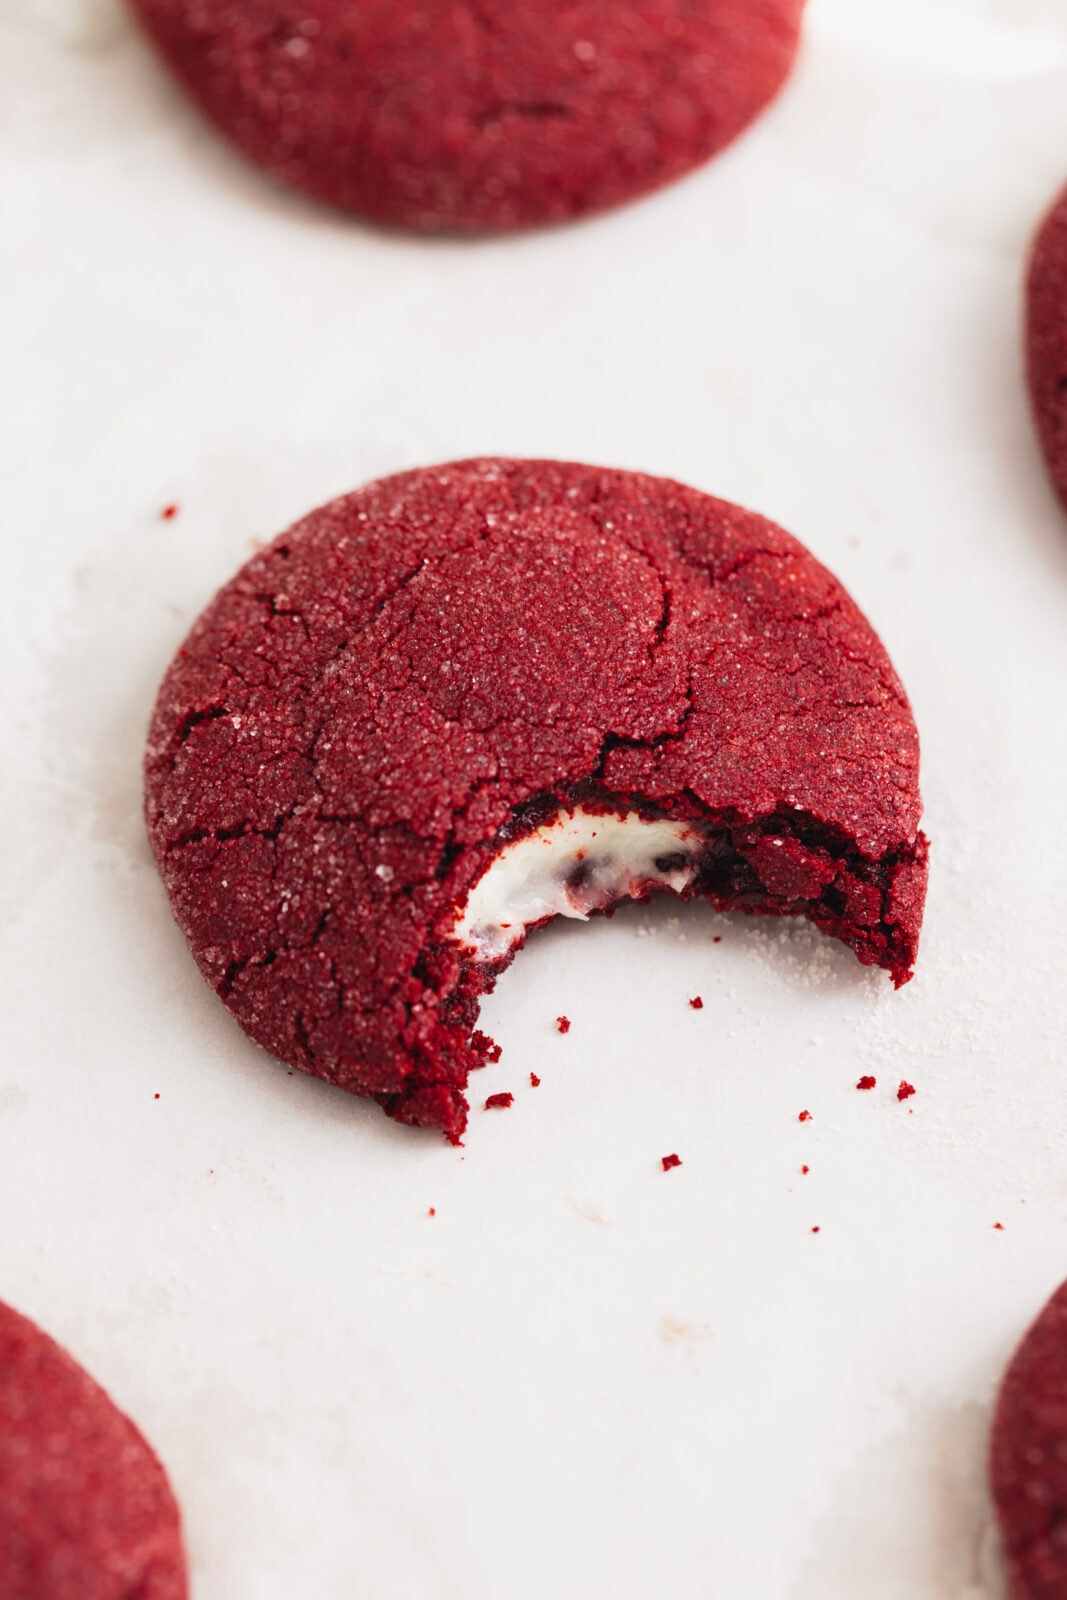
Cheesecake stuffed red velvet cookies. Need I say more? These soft and chewy red velvet cookies have a dreamy cheesecake center, so you get the best of both worlds in every bite.
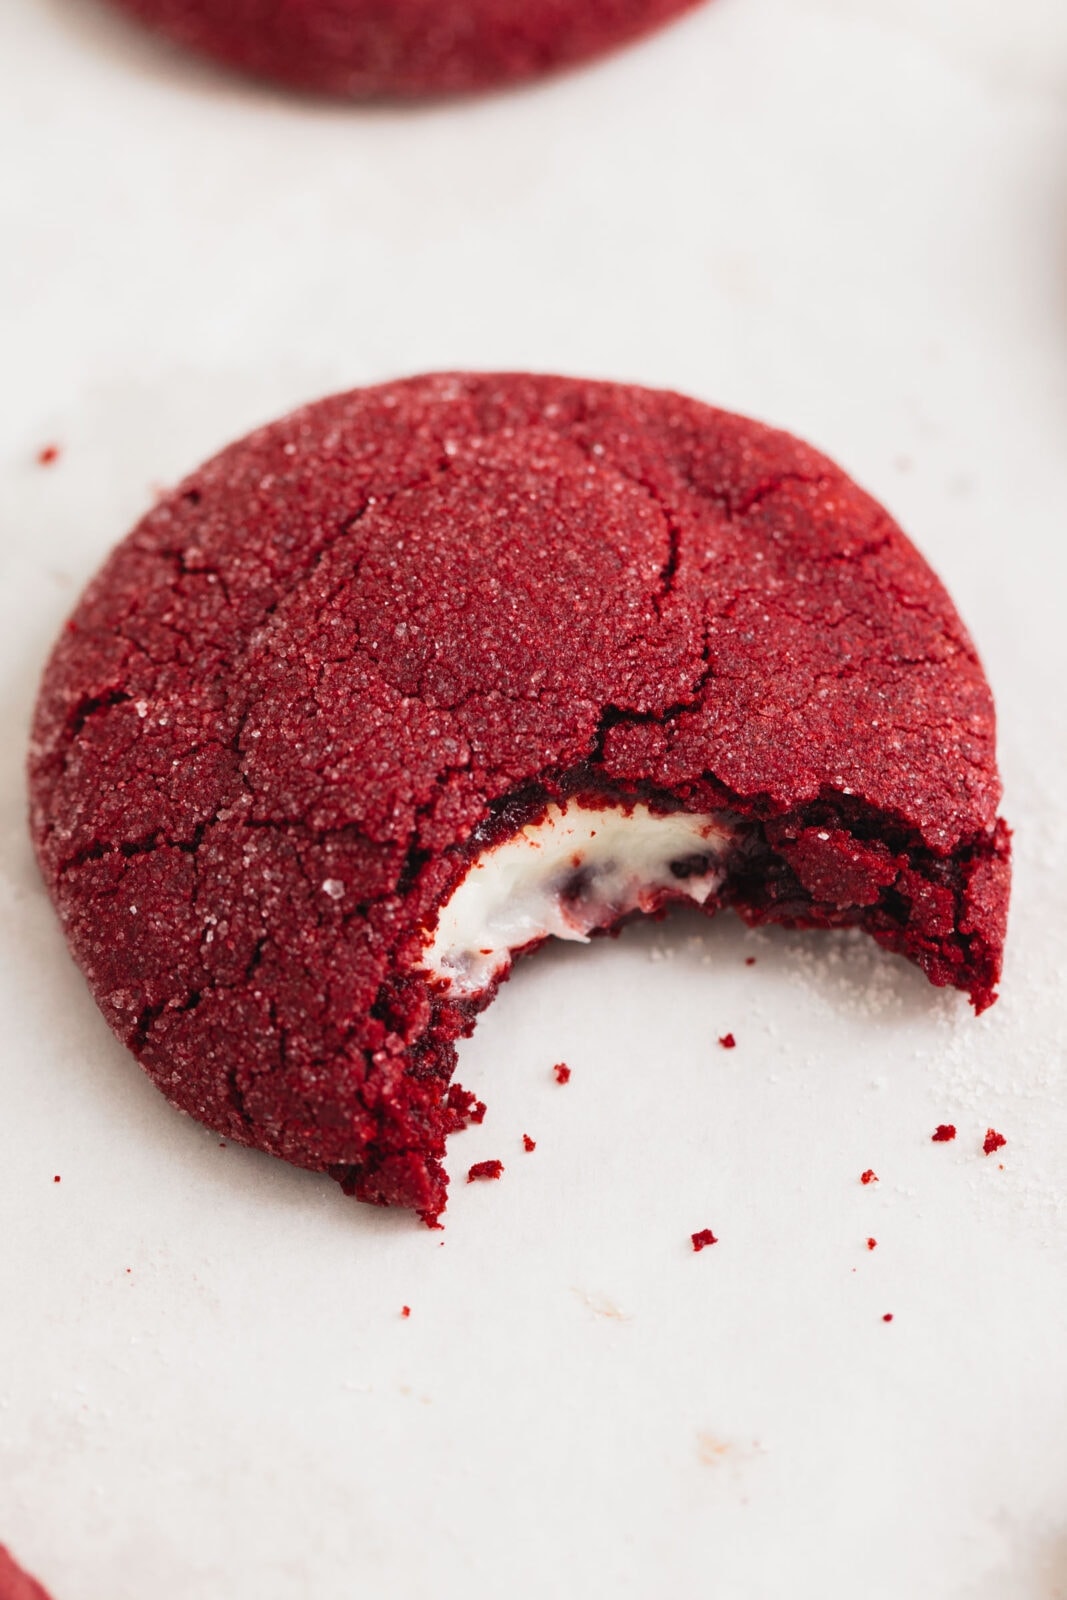
Cheesecake Stuffed Red Velvet Cookies
We love a good surprise around here. And is there anything more joyous than sinking your teeth into a scrumptious cookie only to find a creamy cheesecake center? The best kind of surprise, in my opinion. These festive cookies are made with a soft and chewy red velevt cookie and a dreamy cheesecake center. The result is a beautifully balanced cookie that is perfect for Valentine’s day, Christmas, or really any occasion.
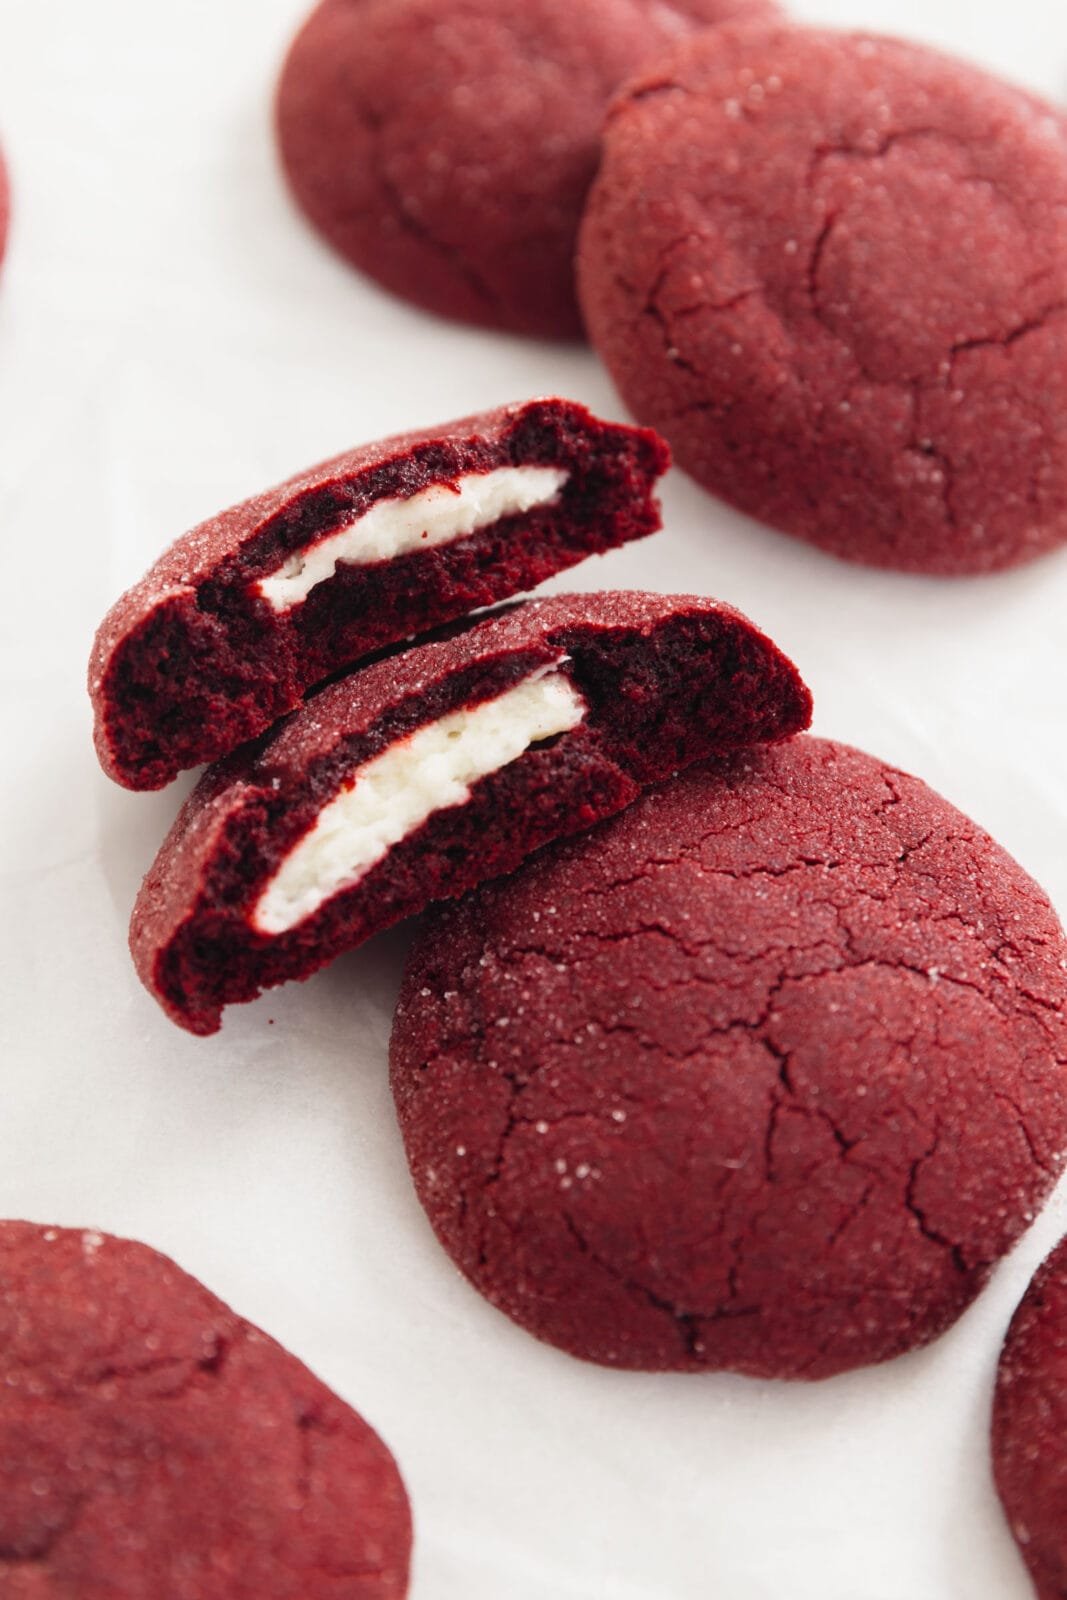
What are cheesecake stuffed red velvet cookies?
THESE COOKIES. They are the perfect combo of chocolate, vanilla, and tangy cream cheese! You’ll make a soft and chewy red velvet cookie with just a hint of cocoa and an almost brownie like texture and a luscious, lightly sweet cheesecake batter. Put those two together and you’re in for a great cookie.
Plus these are PERFECT for Valentine’s day (or any other red forward holiday or event you might have coming up!).
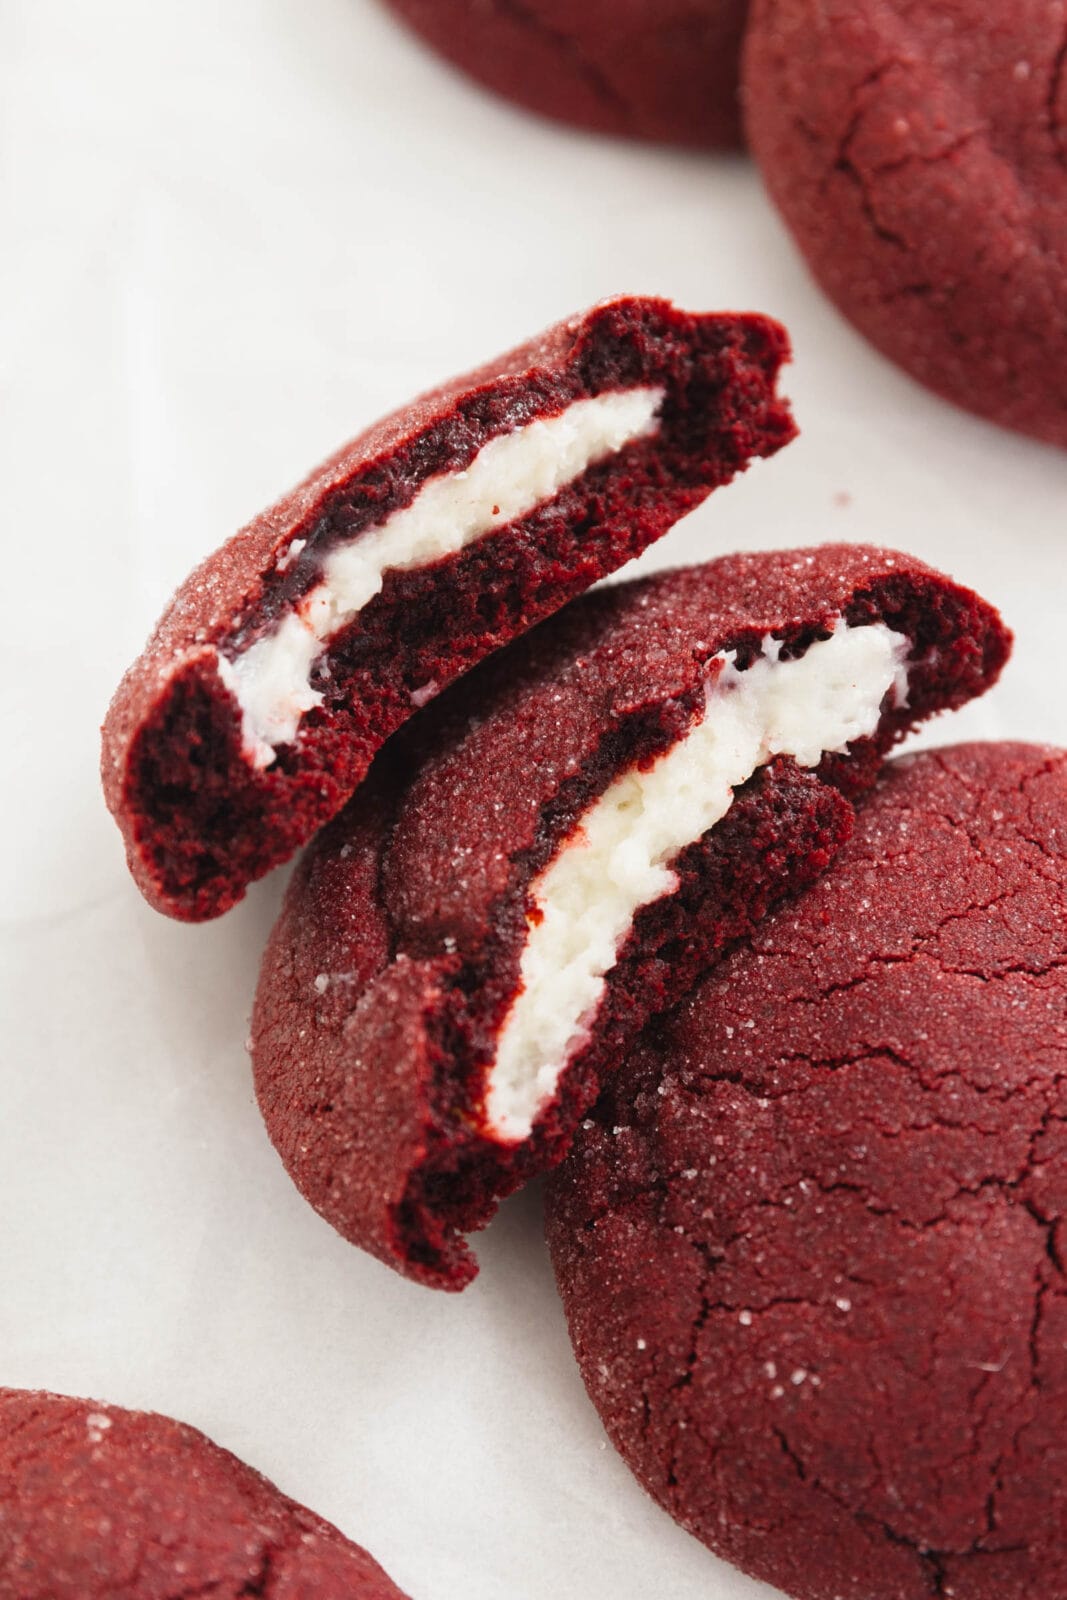
Ingredients for red velvet cheesecake cookies
You’ll need to put together two different better to make these delicious cookies: red velvet cookie dough and cheesecake batter. Most of the ingredients you’ll need are baking staples, but be sure to go through this list before you get started to make sure you have everything that you’ll need!
- Cream Cheese
- Unsalted Butter
- Eggs
- Powdered Sugar
- Granulated Sugar
- Light Brown Sugar
- Dutch Processed Cocoa Powder
- All-Purpose Flour
- Baking Soda
- Baking Powder
- Salt
- Vanilla Extract
- Red Food Coloring
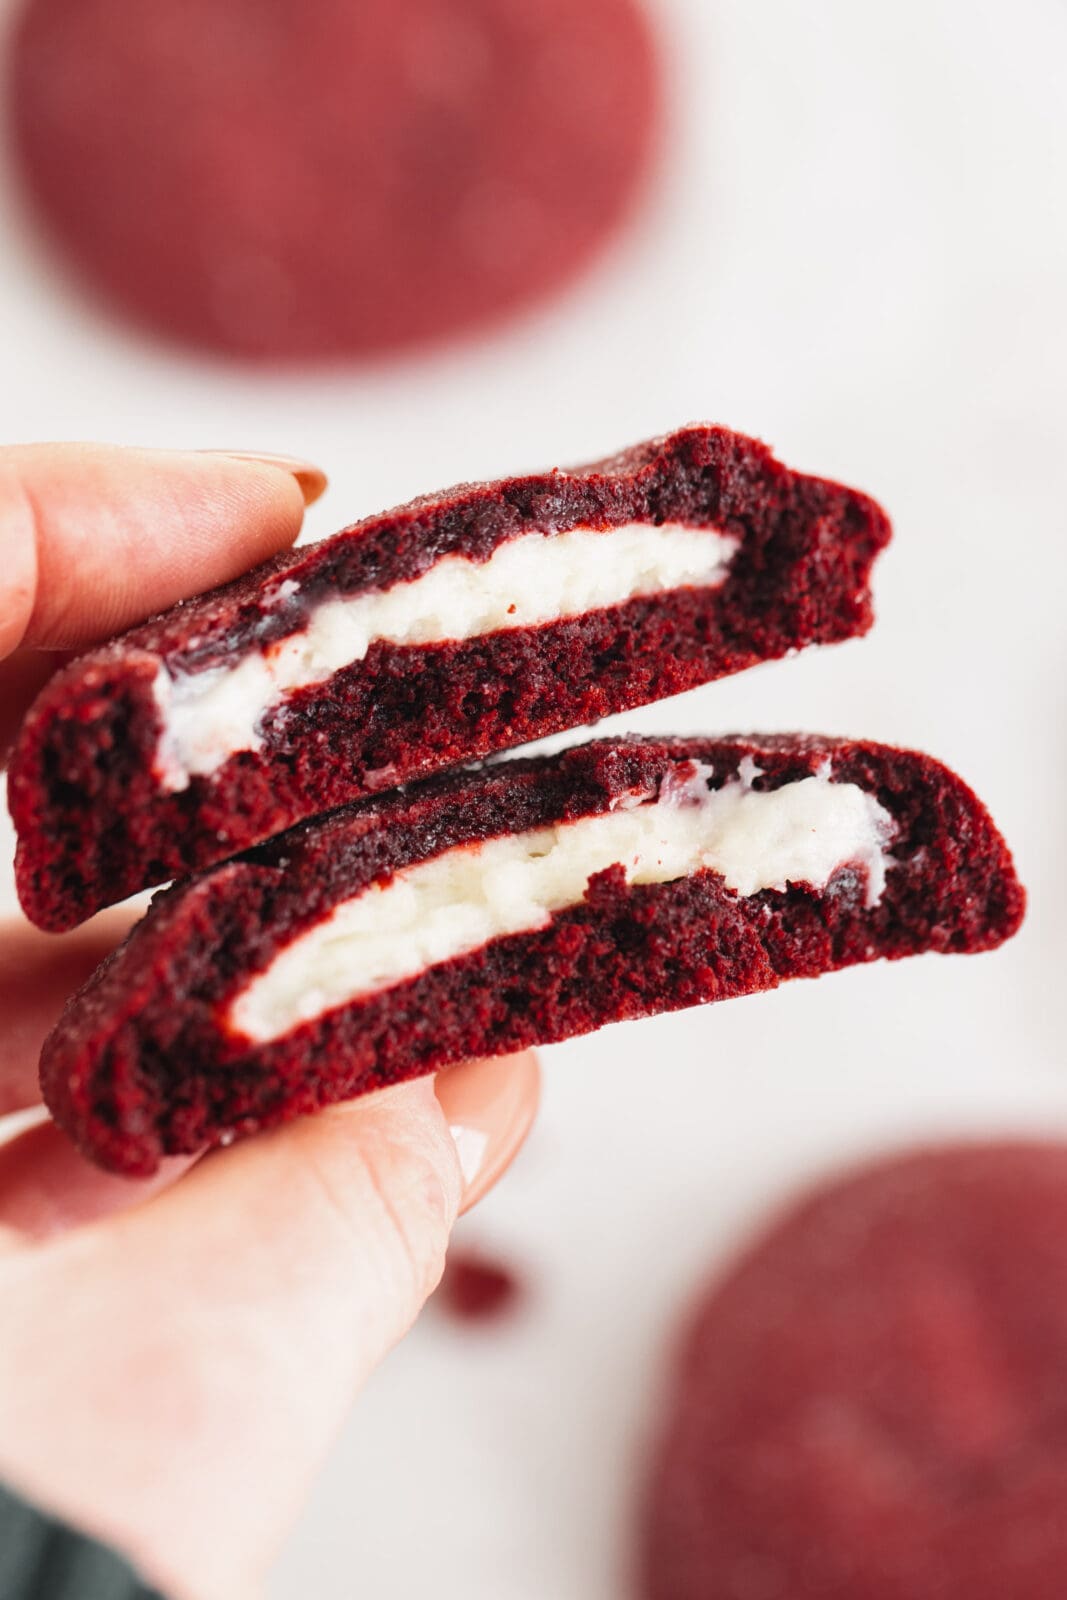
Our tips for getting that perfect cheesecake center
We love a cookie with a surprise center, but making them is a little extra work and can’t get messy if you don’t give the cheesecake centers enough time to set. Here are our top tips for making these cookies:
- Make sure the cream cheese is at room temperature: This rule goes for all baking concerning cream cheese. If your cream cheese isn’t at true room temperature it will stay lumpy and won’t mix up into a dreamy cheesecake batter!
- Use a piping bag or cookie scoop to keep things even: I like to use a piping bag to pipe the cheesecake discs for the center of these cookies. If you don’t have a piping bag you could also use a plastic bag or your smallest cookie scoop!
- Freeze the cheesecake center: This will make handling your cheesecake center a breeze! Make sure to let the center freeze until they’re set enough to handle or assembling your cookies will be a mess!
Happy baking, sweet friends!
XXX
Print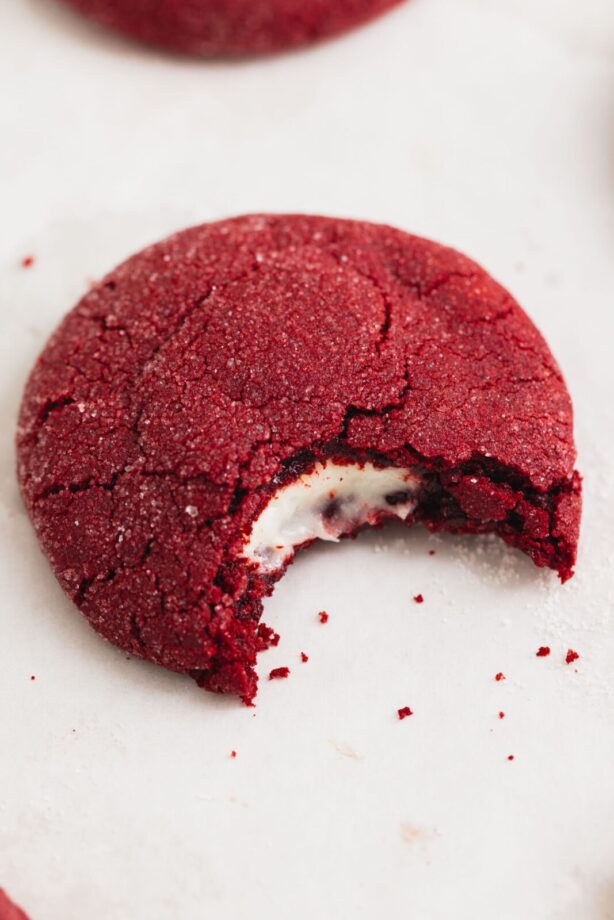
- Prep Time: 1 hour
- Cook Time: 15 minutes
- Total Time: 3 hours
- Yield: 16 cookies
- Category: dessert
- Method: oven
- Cuisine: american
Red Velvet Cheesecake Cookies
Cheesecake stuffed red velvet cookies. Need I say more? These soft and chewy red velvet cookies have a dreamy cheesecake center, so you get the best of both worlds in every bite.
- Prep Time: 1 hour
- Cook Time: 15 minutes
- Total Time: 3 hours
- Yield: 16 cookies
- Category: dessert
- Method: oven
- Cuisine: american
Ingredients
For the cheesecake center
- 6 ounces cream cheese, at room temperature
- 1/2 cup powdered sugar
- 2 tablespoons flour
- 1/2 teaspoon vanilla extract
For the cookies
- 1/2 cup unsalted butter, at room temperature
- 1/2 cup light brown sugar
- 1/2 cup granulated sugar
- 1 large egg + 1 large egg yolk, at room temperature
- 2 teaspoons vanilla extract
- 1 teaspoon red gel food coloring
- 1/3 cup Dutch processed cocoa powder
- 1 3/4 cup all-purpose flour
- 1 teaspoon baking powder
- 1/4 teaspoon baking soda
- 1/2 teaspoon salt
- 1/2 cup granulated sugar, optional for rolling
Instructions
- First, make the cheesecake filling. In a medium mixing bowl combine the softened cream cheese, powdered sugar, flour, vanilla and salt. Use a hand mixer (or do it in a stand mixer!) to mix together and smooth and creamy, about 1 minute. Transfer the mixture to a piping bag and snip off the tip. Pipe about 2 teaspoons worth of batter into round discs on a cookie sheet lined with parchment paper and place in the freezer to set, at least 1 hour.
- Once the cheesecake centers are set, make the cookies. Preheat the oven to 350°F and line a baking sheet with parchment paper. Set aside.
- In a stand mixer fit with the paddle attachment, combine the butter, brown sugar and granulated sugar. Mix on medium speed until light and fluffy. Use a rubber spatula to scrape down the sides of the bowl and add the egg, egg yolk and vanilla extract. Mix well. Add the red food coloring and mix to combine.
- Add the cocoa powder, flour, baking powder, baking soda and salt. Mix until just combined and no streaks of flour remain.
- Use a 1.5 ounce cookie scoop (or tablespoon) to scoop a cookie dough ball. Flatten the ball slightly between your palms into a thick pancake. Take one of the frozen cheesecake centers and place on the flatted dough. Fold the edges of the dough up and over the center, pinching together to form a sealed ball of cookie dough around the cheesecake.
- Place the 1/2 cup of granulated sugar in a small bowl if coating your cookies in sugar! Roll the cookie dough balls in the granulated sugar and place on the prepared cookie sheet 2 inches apart. Bake until the cookies have puffed up and crinkled and are set on the edges, but still gooey in the middle, 14 to 16 minutes.
- Allow to cool slightly before transferring to a cooling rack to cool completely before devouring!



I just made these and they were delicious! Just wondering if I need to refrigerate the cookies after they are baked?
hi Lori! I usually refrigerate them because of the cream cheese! They’ll also stay fresher longer in the fridge 🙂
What kind of gel food coloring do you use? Is there a natural one?
Hi Shauna! We use wilton’s professional line! You could try a natural one but it will probably not be as pigmented!
They turned out just like the picture and taste even better!