- Recipe Index
- Savory
- Dinner Ideas
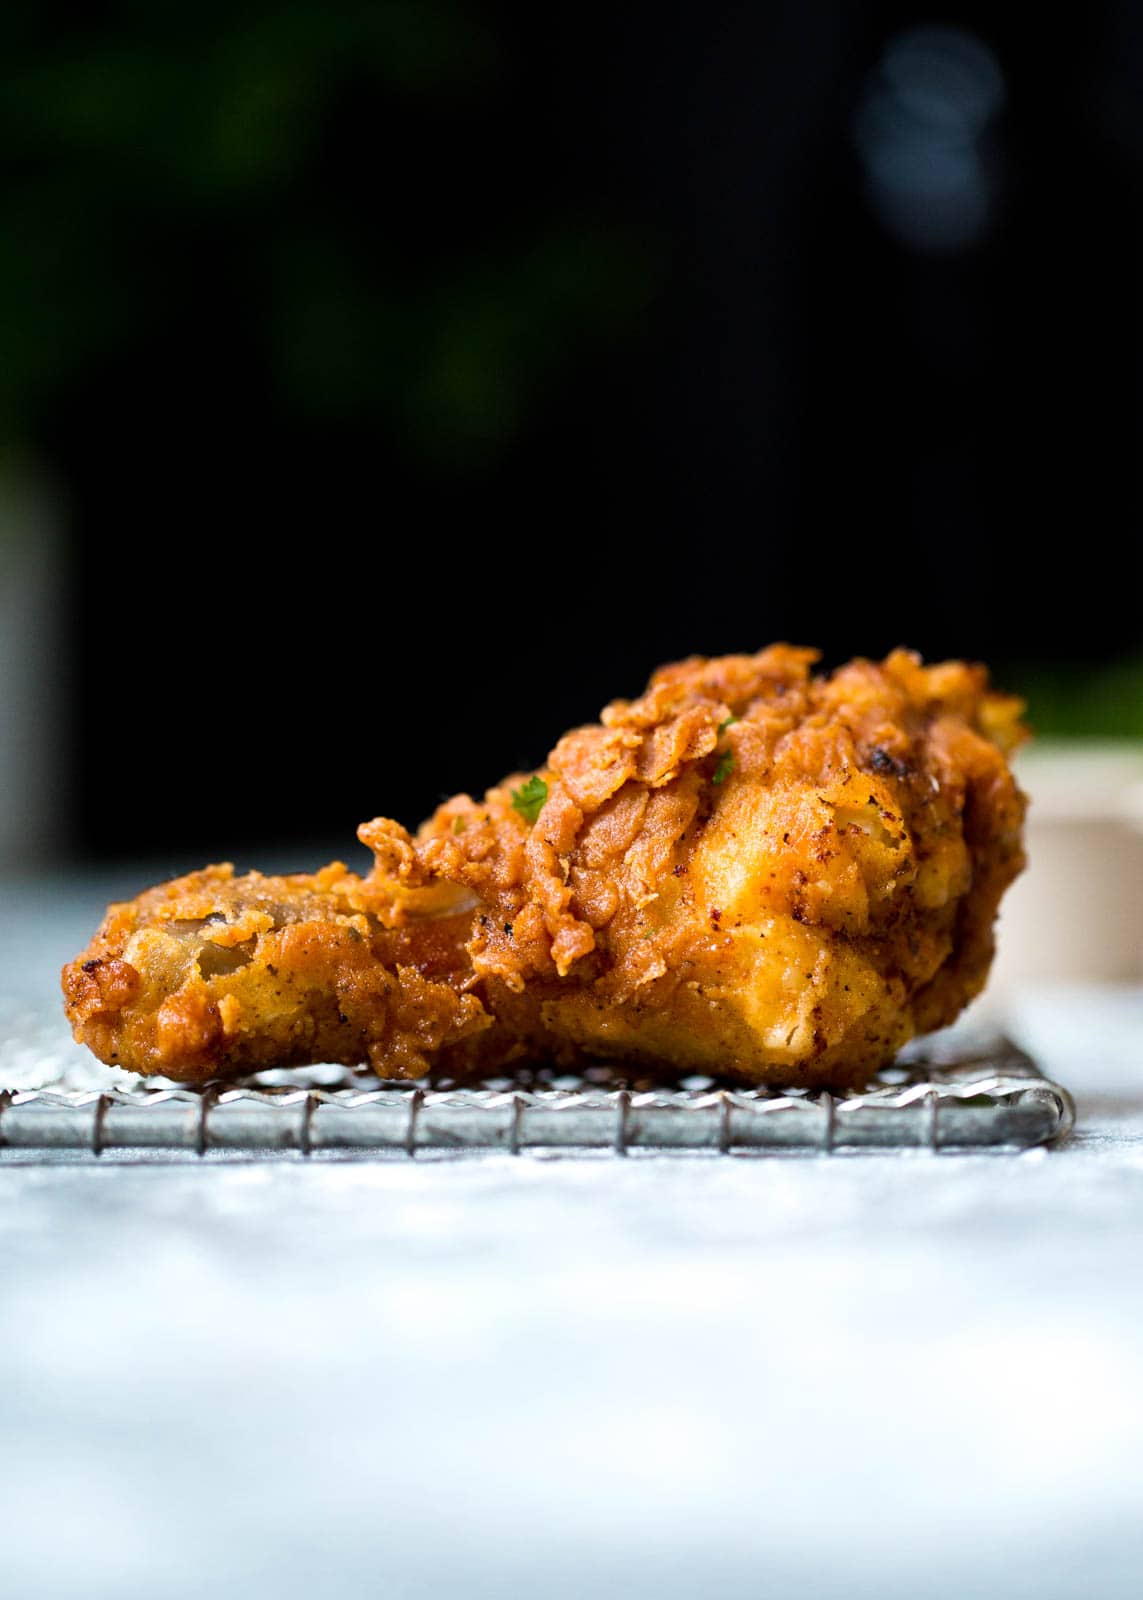
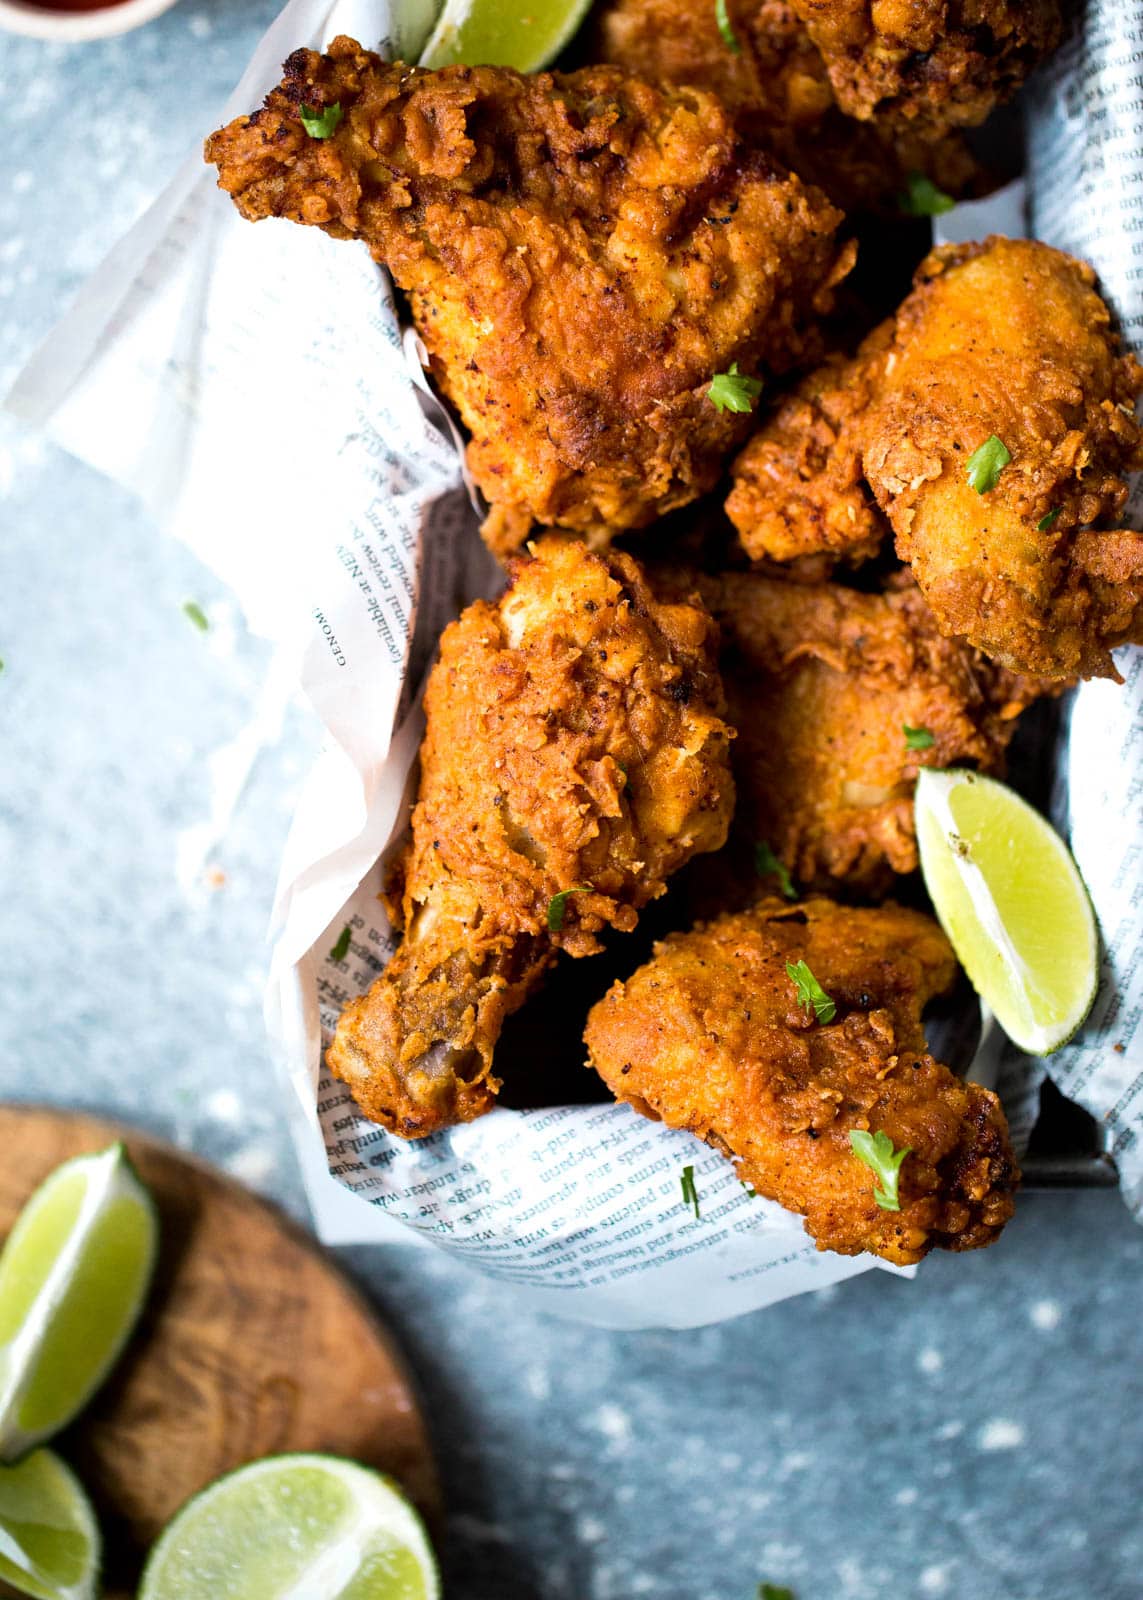
- Buttermilk Fried Chicken
Buttermilk Fried Chicken
This website uses affiliate links which may earn commission for purchases made at no additional cost to you.
First of all, three savory recipes in a row, what is this?! Clearly I’m on a savory kick and I’m pretty stoked about it. OK now onto the real post…
Disclosure: I’ve made buttermilk fried chicken twice in my life. The first time was when Alex and I were living in our tiny third floor apartment in Ann Arbor. I didn’t have a clue what I was doing. Like, I didn’t realize you needed your oil to be at a certain temperature for frying.
So there I am, standing over the stove for at least 30 minutes, watching this chicken barely brown.
Eventually I pulled that sad little mess out of the frying pan. The chicken was cooked through, but due to its long cook time, it was seeping with oil. Alex and his friends tried their best to eat it, but at the end of the night, the plates were full of barely eaten fried chicken drummies.
Not like I blame them. They were great sports about the whole thing.
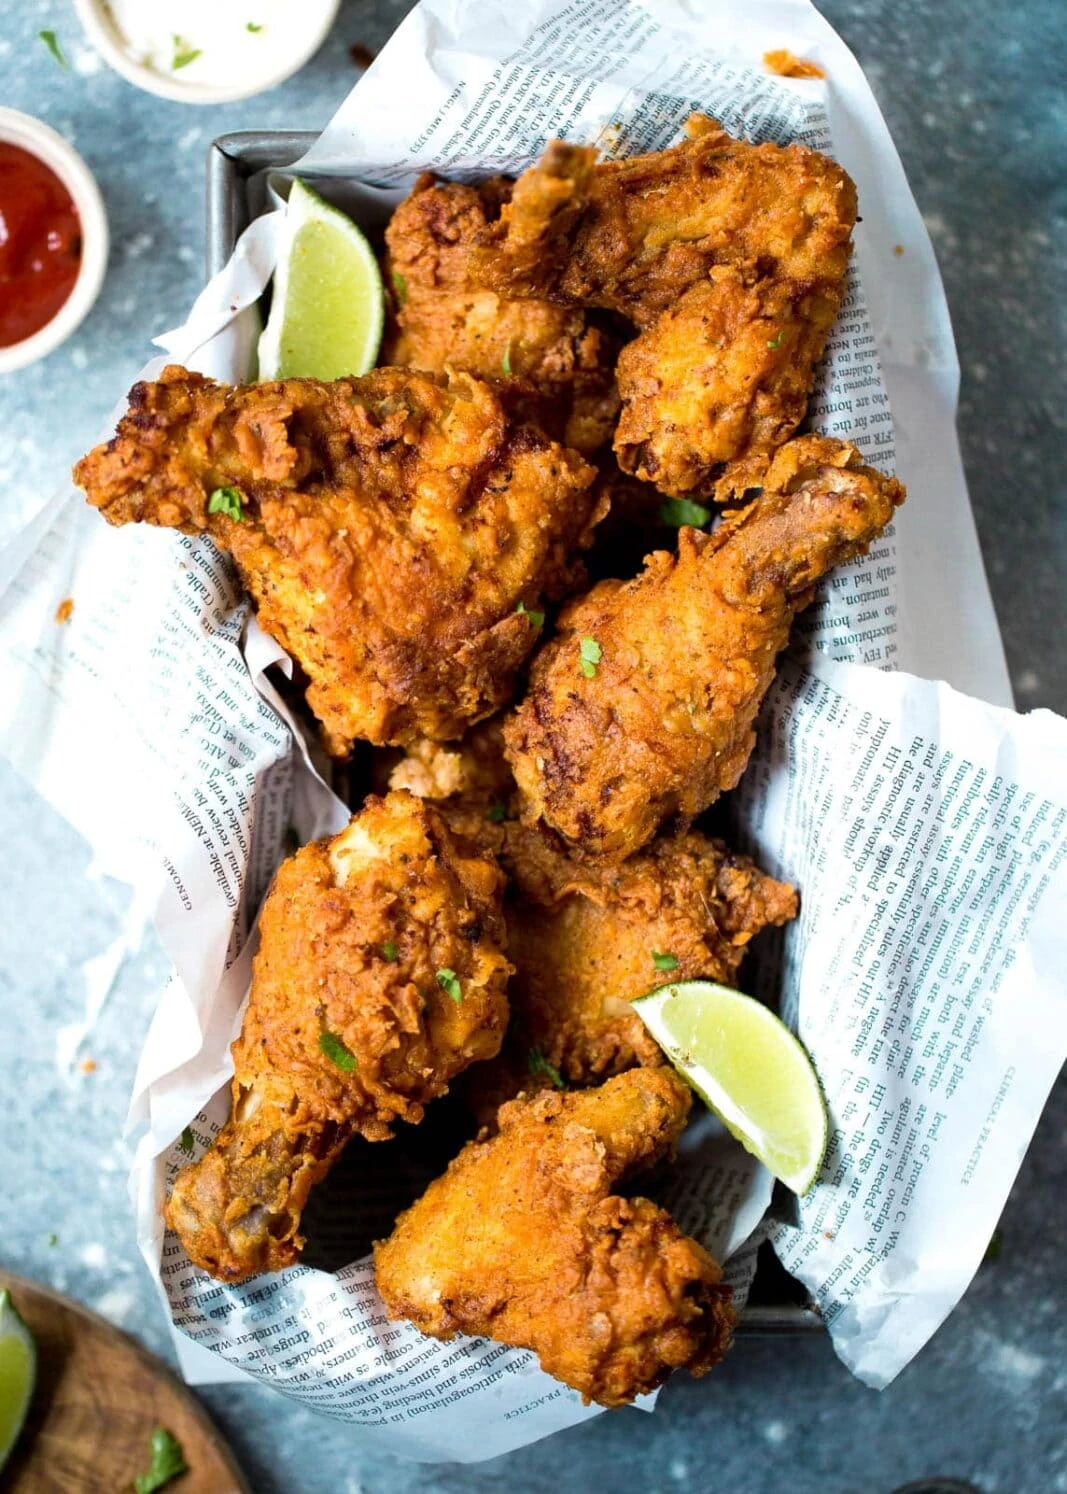
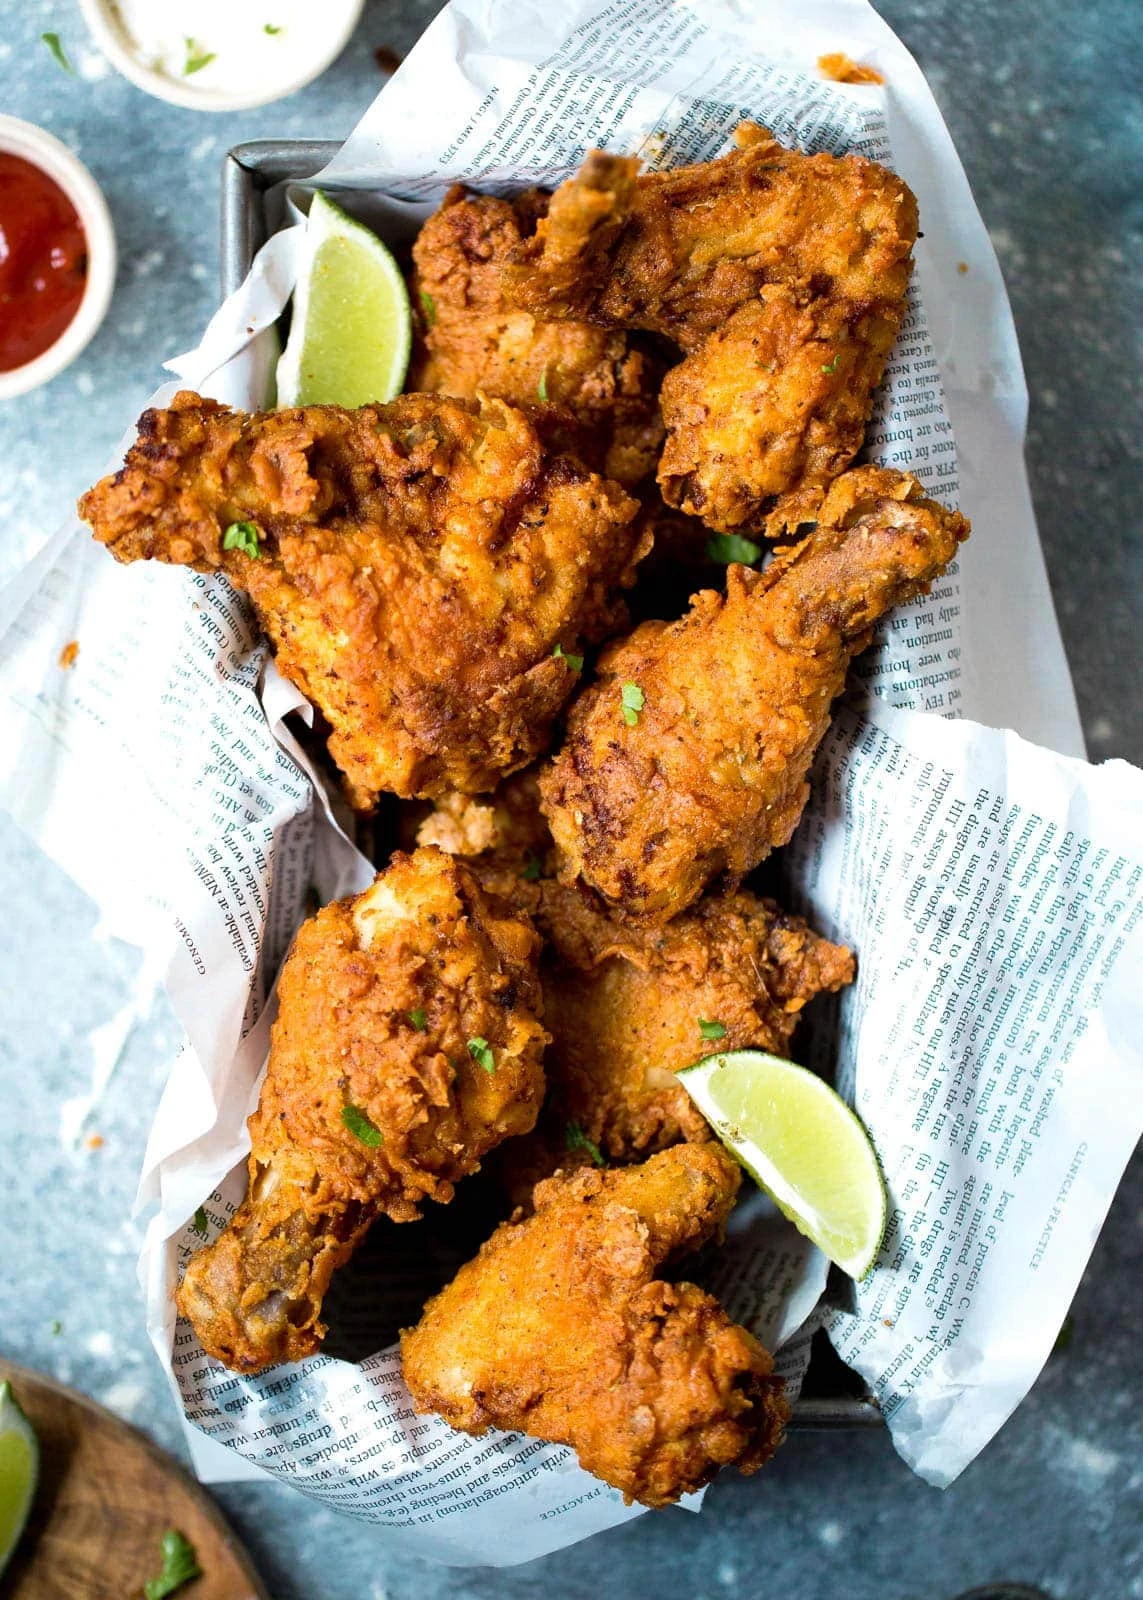
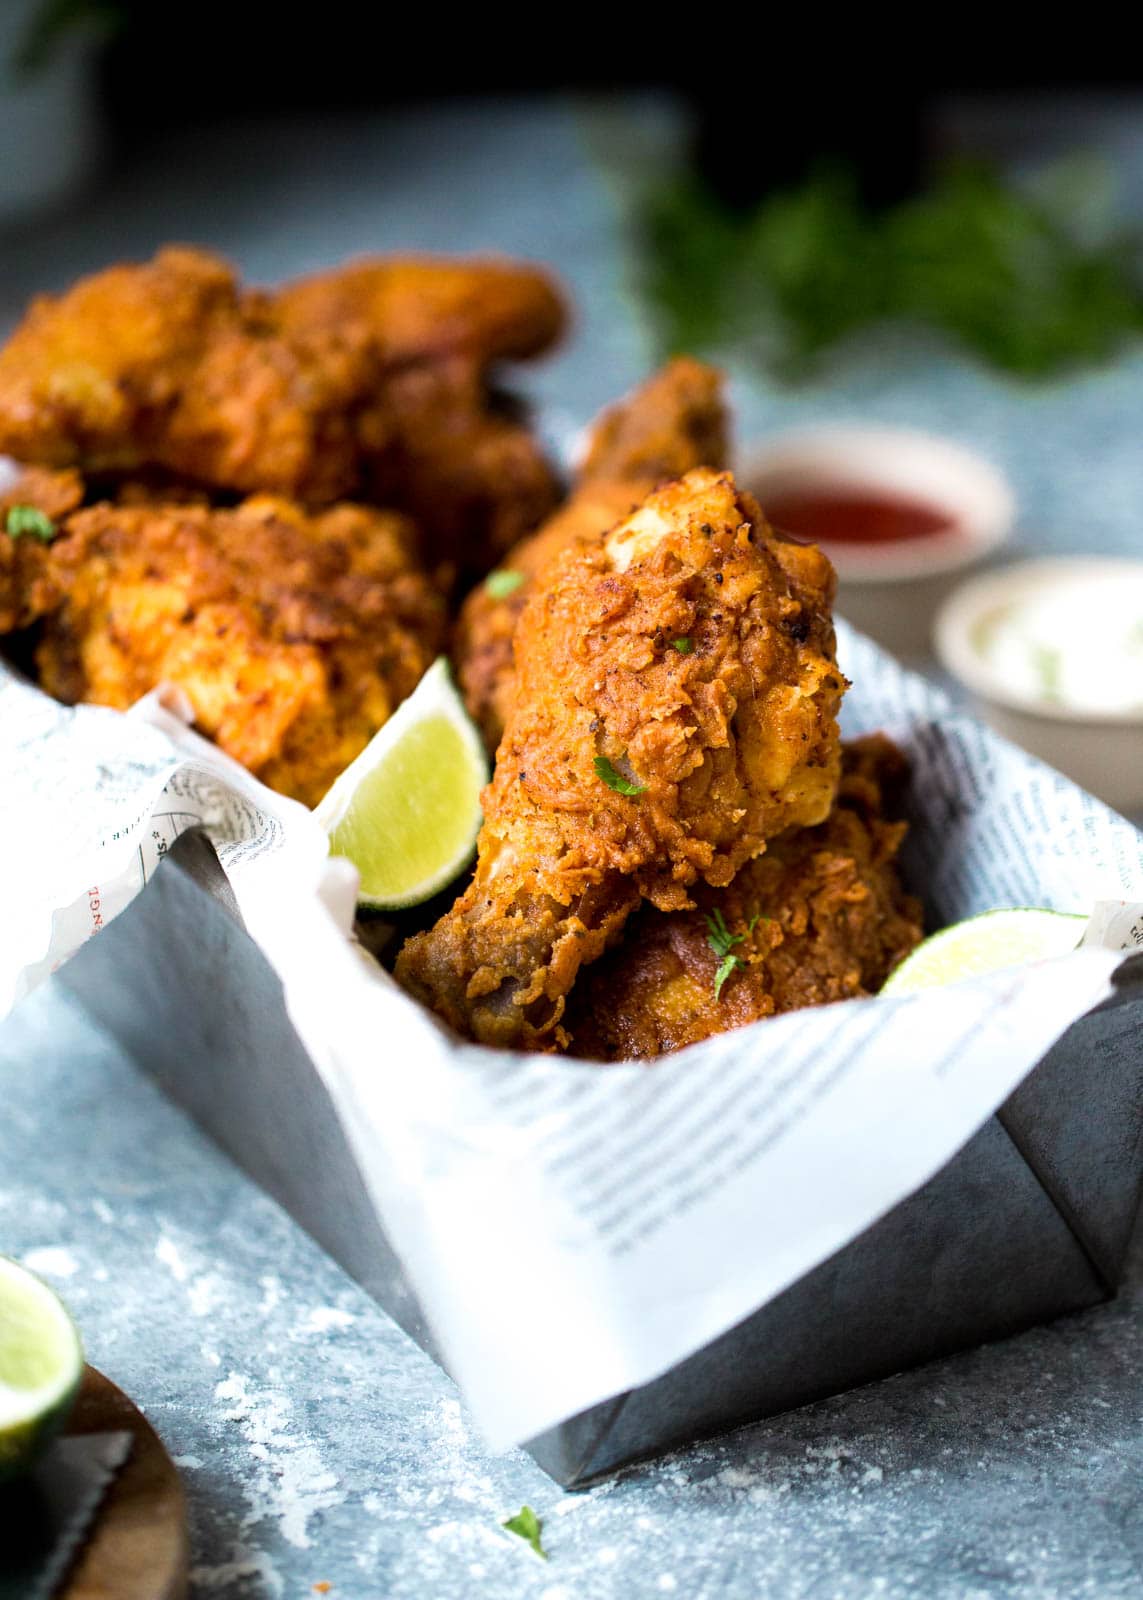
So fast forward to today where I have at least a semblance of what to do in the kitchen. I did a ton of research and came up with the crispiest, crunchiest, tastiest buttermilk fried chicken ever. Well, I mean aside from KFC, because those guys are geniuses (judge me. do it.).
Tips on how to make fried chicken
Check the oil temperature—Make sure your oil is at the right temperature. Between 350-375°F is best. For me, using an electric stove, this meant keeping things at a medium medium-low heat.
Marinate the chicken for a long time—Do a 24-hour brine, and do it with full-fat buttermilk. Buttermilk is KEY to making a soft, tender chicken. The acidity of the buttermilk helps to break down protein structures in the chicken, meaning after 24 hours it becomes way less chewy and retains better moisture.
Air out that bird—Allow your flour-dredged chicken to air out for at least 10 minutes. This helps to make the outside of the chicken exxxtra crispy, just the way I like it.
How to reheat fried chicken
This buttermilk fried chicken is best eaten right away, but if you do wind up with leftovers it is possible to reheat them without turning the chicken into a tough, rubbery mess. First and foremost, DO NOT MICROWAVE THE CHICKEN. Seriously guys, microwaved chicken is gross.
To reheat fried chicken, place it on a foil-lined baking tray and pop it into the oven for about 20 minutes at 400ºF. To be safe, you might want to gently cover the chicken with foil to prevent it from drying out too much. The chicken skin won’t crisp up as nicely as it did when you first fried it, but this is by far the best method I’ve found for reheating fried chicken!
Hope you all have a fabulous Super Bowl weekend. If I weren’t halfway around the world in Israel, I would 500% be making this buttermilk fried chicken again. And you should, too.
Print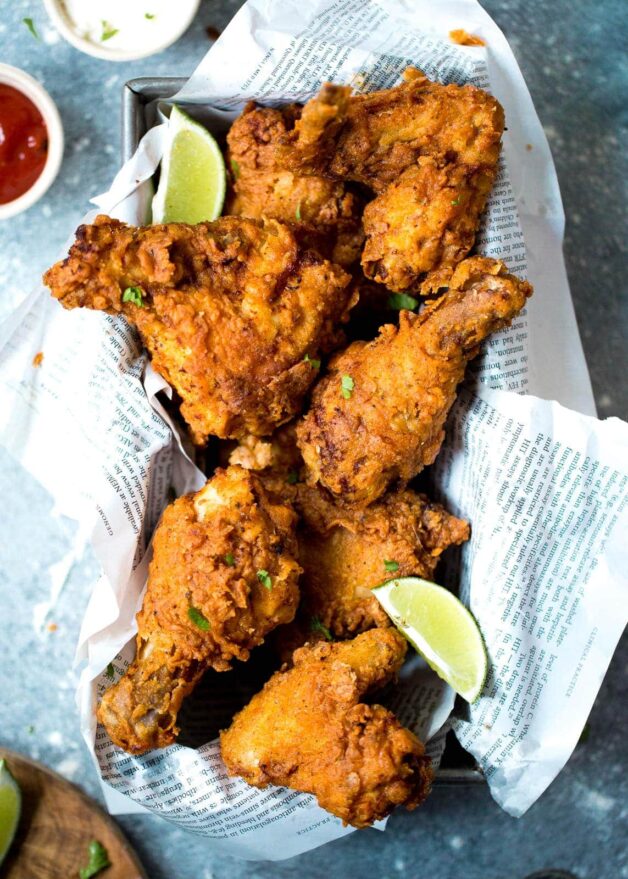
- Yield: 6 servings
Buttermilk Fried Chicken
- Yield: 6 servings
Ingredients
for the chicken
- 1 whole chicken, cut into 8ths
- 3 cups whole fat buttermilk
- 2 teaspoons salt
- 1/2 teaspoon cayenne
- 1/2 teaspoon paprika
- 1 teaspoon garlic powder
- 1/2 teaspoon black pepper
for the rest
- 2 cups flour
- 1 tablespoon salt
- 5 teaspoons paprika
- 1 teaspoon garlic powder
- 1 teaspoon black pepper
- 1 teaspoon oregano
- 1/2 teaspoon sugar
- 1/4 teaspoon cayenne
- 1/4 teaspoon chili powder
- 2 eggs, room temperature
- 2 tablespoons water
- 2 quarts oil, for frying
Instructions
- Carefully place chicken pieces into a thick ziplock bag (freezer-safe works best). If your chicken is really big, you may want to cut the larger pieces in half (I cut the breasts in half). Set aside.
- In a large mixing bowl, whisk buttermilk, salt, and spices until combined. Pour mixture into ziplock bag, close it tight, and shake it around so the buttermilk gets all up in the chicken pieces.
- Place bag into fridge to marinade AT LEAST 12 hours, but preferably 24 (and up to 48).
- Heat oil in a large dutch oven to 350°F. If you’re like me and don’t have a thermometer, you can test to see if the oil is ready this way: Place a wooden spoon into the oil. If tiny bubbles form around the spoon within seconds of it being submerged, the oil is ready. If the bubbles are violent, it’s too hot. Turn down the heat and try again in 5-10 mins.
- While the oil is heating, whisk together the flour, salt, and spices in a shallow bowl. In a separate bowl, whisk the eggs and water until scrambled.
- Remove the chicken from the buttermilk brine. Carefully dip each piece first into the egg mix, then into the flour mix. Place each piece of chicken onto a cooling rack and allow it to air out for at least 10 minutes. If after 10 minutes your chicken looks damp, dip it again in the flour.
- Once the oil is ready, carefully place 3-4 pieces into the oil and fry for 12 minutes, flipping the pieces over halfway. Repeat with remaining pieces until everything is cooked to a nice golden brown. Serve immediately.
Marinade that bird
When you’re ready to fry
More easy chicken recipes from Broma Bakery:
Lightened Up Creamy Chicken Corn Chowder
Slow Cooker Asian BBQ Pulled Chicken Sandwiches
Wasabi-Almond Crusted Chicken Tenders
Watercress, Apple, and Farro Green Chicken Salad with Creamy Avocado Dressing


This looks so good. I am excited to try this! Thank you for sharing this recipe.
Wouldn’t 24 hours be too long for thinner boneless chicken breast due to the acid overly breaking down the meat? I agree with 24 hours when doing bone-in chicken pieces. Thanks!
When removing the chicken from the buttermilk brine, do you have to pat it dry before putting it in the egg mixture?
Hi Curt! We usually just give it a good shake to get off any excess buttermilk, but we don’t fully pat it dry.