- Recipe Index
- Desserts
- Cakes & Cupcakes
- Chocolate Pavlova
Chocolate Pavlova
This website uses affiliate links which may earn commission for purchases made at no additional cost to you.
Guess what, guys? Broma Bakery turned four years old this week! I can’t believe that four years ago I stood in my Manhattan kitchen in a leotard and feather tutu, eating a mango and photographing my mom’s Coconut Cake (I would show you photographical proof but it’s too ridiculous of a picture. Just trust me. Maybe next year).
Aaaaanyways. What better way to celebrate years 0-3 than with this chocolate pavlova cake? Alex and I bit into it and were silent for like 10 seconds. It was one of those moments where we both were chewing and just looked up at each other with wide eyes and nodded. Anyone know what I’m talking about?
I feel like year four is pretty significant in the life of a blog. Years 0-3 were all about learning, growing, and getting used to life. Now, the toddler years are over, and Broma is an adult blog (or at least is trying to be). I can’t even imagine what’s in store for this next year, and I cannot wait. I look forward to new recipes, fun photoshoots, and new blogging friends! And more gifs. So many more gifs.
What is pavlova?
I doubt many of us grew up eating pavlovas at family holidays, so don’t fret if you’re unsure what the heck this dessert is. In essence, pavlovas are huge meringues. They’re crispy on the outside, but maintain an almost marshmallow-like consistency in the middle. They’re a fantastic year-round dessert, as they can be light and topped with berries in the summer months, or layered high and made with chocolate in the winter.
How to make pavlova
To make a pavlova cake, you first need to make the meringue pavlova base. Meringue can be a little finicky, but as long as your kitchen isn’t stifling hot and you whip the egg whites properly, you should be fine! The key to making a good pavlova is baking the meringues for a long time at a low temperature. Once the meringues have baked, you then have to leave them in the oven to cool down. This prevents the meringue from cracking and ensures that your chocolate pavlova cake won’t collapse into itself.
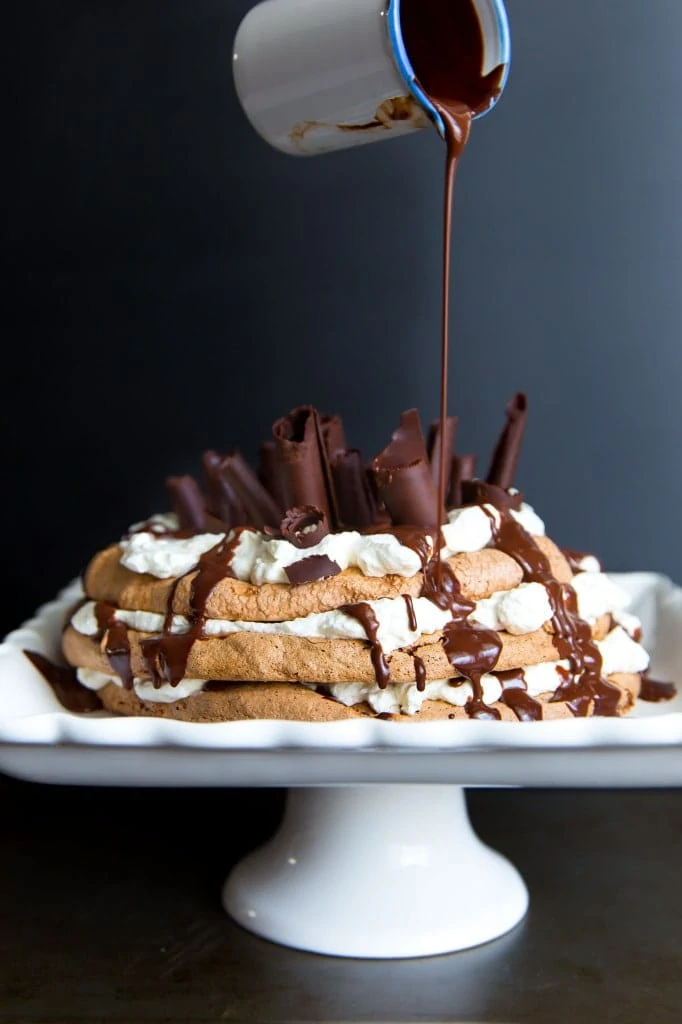
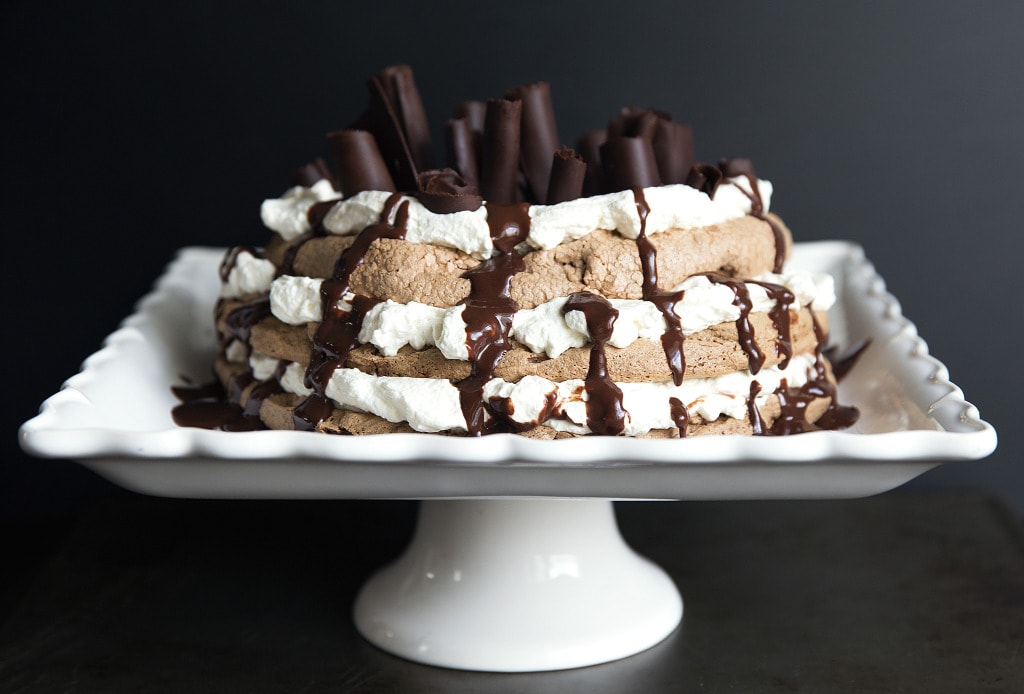
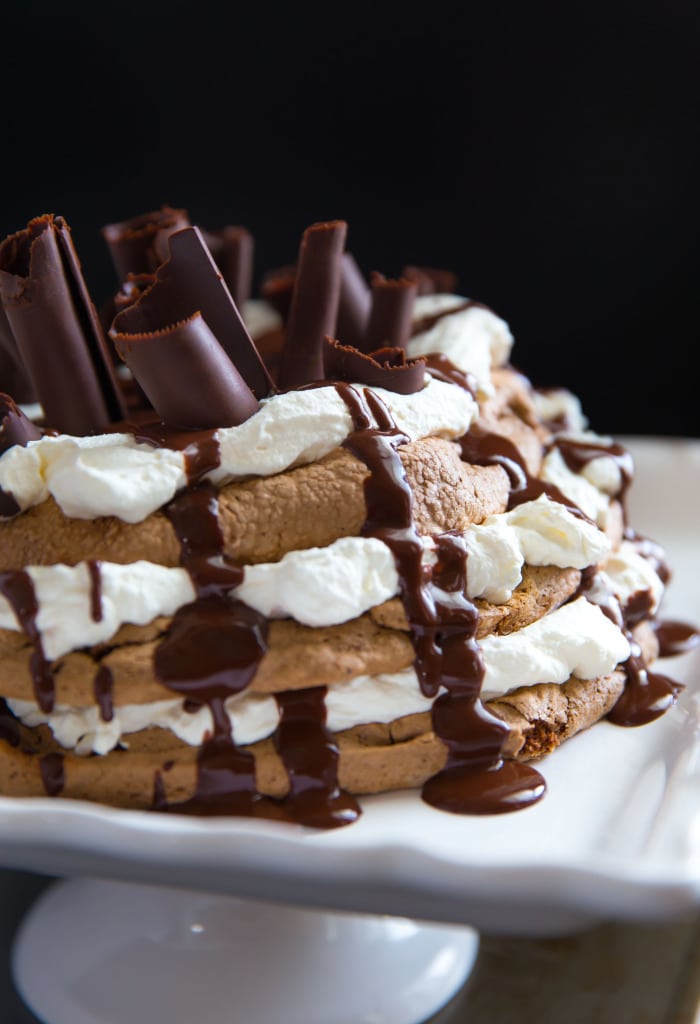
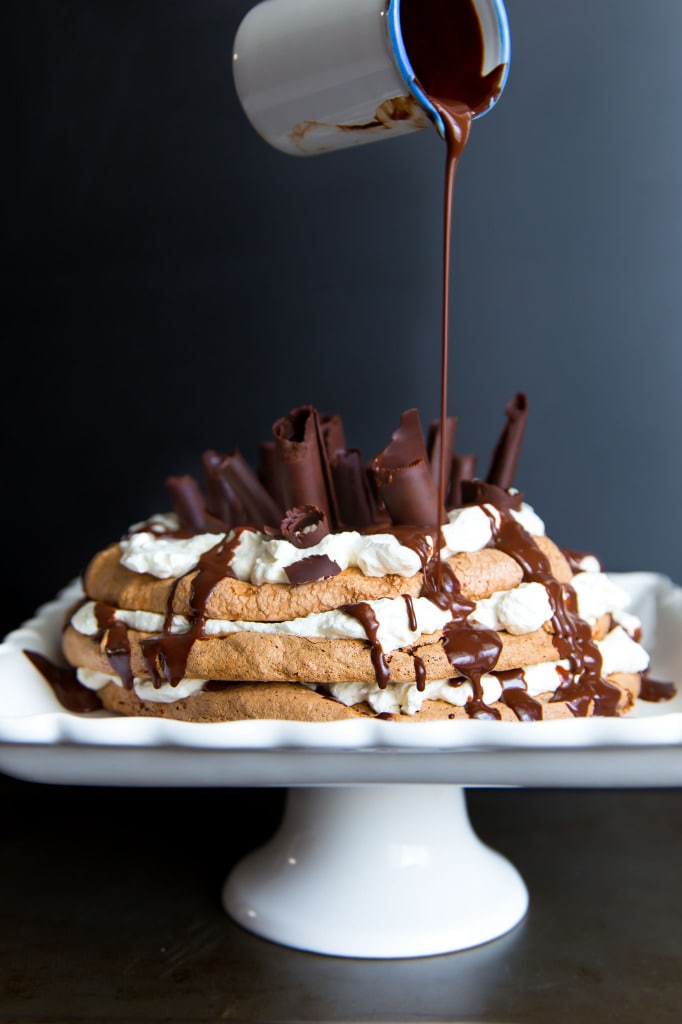
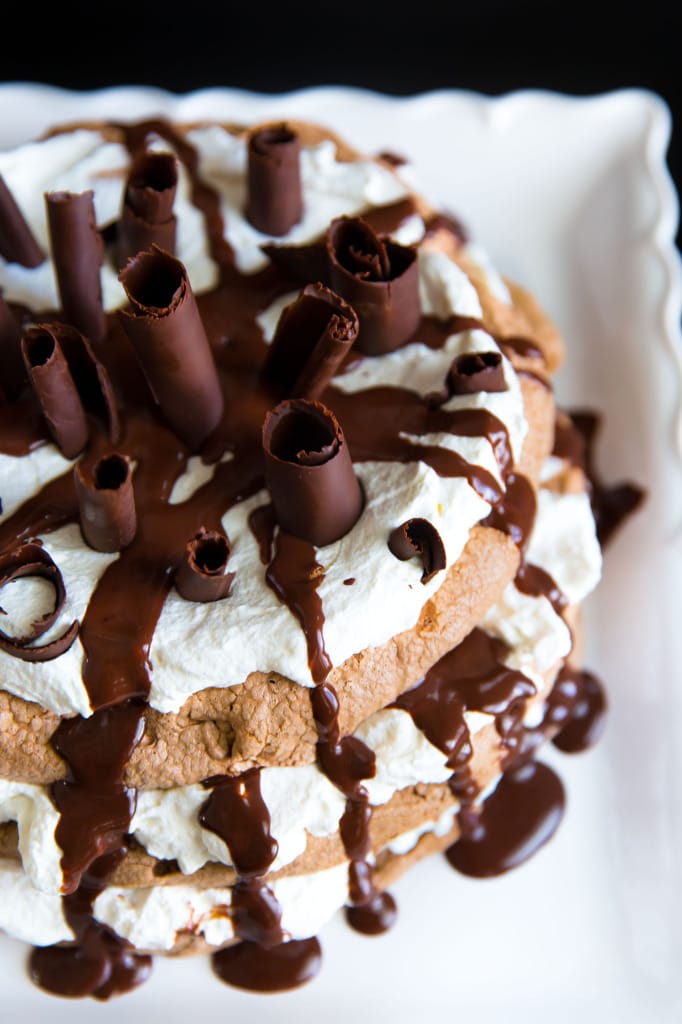
Once you’ve baked the meringues, it’s just a matter of assembling your pavlova cake! (Be fairly gentle when handling the meringue, to be safe.) I love desserts that are “rustic” in presentation, so I kind of just slapped together this pavlova cake. Here, you don’t have to be cautious with the whipped cream and you can drizzle the ganache however you like. I just can’t get over all the pillowy layers.
Oh, and this chocolate pavlova is naturally gluten free! That’s right! So go get on with your bad self and bake this for your favorite gluten-free friend.
Happy day-after-Halloween, and happy blogiversary to Broma Bakery!
(I’m officially obsessed with making gifs.)
Print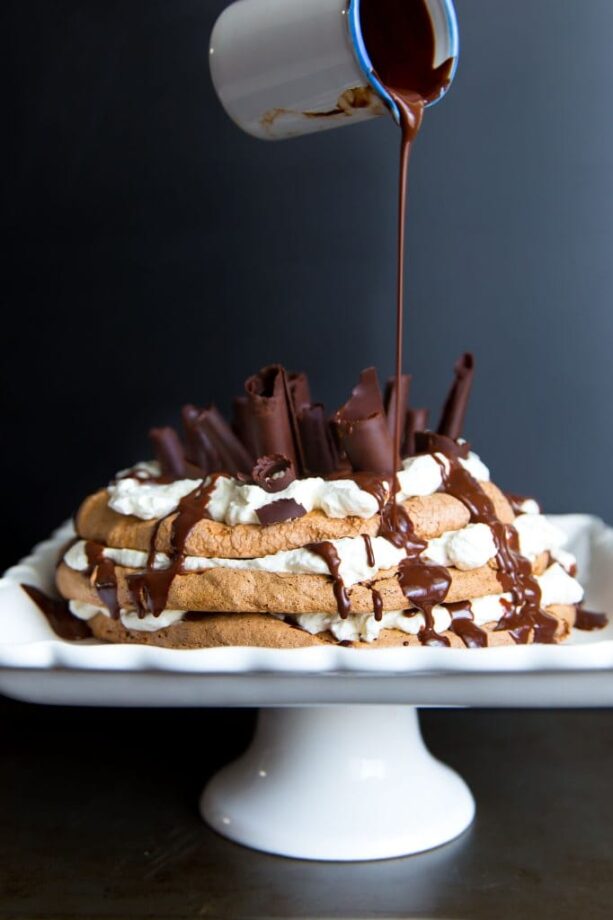
- Yield: 1 pavlova
Chocolate Pavlova
- Yield: 1 pavlova
Ingredients
For the pavlova
- 9 egg whites, room temperature
- 1 1/2 cups granulated sugar
- 6 tablespoons cocoa powder
- 3/4 teaspoon salt
- 2 teaspoons vanilla extract
- 3 oz bittersweet chocolate, melted
- 1 1/2 tablespoons cornstarch
For the chocolate shavings
- 3 oz bittersweet chocolate, chopped
- 1 tablespoon butter
For the ganache
- 3 oz bittersweet chocolate, chopped
- 1/2 cup heavy cream
For the whipped cream
- 1 pint heavy whipping cream
- 1/4 cup confectioner’s sugar
- 1 teaspoon vanilla
Instructions
- Preheat oven to 275°F. Place parchment paper on two large baking sheets and draw three 8 inch circles (two circles on one sheet, one on the other). Set aside.
- Pour egg whites into a large bowl. Using a hand or stand mixer on high speed, whip the egg whites until soft peaks form. Pour in sugar, salt, and vanilla extract and whip on high speed until the mixture forms hard, shiny peaks.
- In a small bowl, mix together the cornstarch and cocoa powder. Add into the egg white bowl, mixing on medium speed until just combined.
- Next, using a spatula, gently fold in the melted bittersweet chocolate until incorporated. Scoop the meringue onto the centers of the three circles, using a spatula or the back of a spoon to smooth into a circular shape. Spread the meringue almost to the edges of the circles, leaving room to expand.* Last, create a small well in the center of the meringues, so the sides are slightly higher than the middle.
- Bake for 1 hour, then allow to cool in the oven for a second hour.
- I used the Pioneer Woman’s method for making chocolate shavings and they came out great! I didn’t have crisco, so I substituted it for 1 tablespoon of butter and it worked like a charm. You can get the instructions on how to make shavings here! As she suggests, you can make yours ahead of time and keep them in your freezer until you’re ready to use them!
- Bring the heavy cream to a near boil (it should be scalding hot, but should not bubble). Remove from heat and pour over chopped chocolate. Stir until smooth. Allow to sit for 10 minutes, until the ganache is thick and only slightly warm.
- Once your pavlovas are completely cooled, make your whipped cream. With a hand or standing mixer, whip the heavy cream, confectioner’s sugar, and vanilla until stiff peaks form.
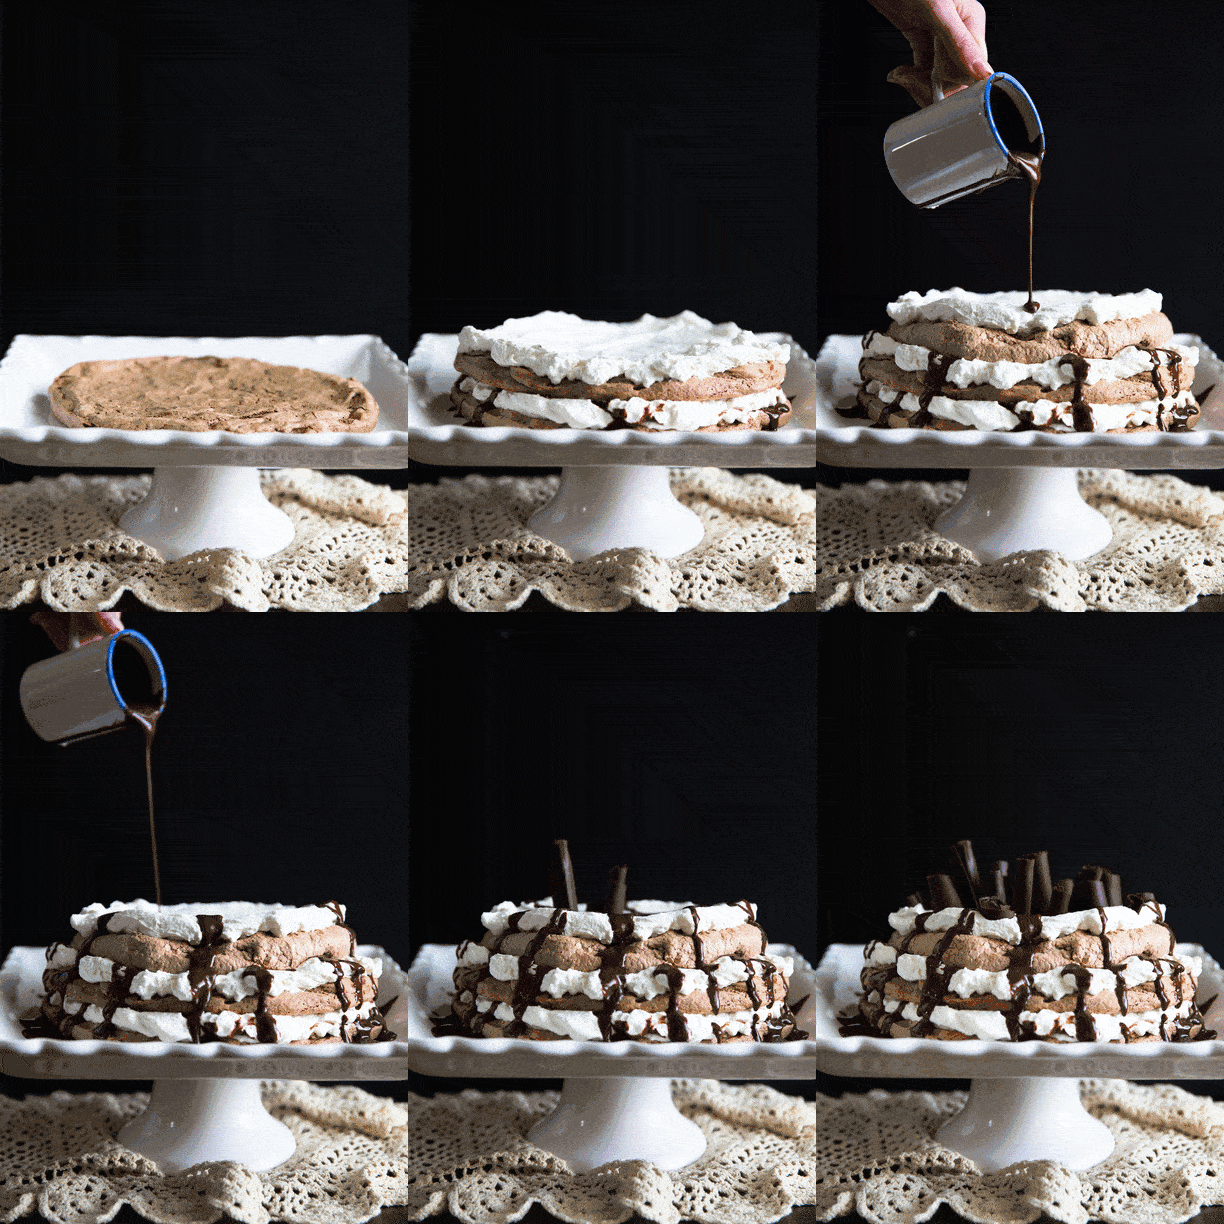
- Place a layer of pavlova on a large plate or cake stand. Spoon 1/3 of the whipped cream over the pavlova, smoothing it out all the way to the edges. Drizzle a few spoonfuls of ganache over the edges so it drips down the sides. Repeat process with second layer.
- Place the third pavlova on top of the second layer. Cover with the remaining whipped cream, using a spoon or spatula to smooth. Spoon more ganache over the whipped cream, again letting it drip down the sides of the pavlova. Top with chocolate shavings.
Make the pavlovas
Make the chocolate shavings
Make the ganache
Make the whipped cream
Assemble pavlovas
Notes
*I made my pavlovas slightly different sizes so the bottom was larger than the middle layer, and the middle layer larger than the top. This made it more easy to see the whipped cream on each layer!
More meringue desserts from Broma Bakery:
Chocolate Pistachio Spoon Meringues

OMGGG I had to come find the GIF and it’s beautiful and I love it! Drooling!
Let’s be gif friends. If that’s a thing. If it’s not, we’ll make it a thing.
Happy birthday, Broma! Hope the years ahead bring sweet things.
Think of the Pavlova as your birthday cake. And one that inspires silence?! That’s a sure sign you’re doing something right.
Katharine
It’s all because of you!! We will for sure be making this for Christmas!!
OMG, look at that chocolate dripping off the Pavlova and look at those chocolate curls. I am in heaven! I need this Pavlova in my life. Lovely pictures, well done!