- Recipe Index

- Breakfast

- Scones

- Moist AF Pumpkin Scones
Moist AF Pumpkin Scones
This website uses affiliate links which may earn commission for purchases made at no additional cost to you.
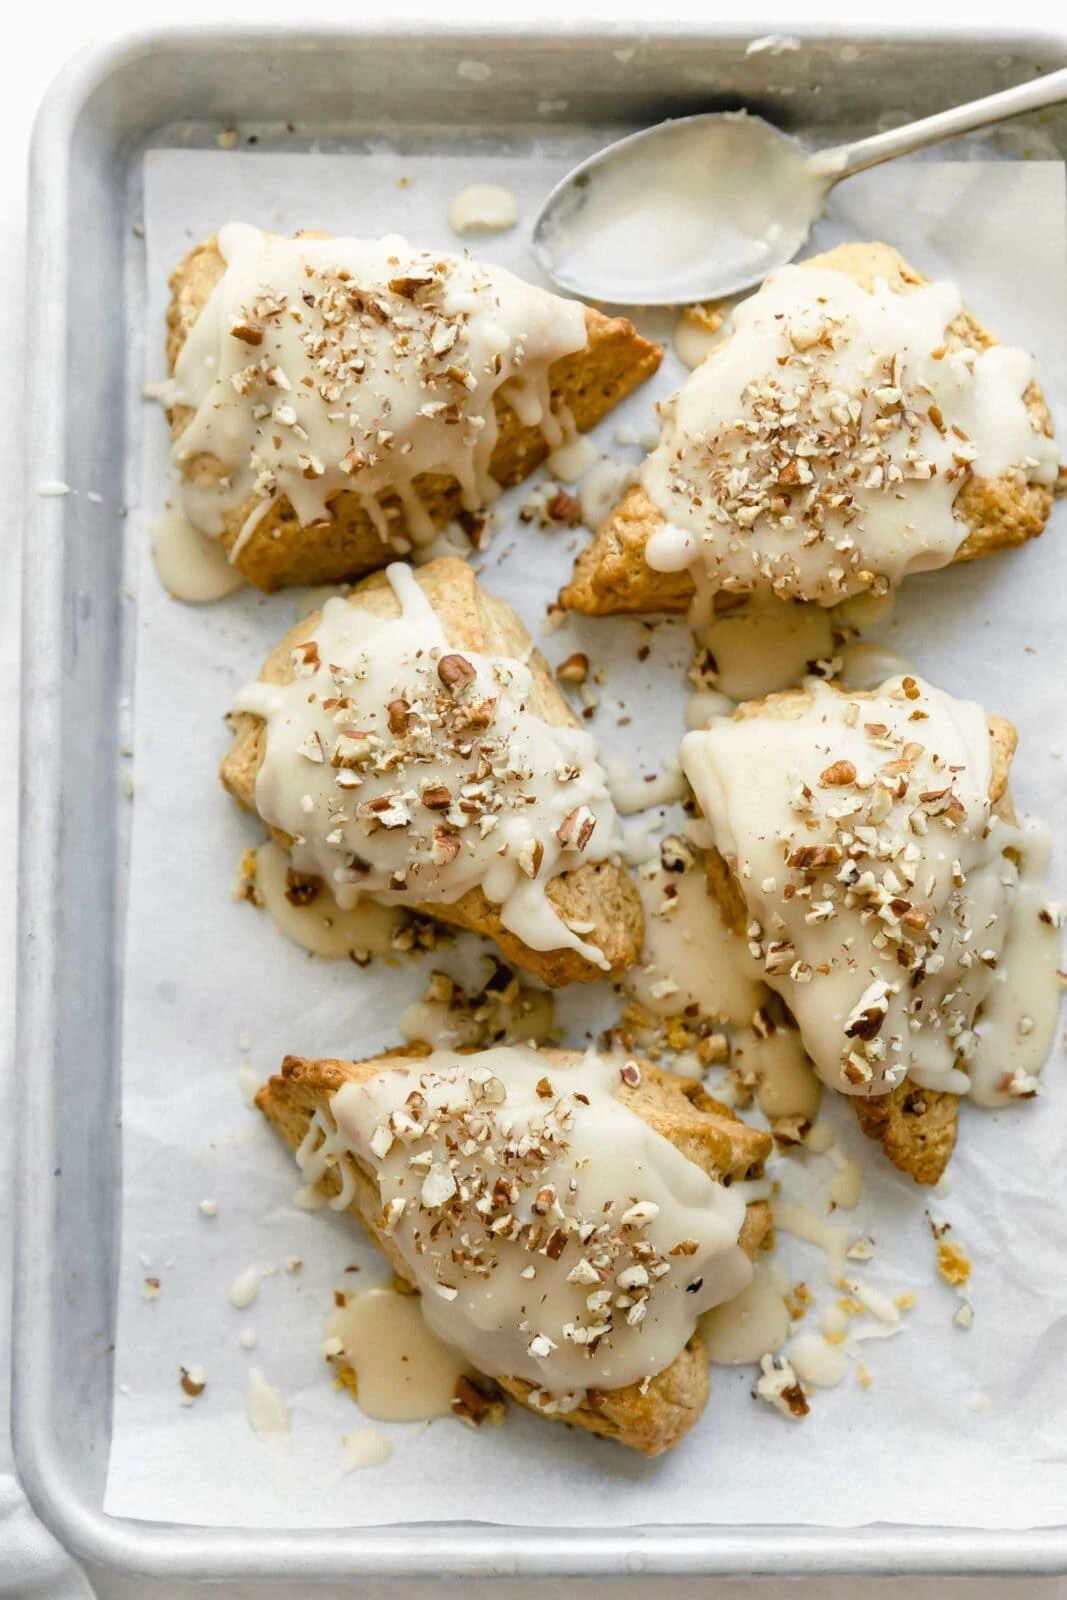
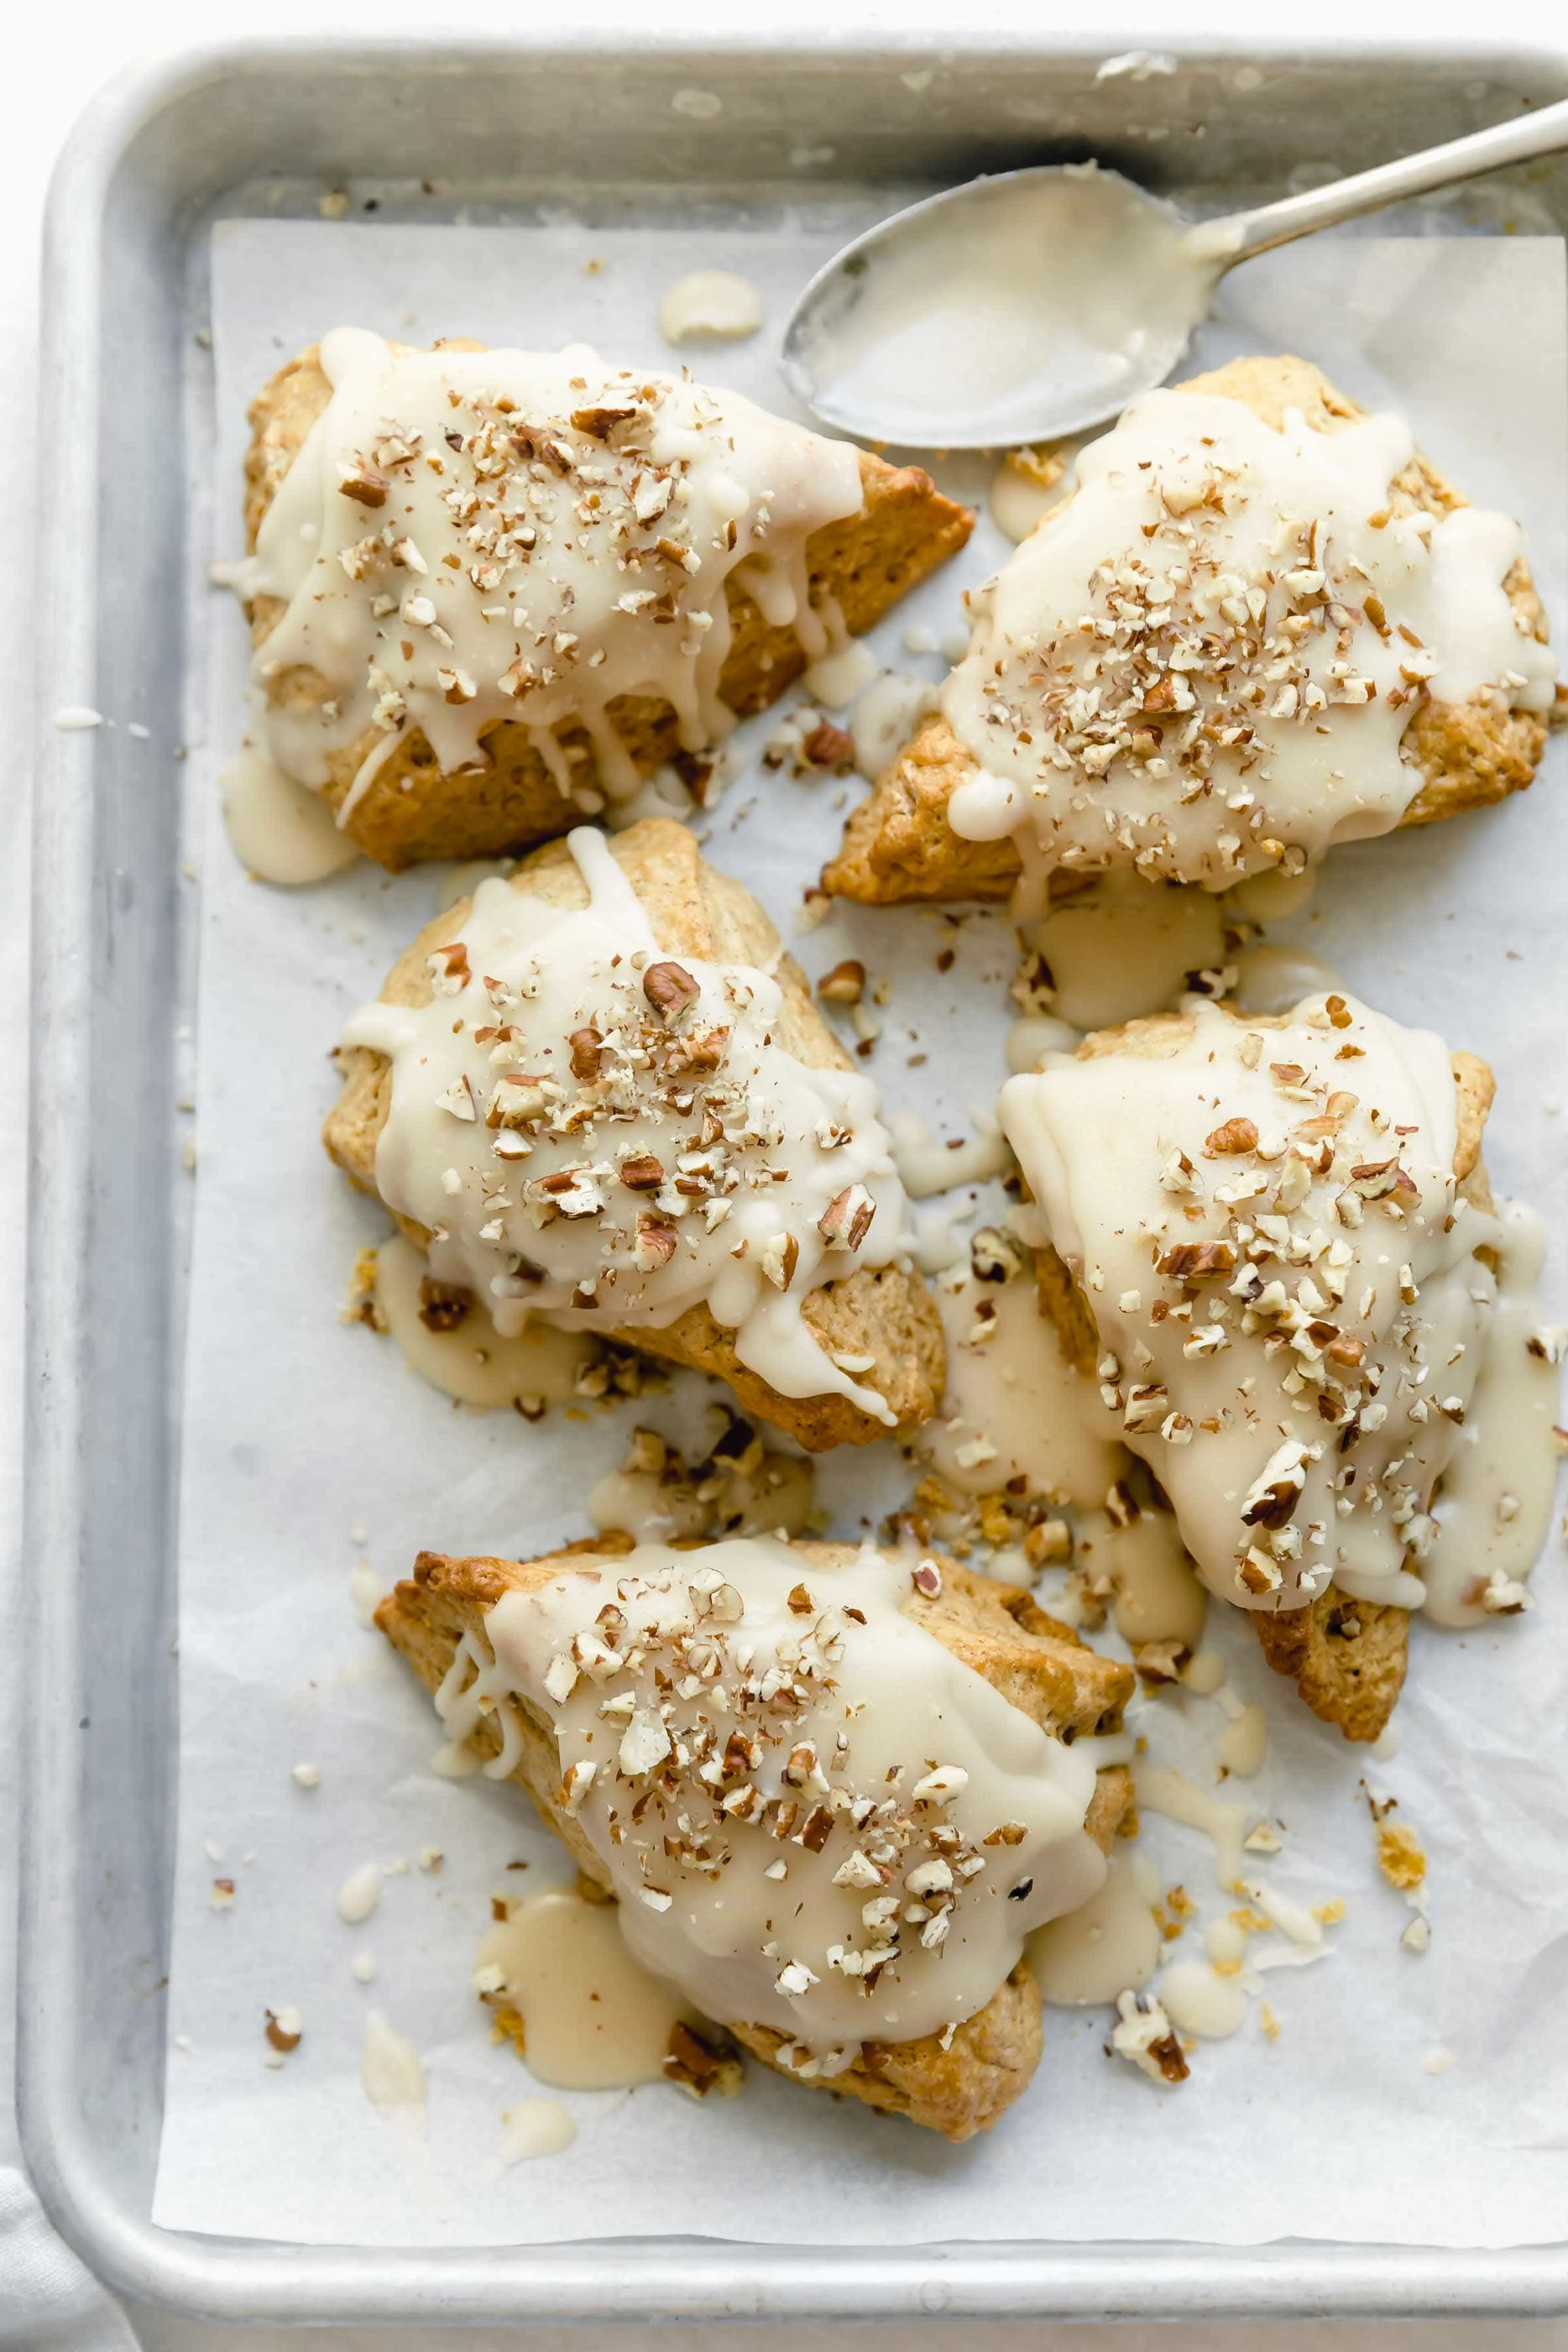
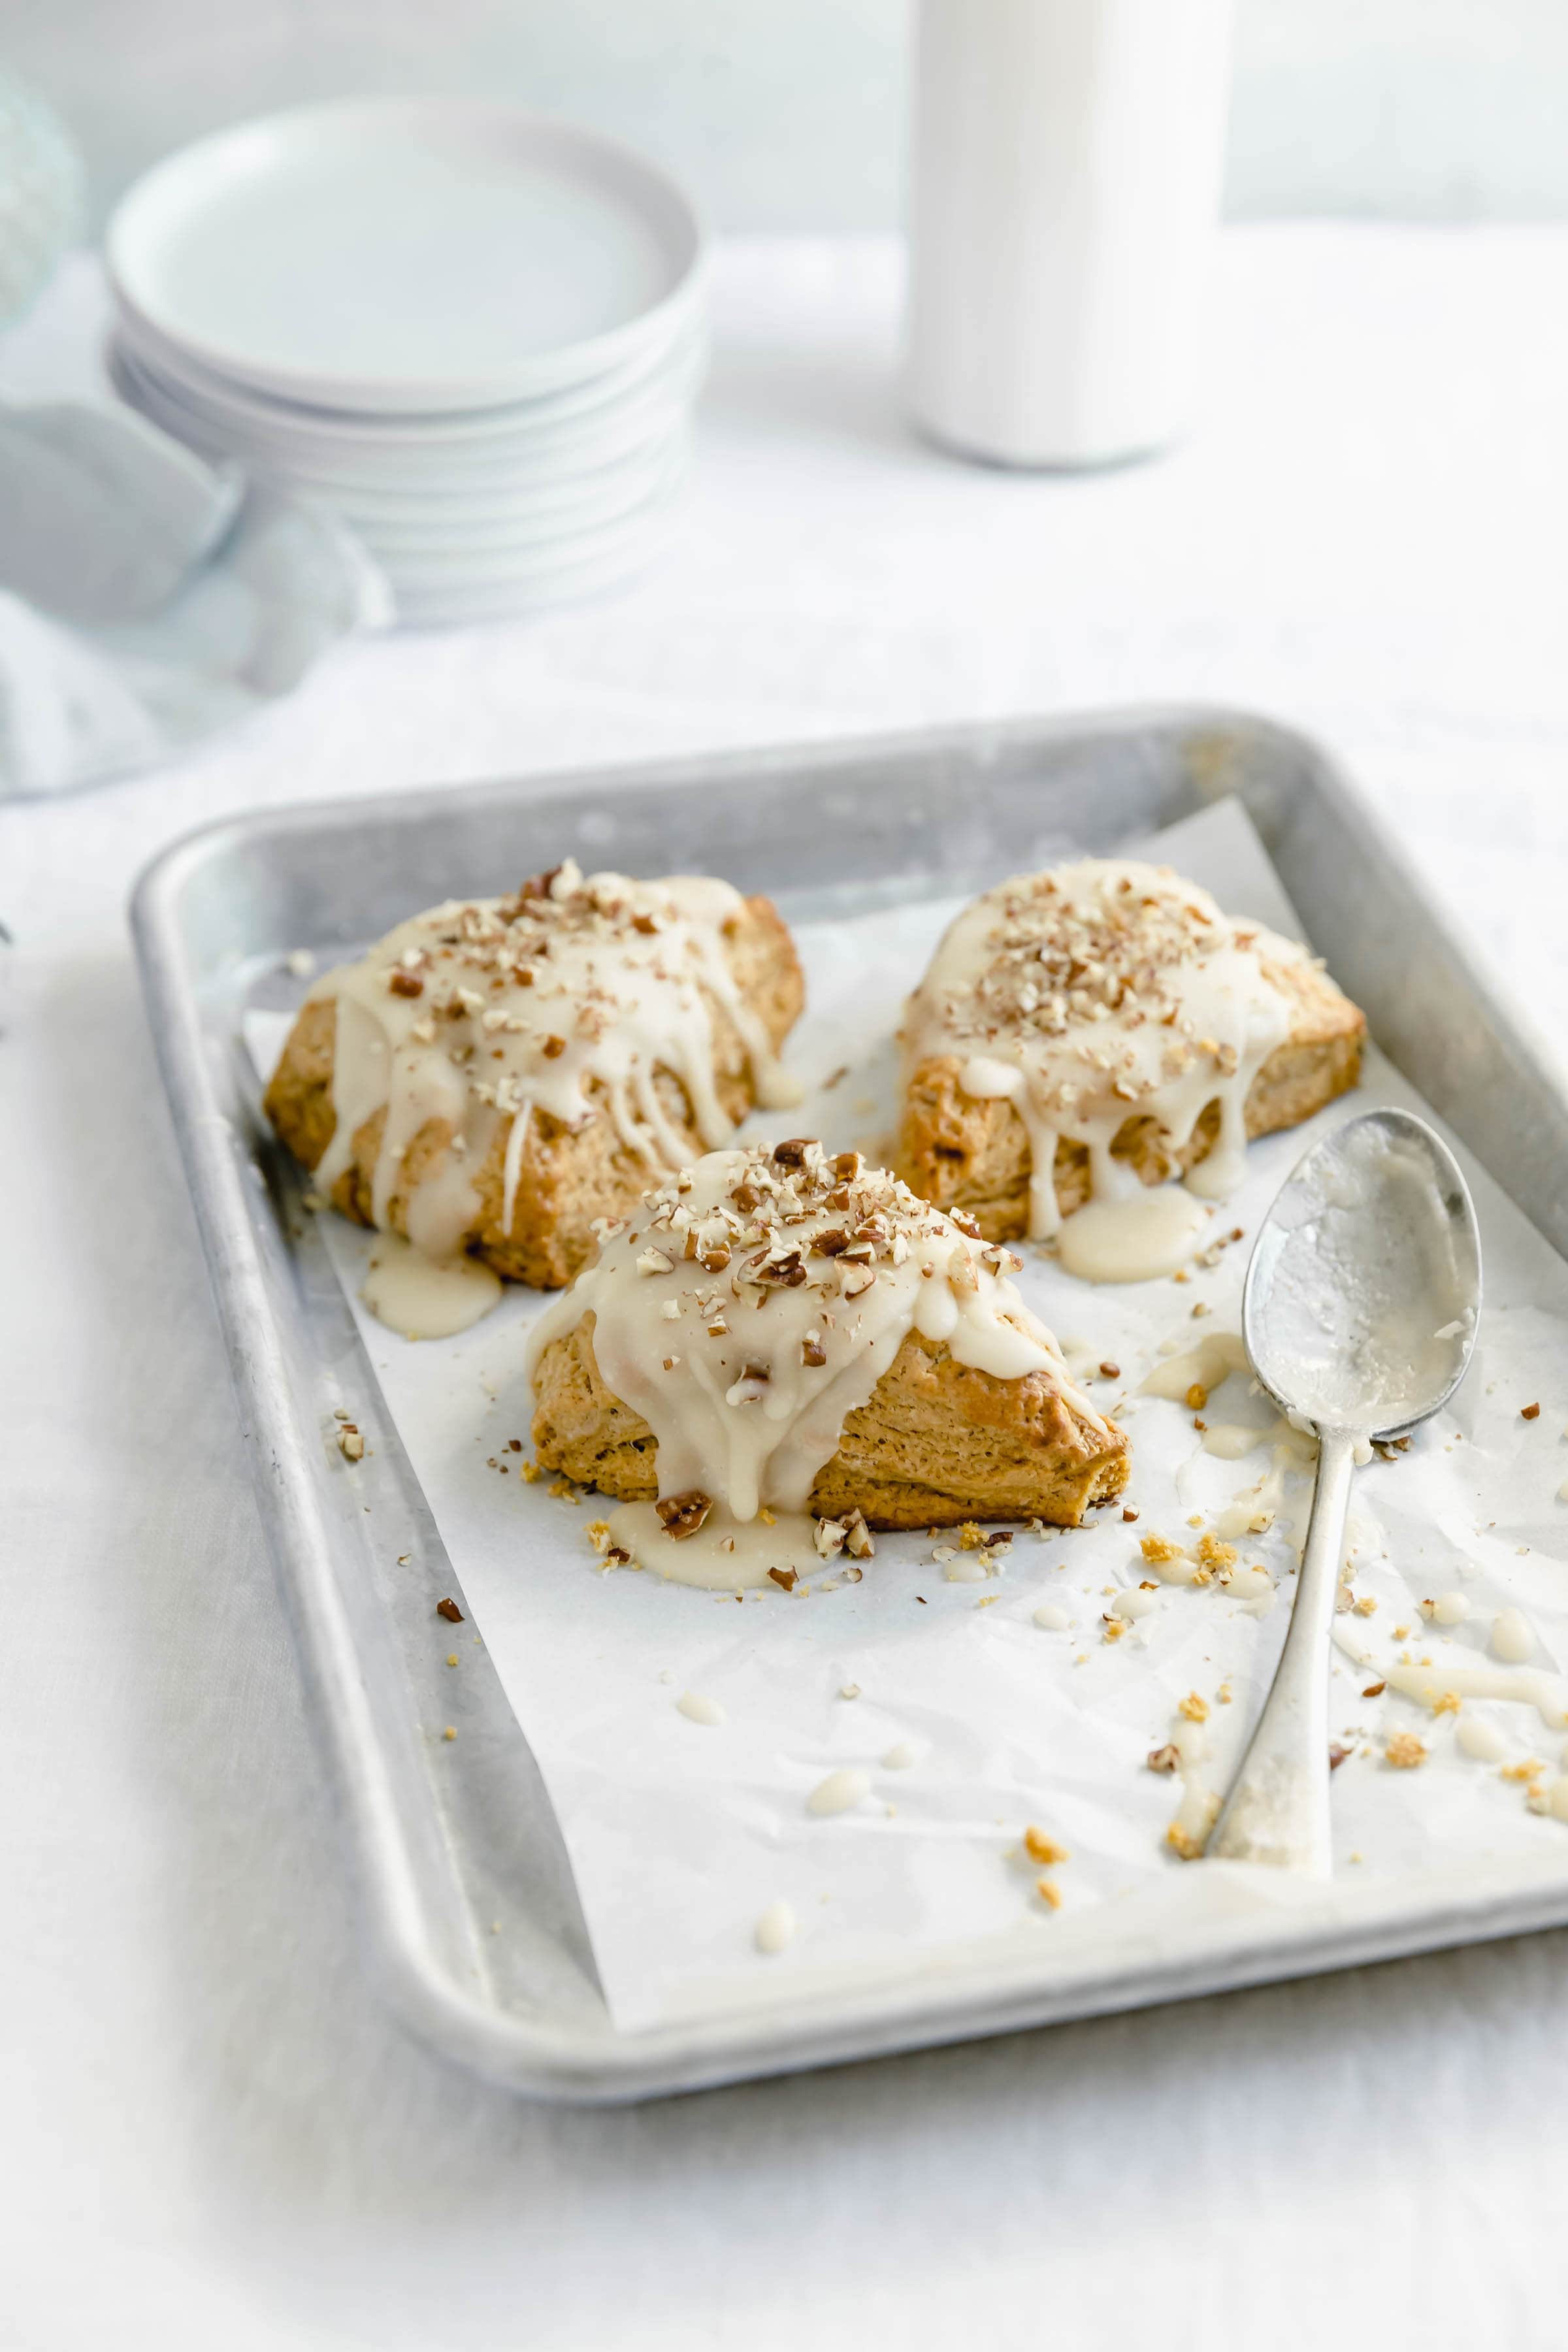
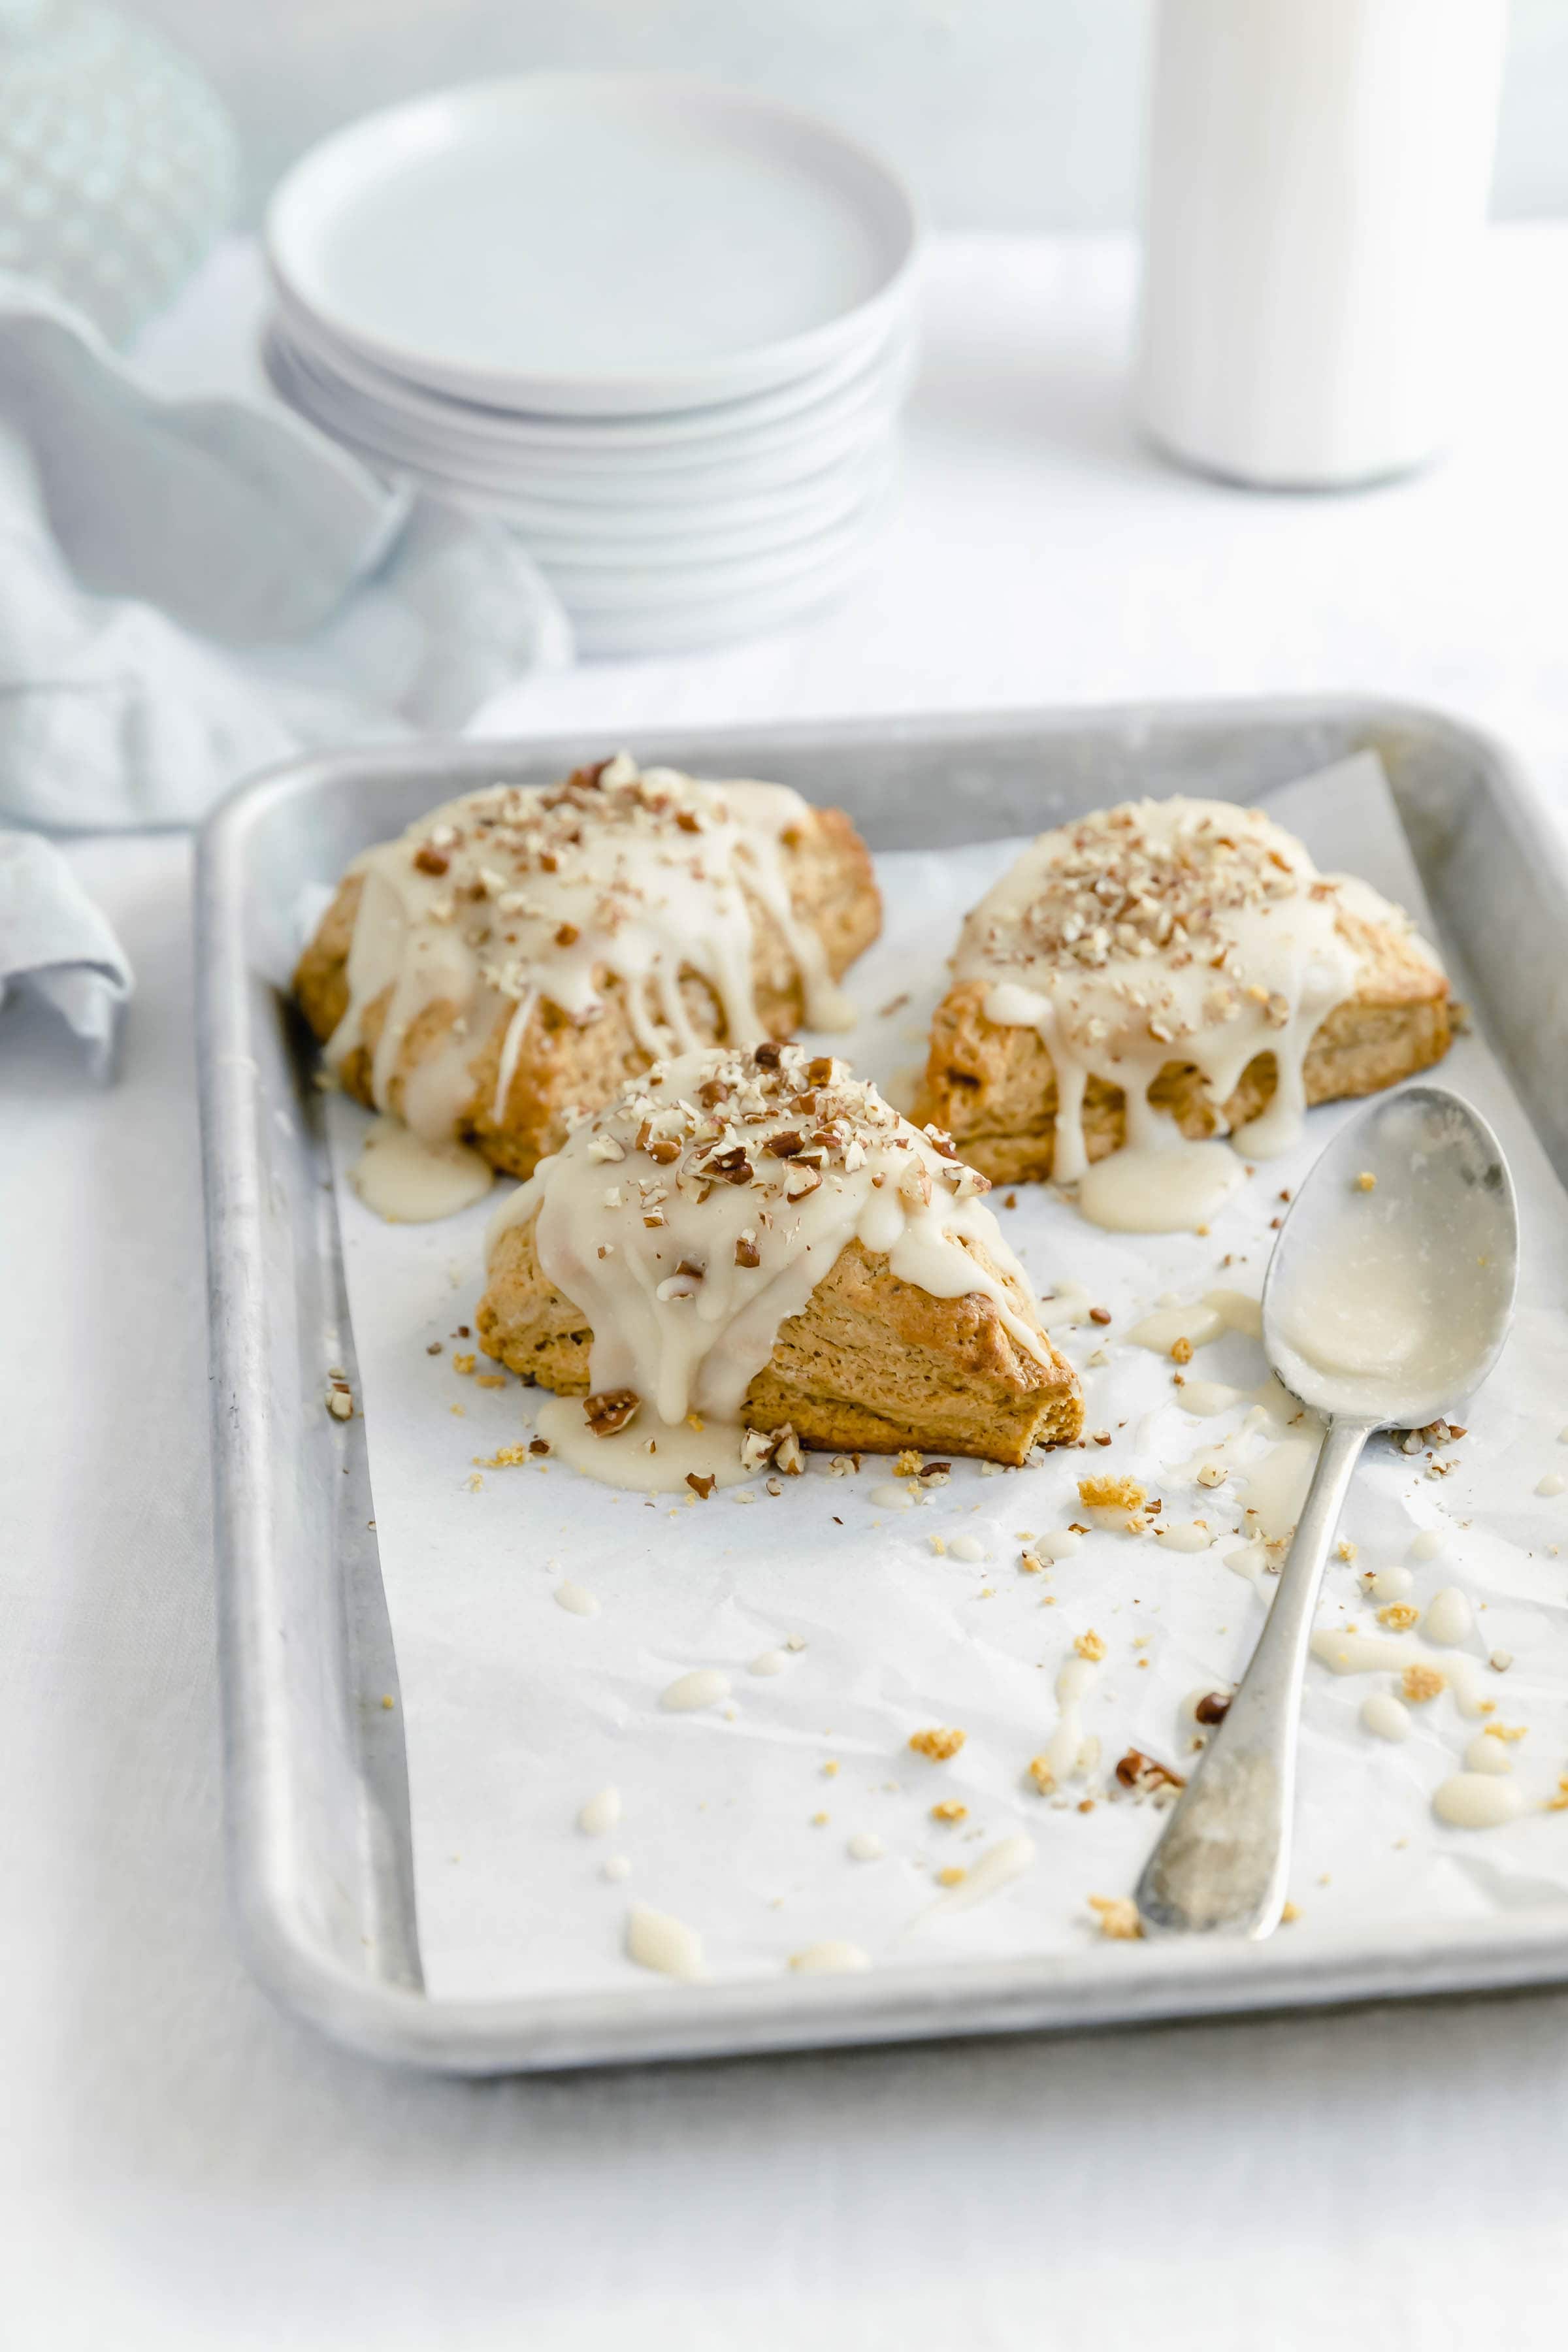
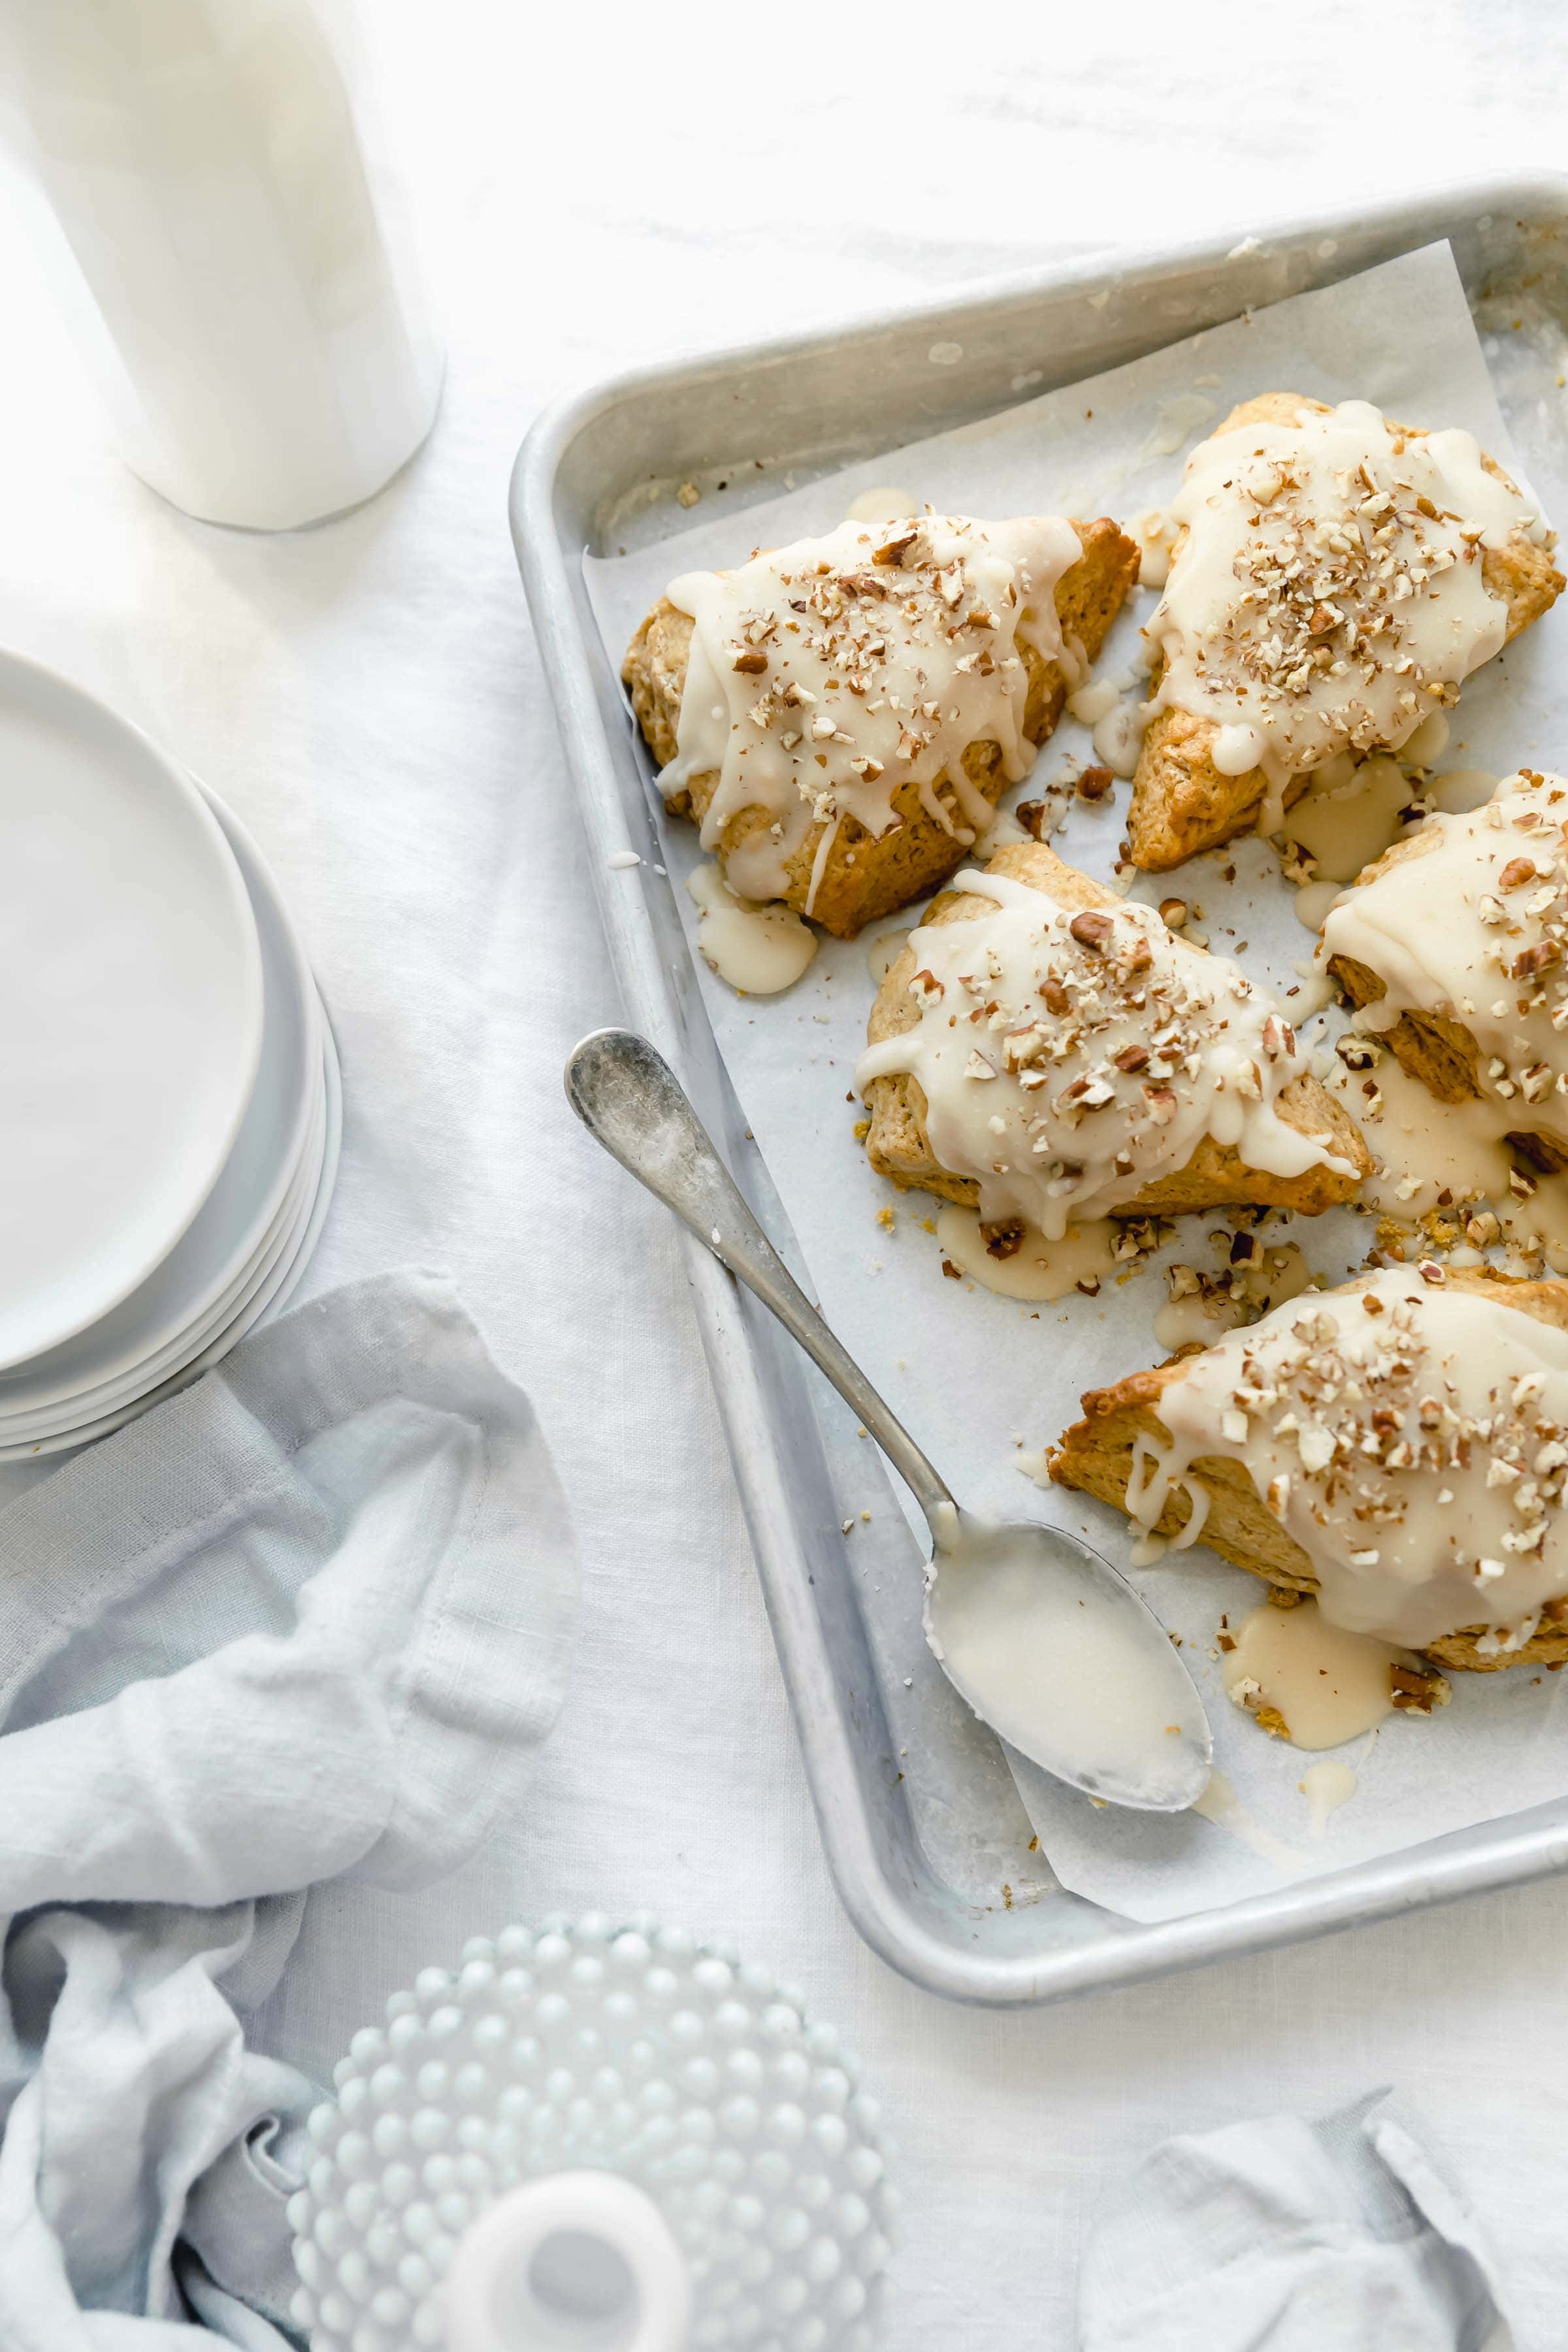
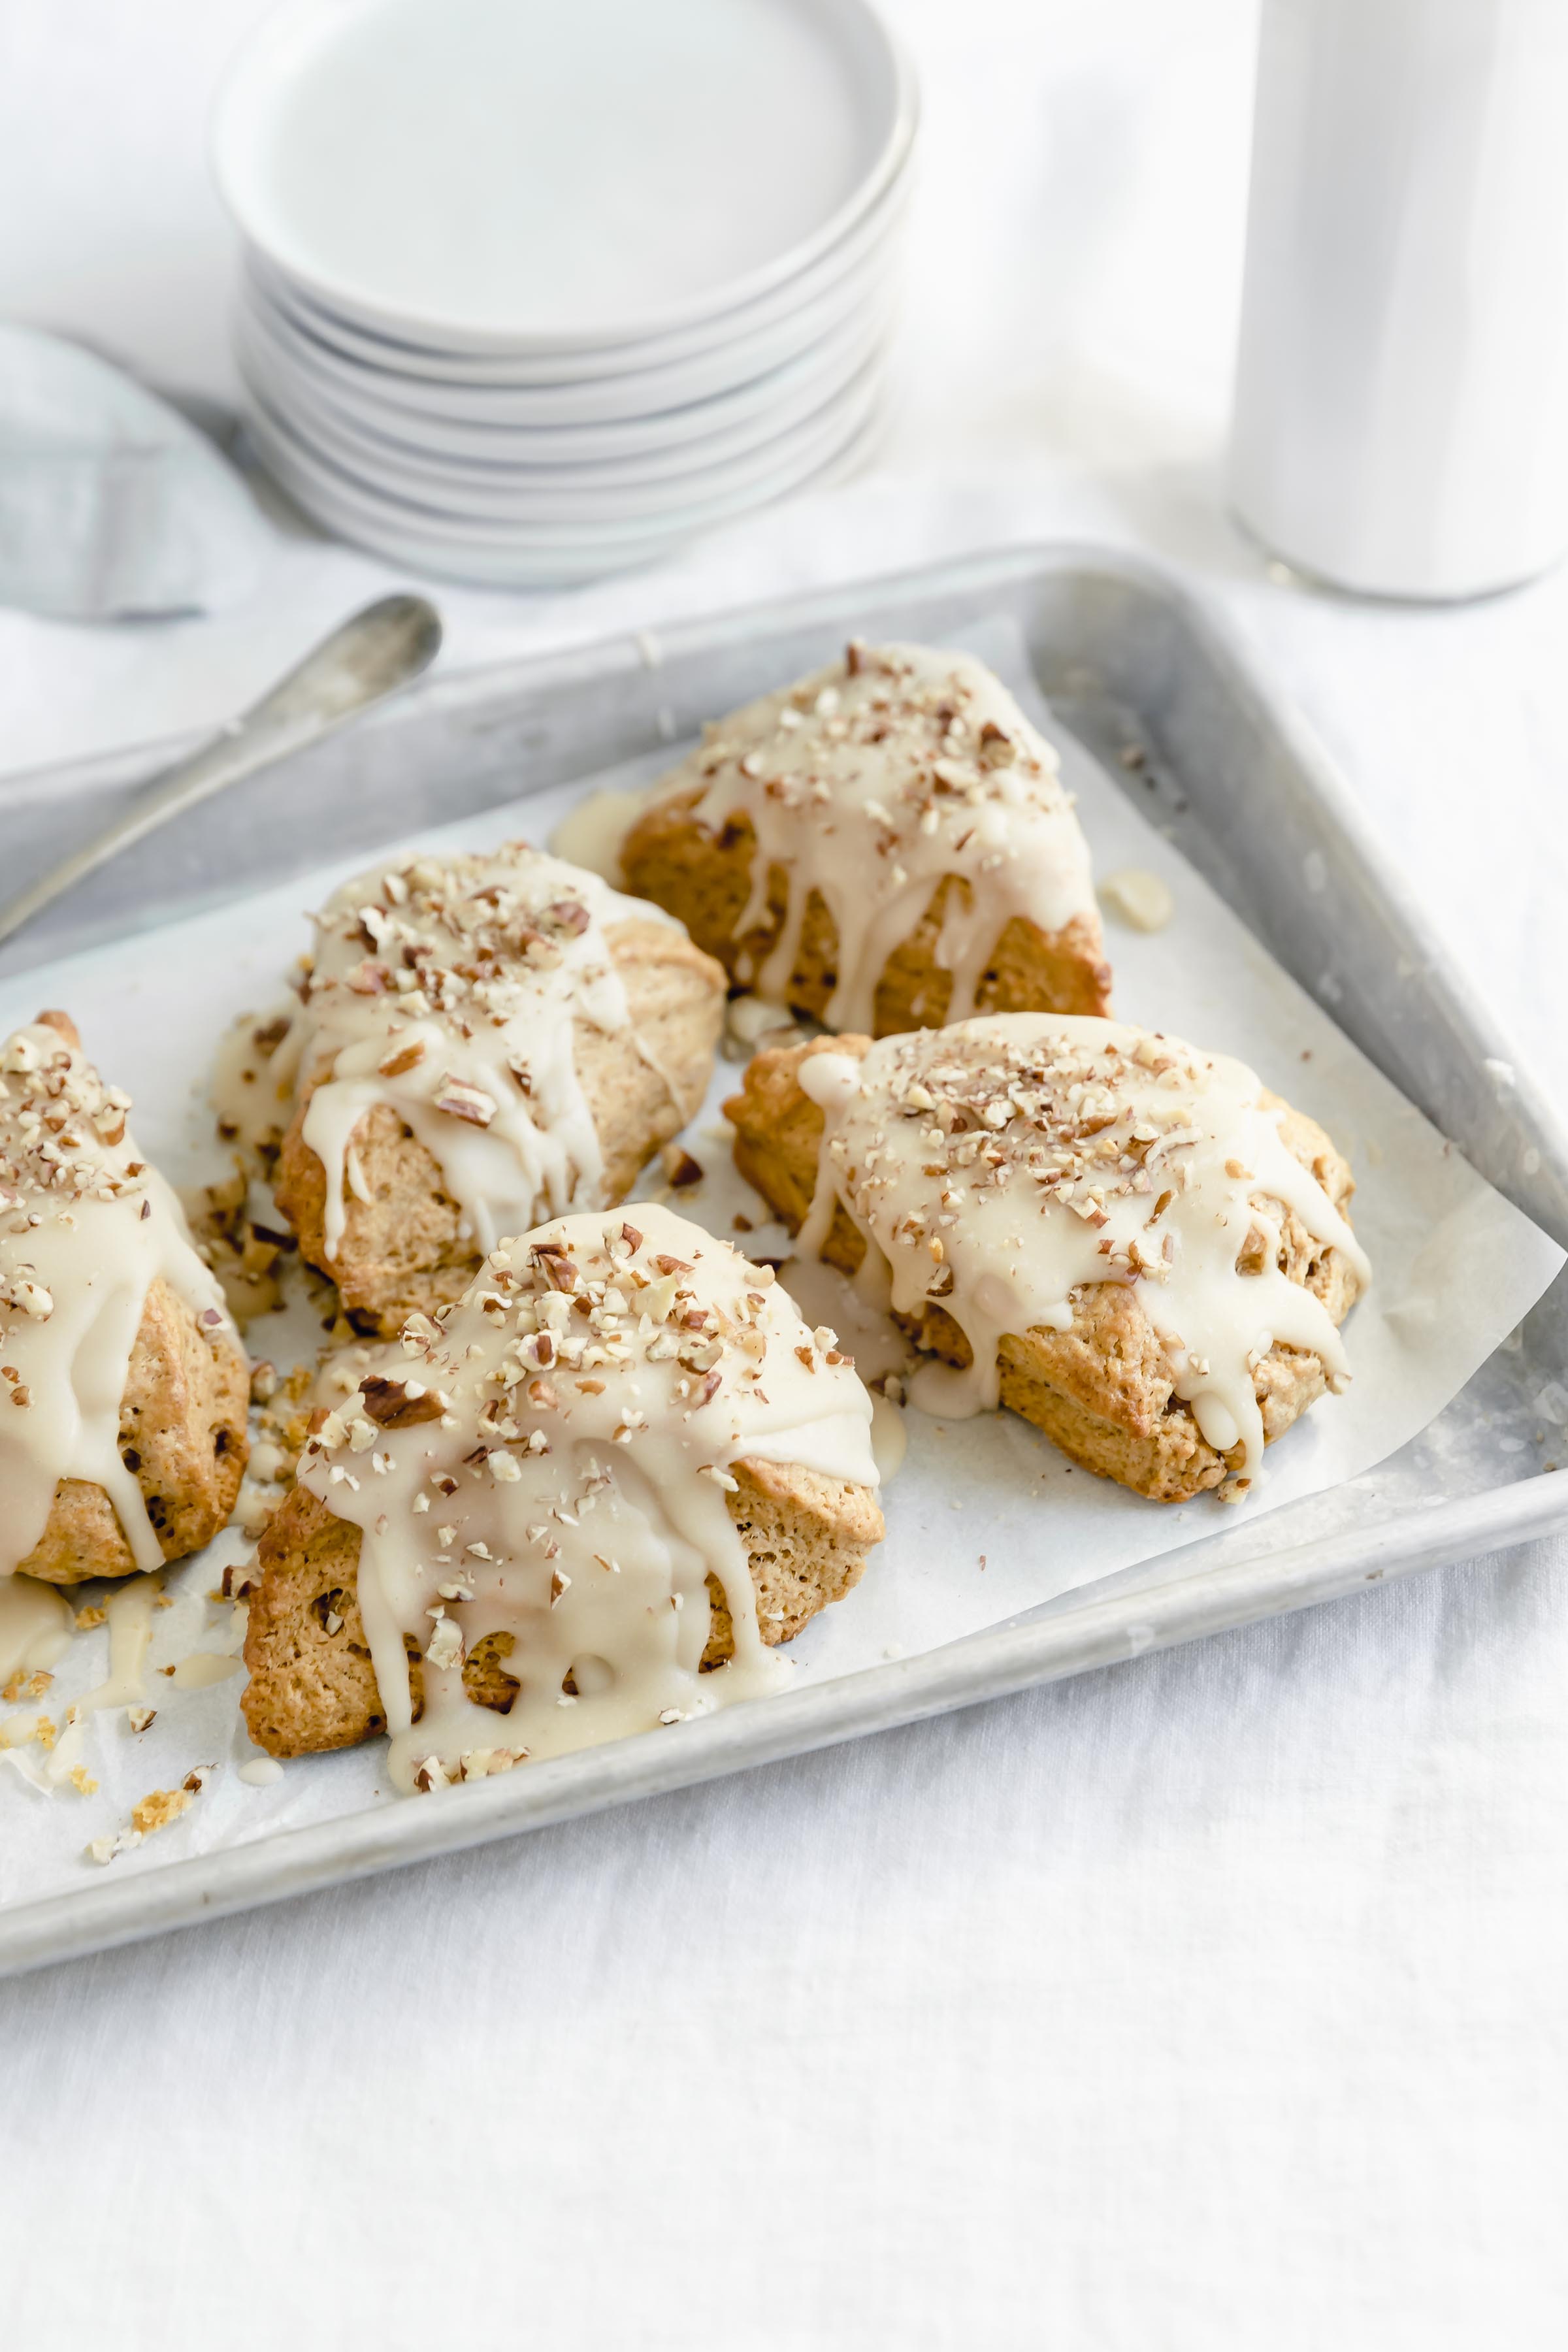
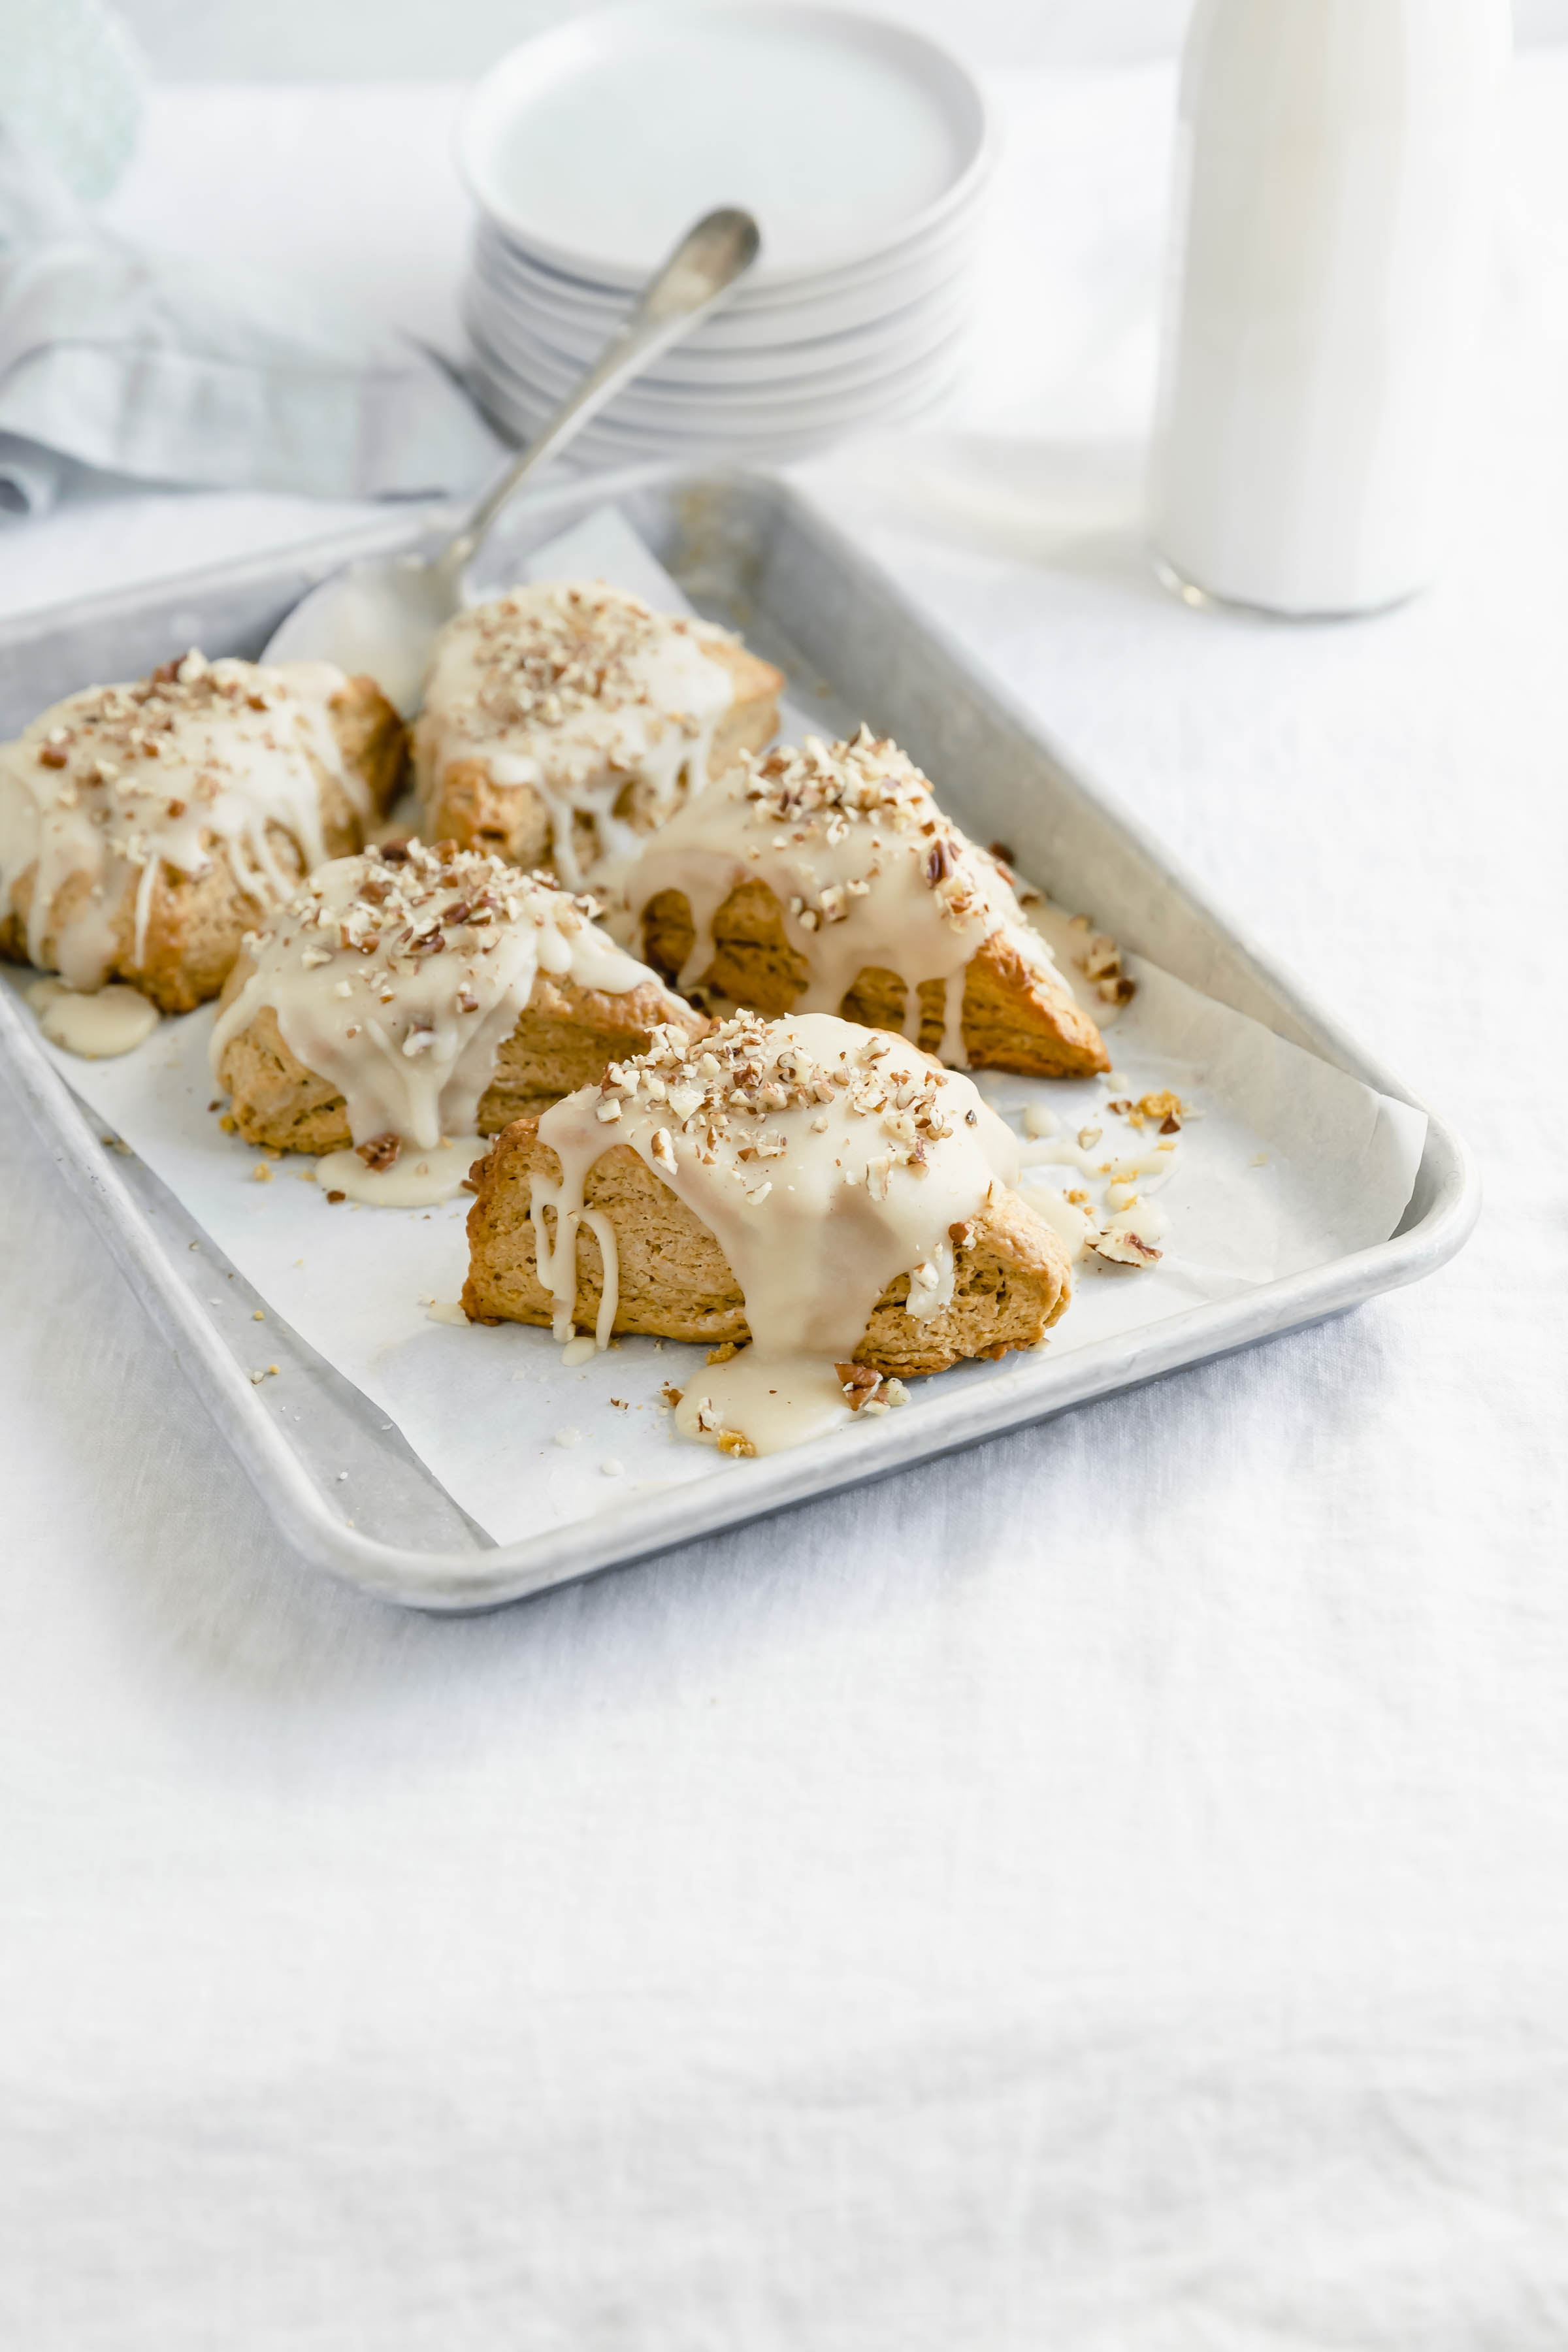
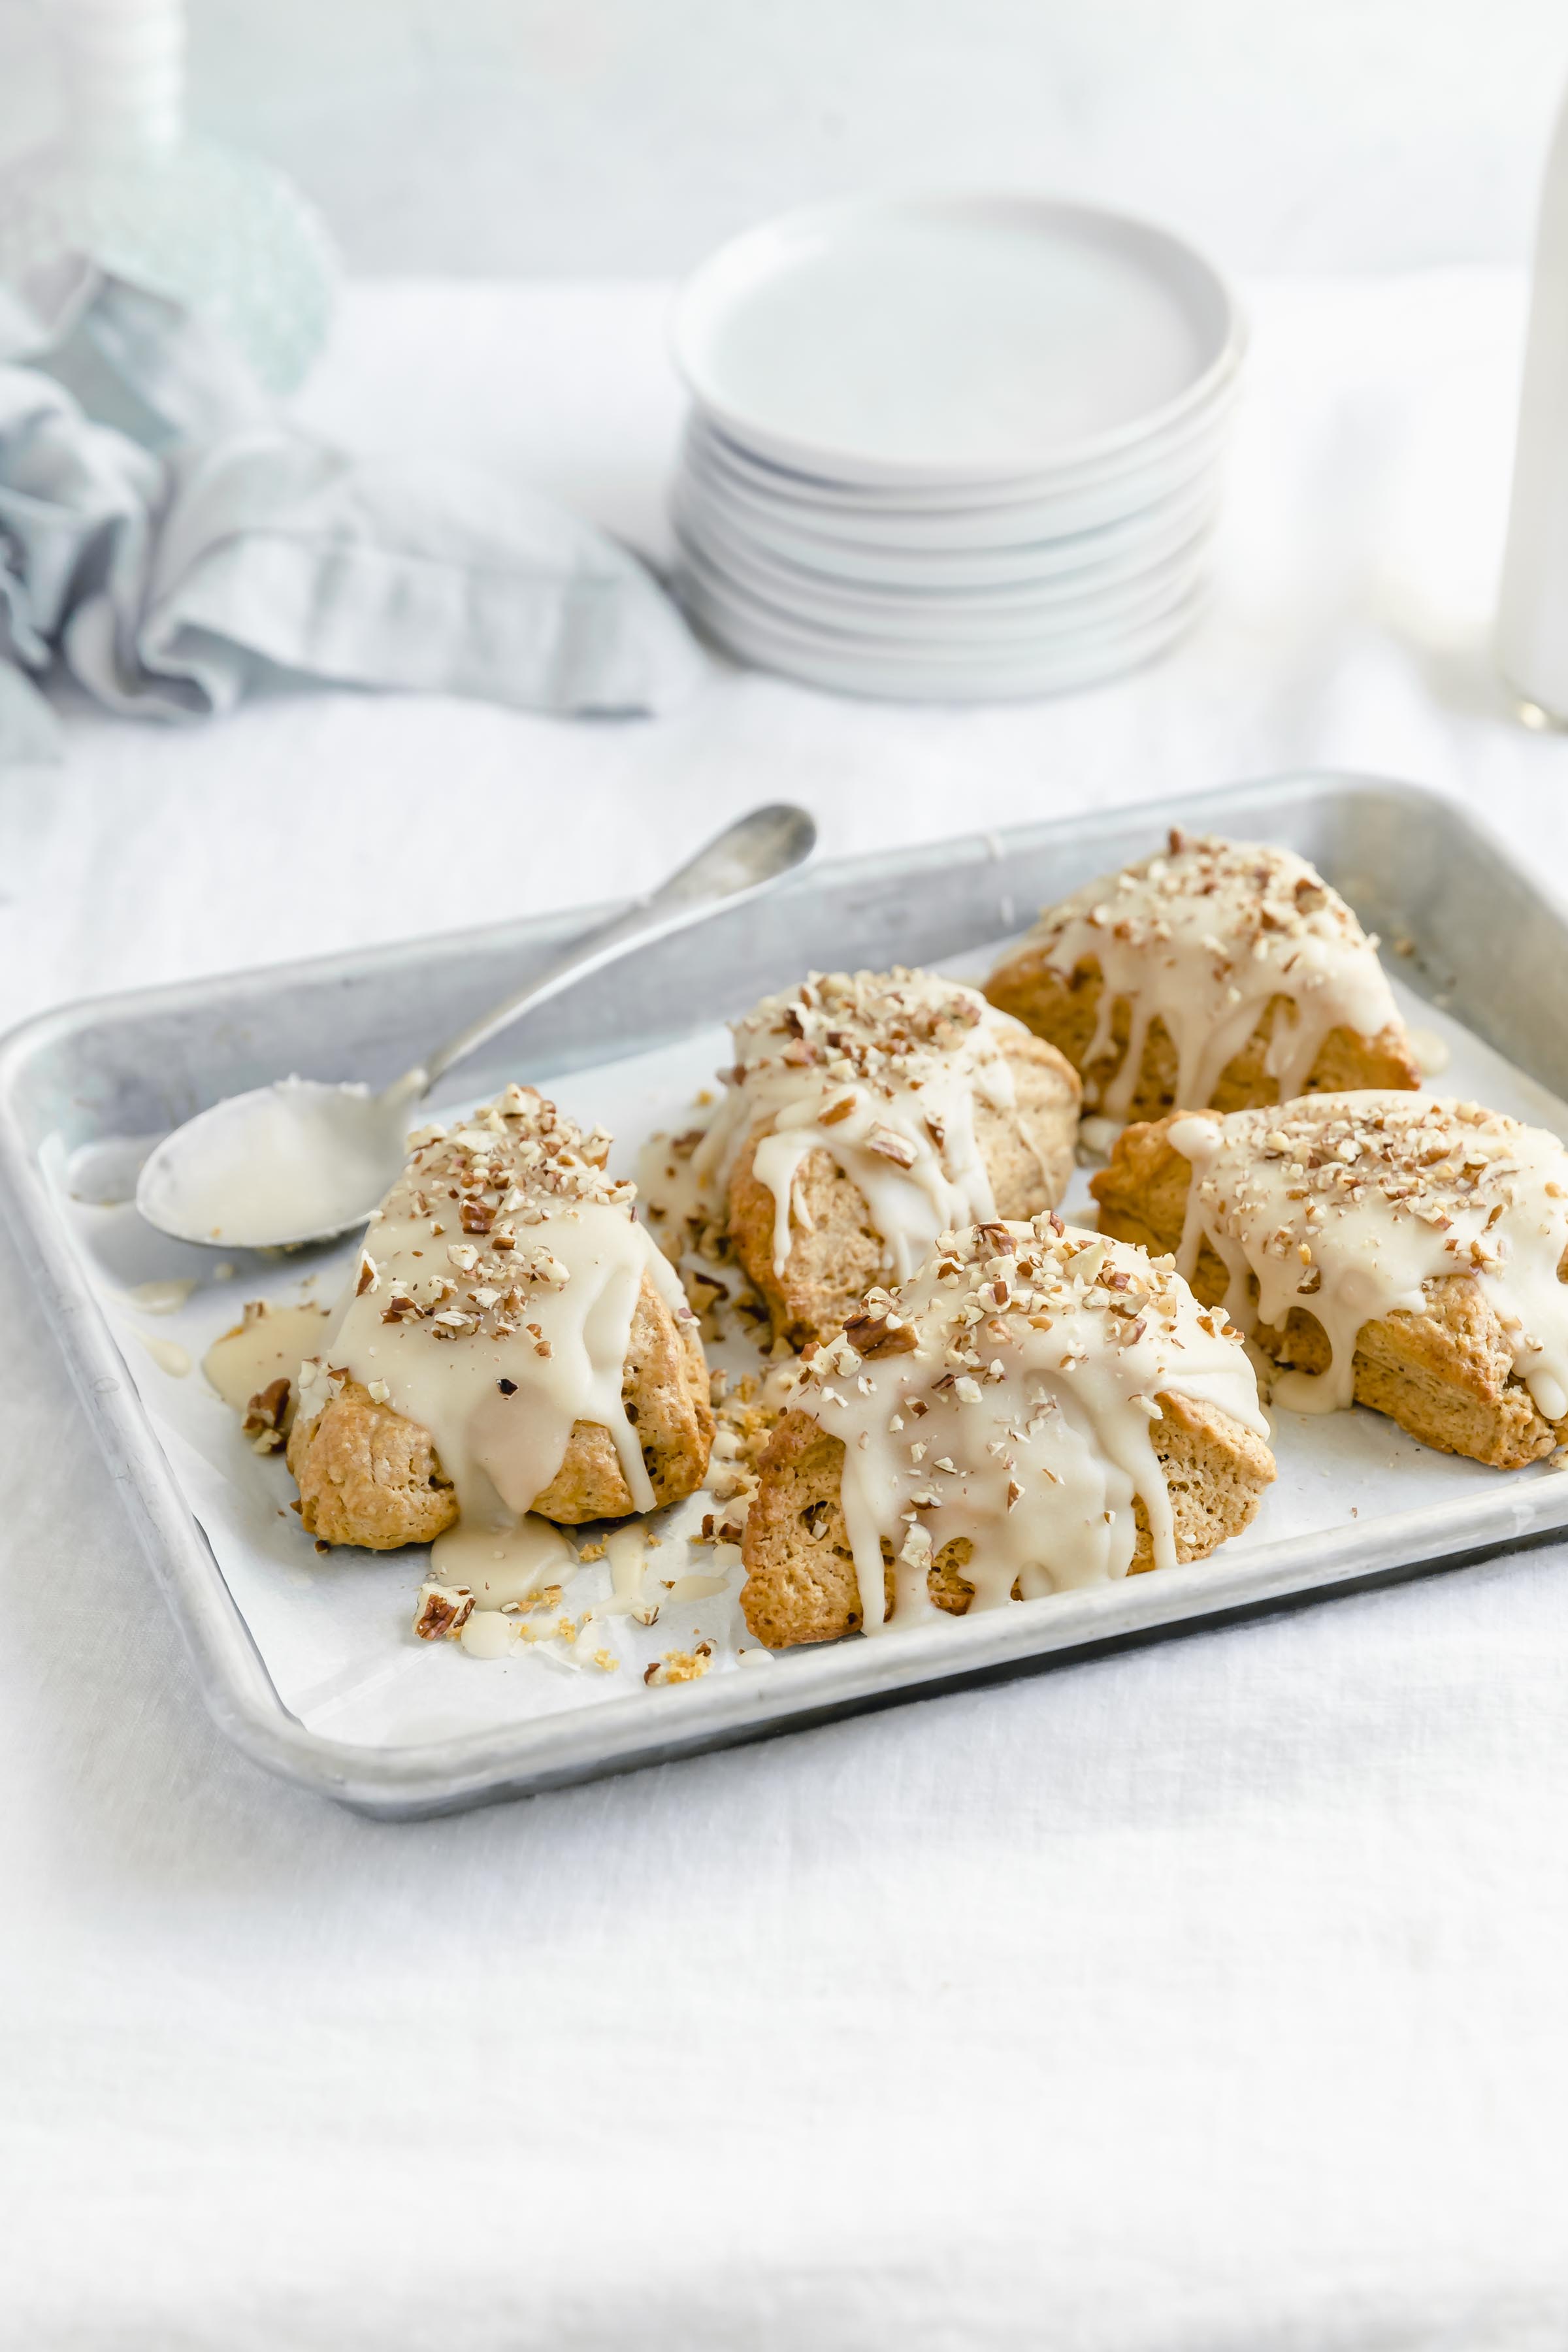
Yes, the rumors are true. Pumpkin season wages on. By now you might be getting sick of pumpkin. If you are feeling that way, I’m sorry, because pumpkin season is never over for us. And we’re keeping it going with these amazing pumpkin scones with an addicting maple pecan glaze.
Uh huh.
I tested this scone recipe while Sarah was on her honeymoon (this is Sofi, btw), and when she came back I told her we should do pumpkin scones. She shrugged, “Meh. I feel like we have enough pumpkin stuff already.”
But I fought for these scones. Tooth and nail. “No, you don’t understand. They are SO good.” And so I made them for her to convince her. I think you can guess what happened.
And here we are! Pumpkin scones for you too, because these are out of this world scones. I agree, Sarah agrees, and I’m sure you all will too once you’ve had a bite of this perfectly spiced, melt in your mouth, moist af pumpkin scones that put all other scones to shame.
When people think of scones they think dry, crumbly, heavy, tasteless…ew. These are the exact opposite. We truly cannot stop eating them.
How make moist af pumpkin scones
These pumpkin scones are dense, moist as can be, and seriously delicious thanks to an extra 1/3 cup of pumpkin in our traditional scone recipe. A combination of cold butter, cream and, you guessed it, pumpkin puree, gives these scones that dreamiest texture. Dense, but not too dense, tender, buttery…just downright delicious.
Our tips and tricks for the best pumpkin scones ever
Scones get a bad rap, but they’re actually super easy to make. And when made correctly, they’re just as delicious as all the other breakfast sweets.
- Use frozen butter: The key to good scones is cold dough. Cut your butter into cubes and then pop it in the freezer for at least ten minutes before using.
- DO NOT OVER WORK YOUR DOUGH: Want gross, dry, tough scones? Overwork your dough. Don’t want that? Only mix unitl just combined. And when I say just combined, I mean stop as soon as no clumps of flour remain.
- Bake at a high temperature: We bake our scones at 400°F. The higher temperature will give your baking powder an extra boost!
Happy pumpkin season, bbs! I can’t wait for you to fall in love with these pumpkin scones too!
XX
Sofi
P.S They pair very well with a PSL…just saying.
Print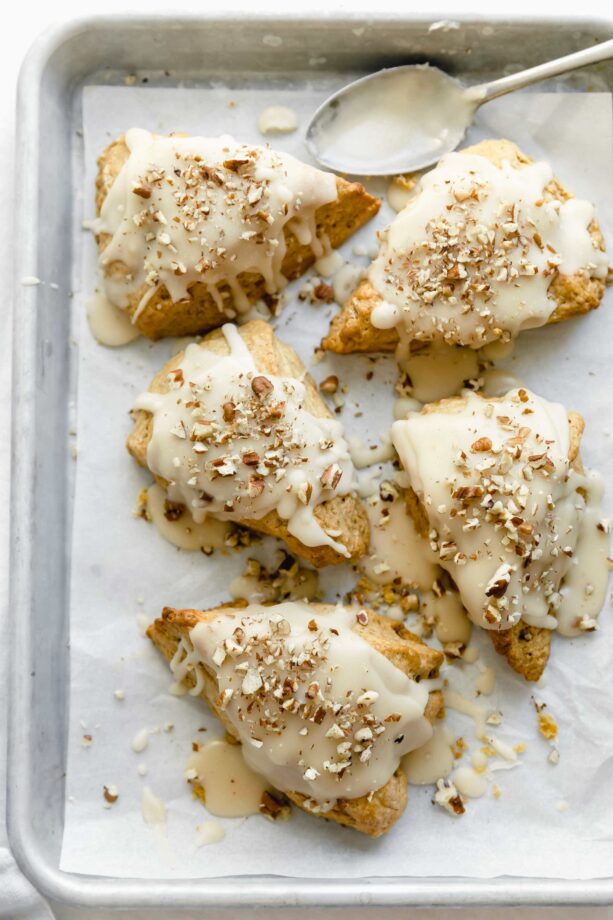
- Prep Time: 10 minutes
- Cook Time: 25 minutes
- Total Time: 35mins
- Yield: 8 large scones
- Category: breakfast
- Method: baked
- Cuisine: english
Pumpkin Scones
These mile high moist af pumpkin scones are the perfect spiced treat for any Fall morning or afternoon!
- Prep Time: 10 minutes
- Cook Time: 25 minutes
- Total Time: 35mins
- Yield: 8 large scones
- Category: breakfast
- Method: baked
- Cuisine: english
Ingredients
for the scones
- 2 cups all purpose flour
- 1/2 cup brown sugar
- 3 teaspoons baking powder
- 1/2 teaspoon salt
- 2 teaspoons cinnamon
- 1/2 teaspoon nutmeg
- 1/2 teaspoon ginger
- 1/4 teaspoon all spice
- 1/4 teaspoon cloves
- 1/2 cup unsalted butter, cold and cut into small cubes
- 1/3 cup pumpkin puree
- 5-7 tablespoons heavy cream
- 2 teaspoons vanilla extract
for the maple glaze
- 2 tablespoons maple syrup
- 2 tablespoon heavy cream
- 1 cup powdered sugar
- 1/2 teaspoon vanilla extract
- pinch of salt
Instructions
- Preheat the oven to 400°F and line a baking sheet with parchment paper.
- In a large mixing bowl sift together the flour, sugar, baking powder, spices, and salt. Place in the freezer for 10 minutes. Using a pastry cutter or a food processor cut the butter into the dry ingredients until the mixture resembles coarse sand.*
- Add the pumpkin, 5 tablespoons of heavy cream (to start), and the vanilla to the mixing bowl and use a fork to stir everything together until just mixed. The dough shouldn’t be wet, but should stick together so you can easily form a disk. If the dough is too dry or crumbly add in a tablespoon of cream at a time until the dough comes together. Be sure to not over mix or overwork your dough.
- Form the dough into an 8 inch circle* on a generously floured surface. It doesn’t need to be perfect, but try to keep it consistent in terms of thickness. You’ll want to flour your hands to make sure the dough doesn’t stick. Using a sharp knife cut the circle into 8 wedges, placing them onto the prepared baking sheet and inch or two apart. They will expand as they bake.
- Place a small amount of cream in a bowl and using a pastry brush, brush the top of the scones. Bake at 400°F for about 25-30 minutes or until the scones are just starting to brown at the edges and a knife inserted into the middle comes out clean.
- While the scones cook, make the glaze. Place the maple syrup, cream, powdered sugar, vanilla and salt in a medium size bowl and whisk until combined.
- Once the scones have cooled completely drizzle with the maple glaze. Top with chopped pecans or leave as is! Scones will keep well at room temperature in an airtight container for up to 5 days, or freeze for up to a month!
Notes
*If the butter is feeling melted or warm, stick the mixing bowl in the freezer for a couple of minutes to keep the butter cold.
* You can also make mini scones by splitting the dough in half and forming into two 5 inch circles. Cut each circle into 1/8ths for 16 mini scones!


Hi there! Could I prepare these up through step 4 the night before and then pop them in the fridge to bake in the morning?
Absolutely! I like to pop them in the freezer until baking off–it helps them keep their shape! They’ll take a little longer to bake from frozen so add 5 to 10 minutes onto the cook time!
Thank you so much for the quick response!
These turned out amazing! I wanted to make them dairy free so I just omitted the cream and added a couple extra tb of pumpkin puree. Love this recipe, will definitely make again!
Amazing scones. Very flavorful and tender. Easy to follow recipe too. We adapted to be “dairy free” and they were still fabulous!