


- Recipe Index

- Photography
- Backgrounds And Props
Backgrounds And Props

The first step towards a successful photoshoot is having great backgrounds and props. Now, I use these words interchangeably, because my photography style is more minimal and ingredient-focused. Smaller props like spoons and plates are useful in many situations, but I’ve found that you can create a variety of photos using minimal styling. Here I’ve focused on the main types of surfaces and backdrops I use in my shoots. Without further ado, the best food photography props you need!
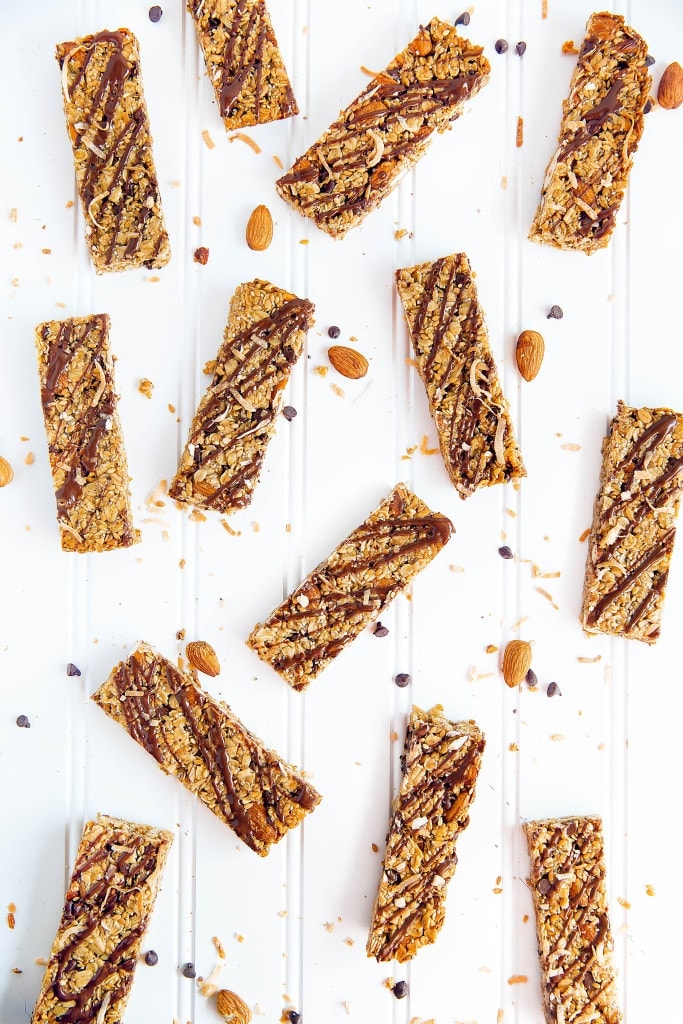
1.) PLAIN WHITE BOARD
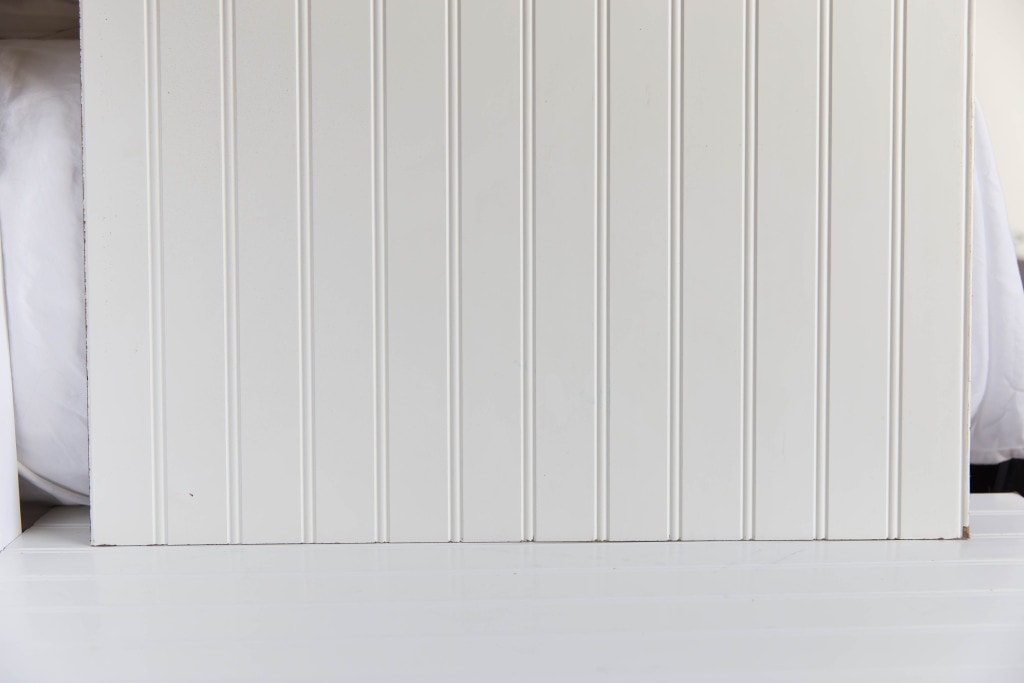
Why I Like It: I’ll start with my most useful background- my white bead board. I use it for the background in many of my shoots because it’s so versatile. The beading can give great texture, or the board can be more washed out for a clean white background. Mostly I’ll use it as a surface, but sometimes I’ll even place it vertically as a backdrop. I’ll shoot everything on it from granola bars to donuts. I love it.
Where To Buy: Best yet? I got two of these boards for $5 at Home Depot. Home Depot is a food photographer’s dream when it comes to backgrounds. You can find wood, marble, slate, and more. If you’re looking to buy a background, go to Home Depot.
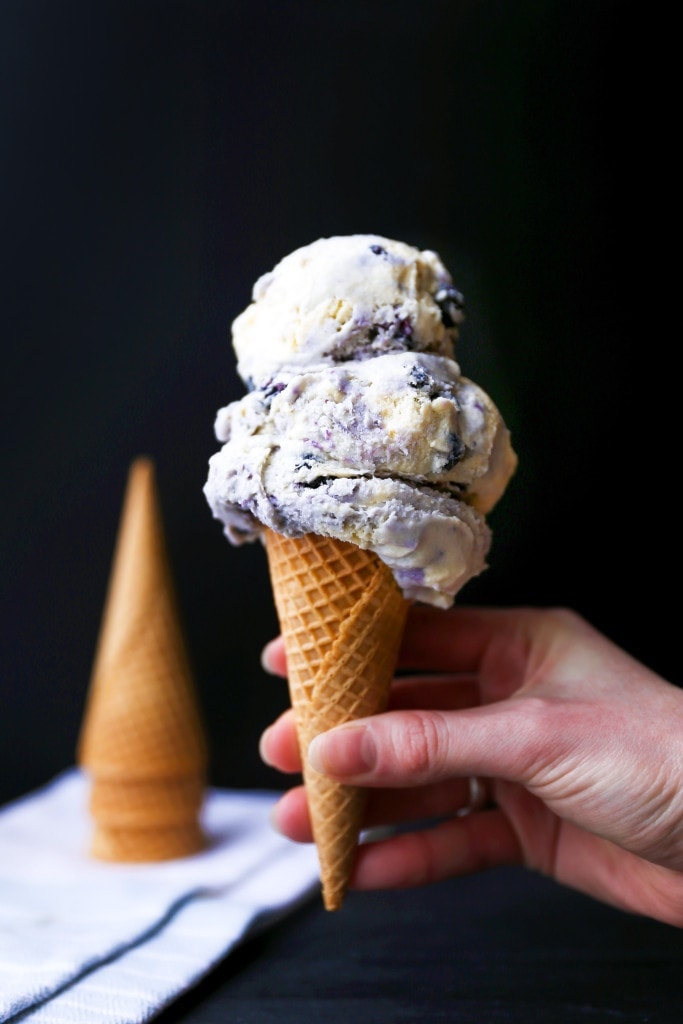
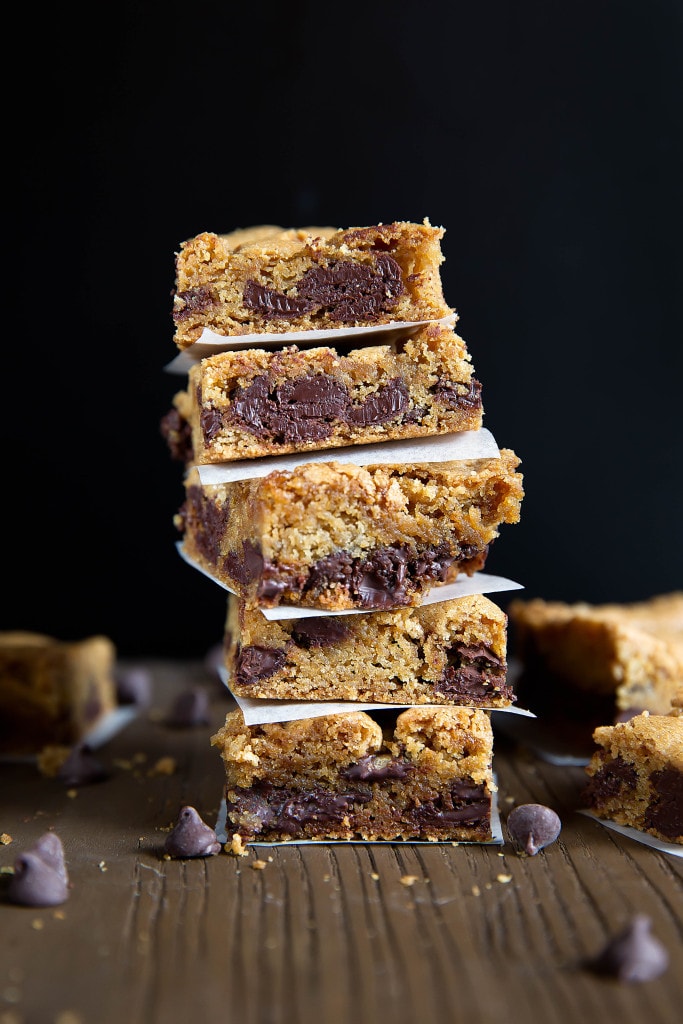
2.) PLAIN BLACK BOARD
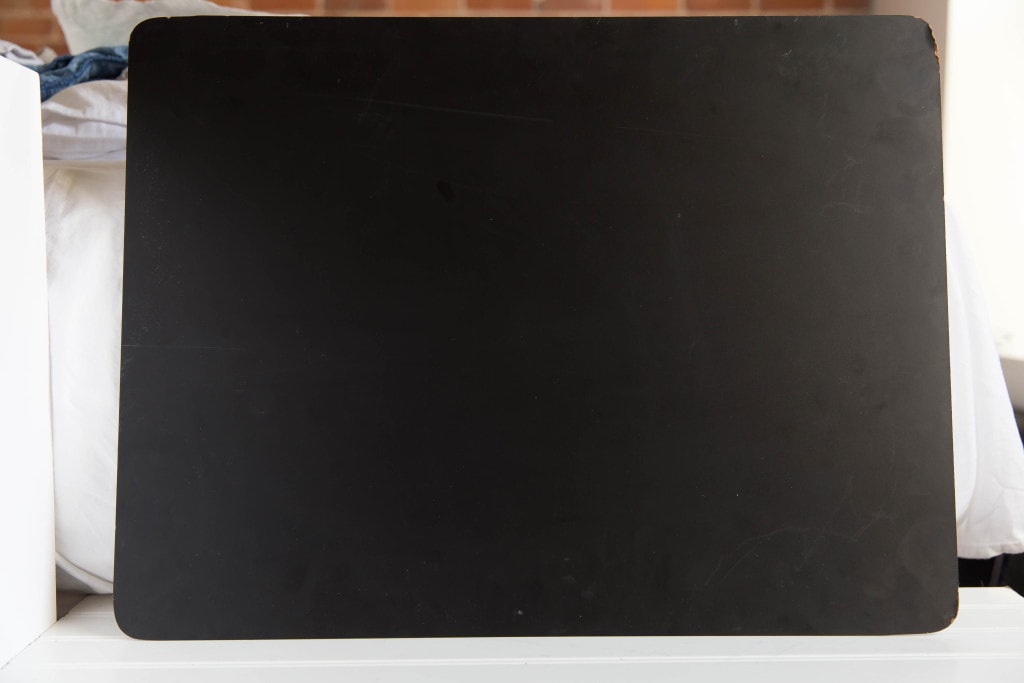
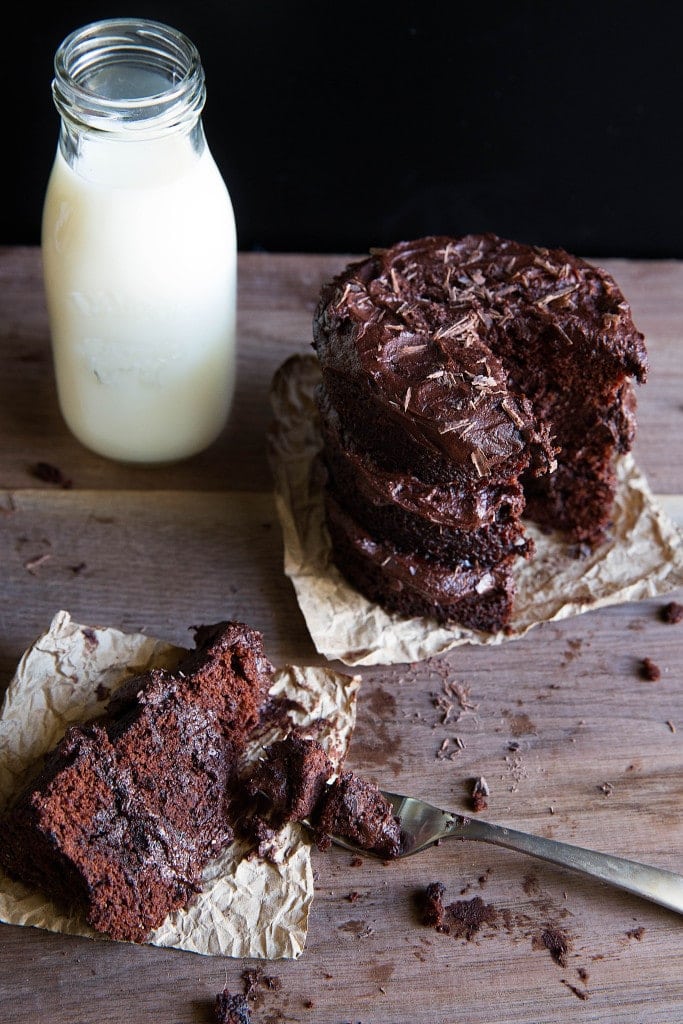
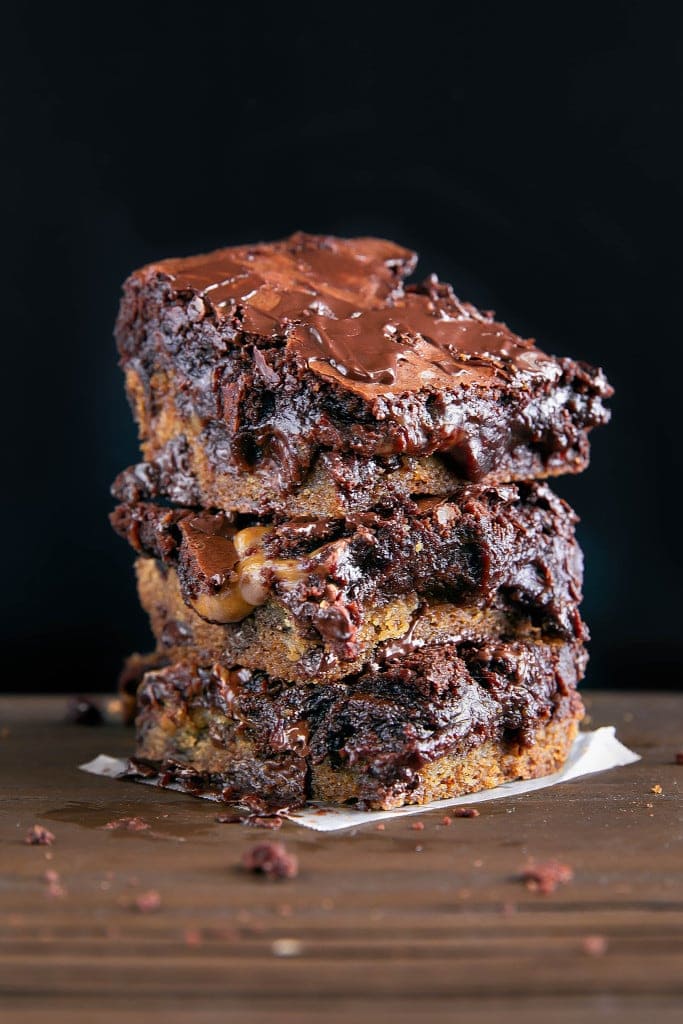
Why I Like It: My plain black board is my next most-used item in the Broma background pantry. This board is great because of how rich the black is- it really makes things pop. So use it when you are shooting things that you want to stand out, like a triple scoop ice cream cone or a big stack of blondies.
Where To Buy: I got two of these guys at Michael’s. It’s technically a chalkboard, but really is just a black matte board.
3.) MARBLE SLAB
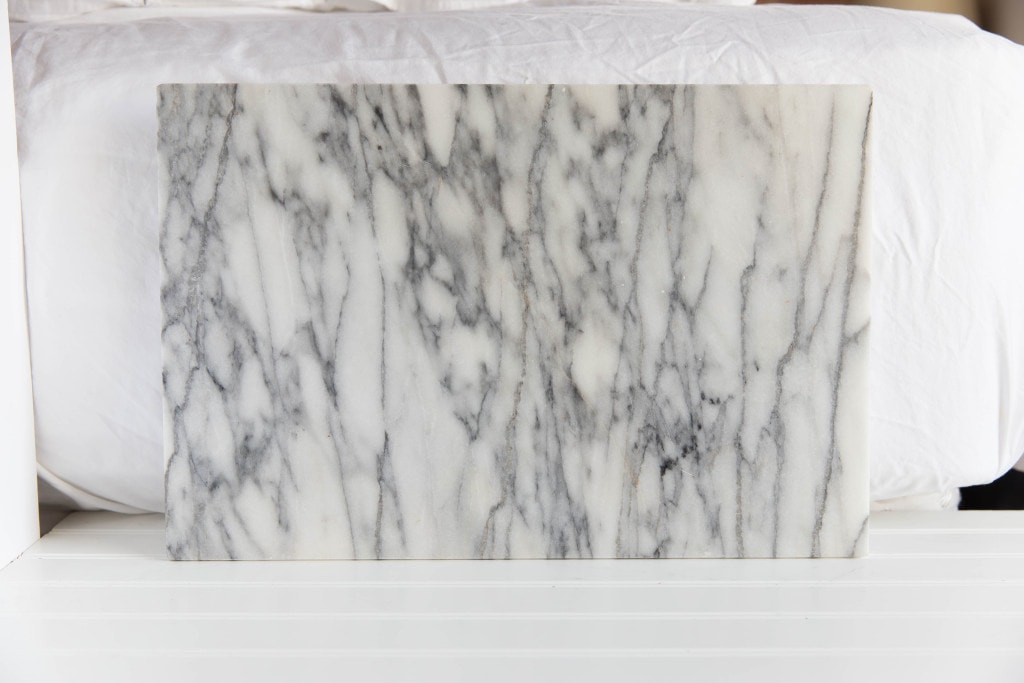
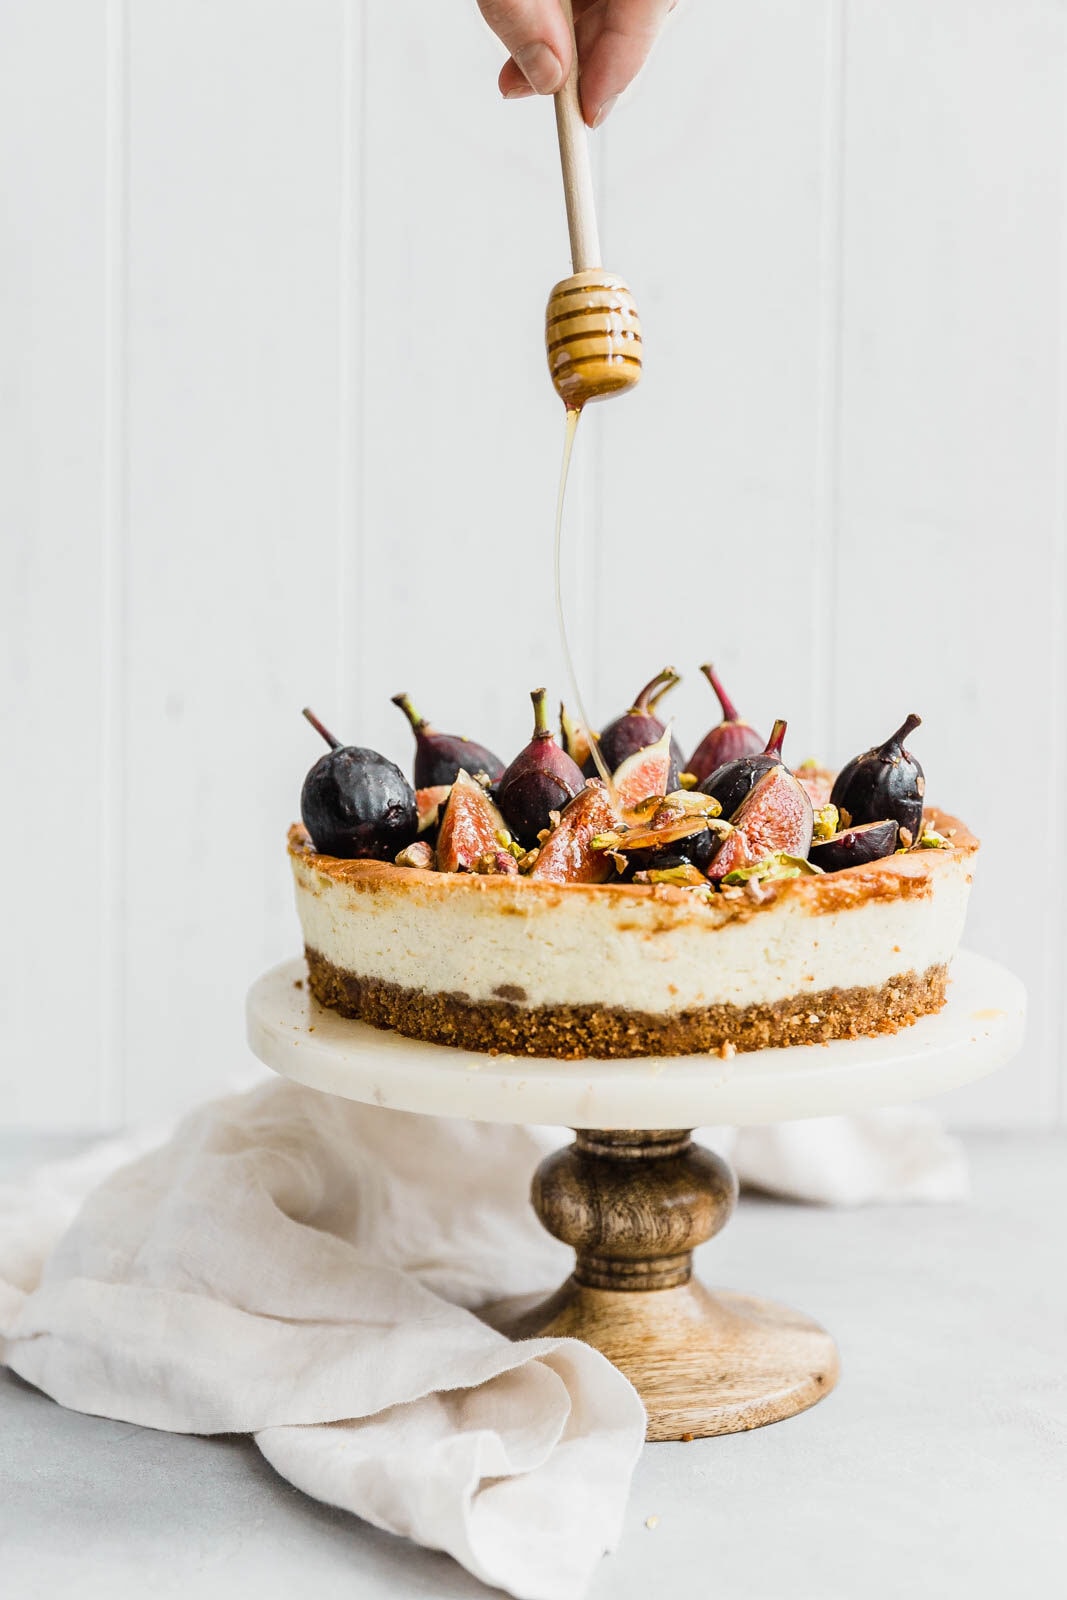
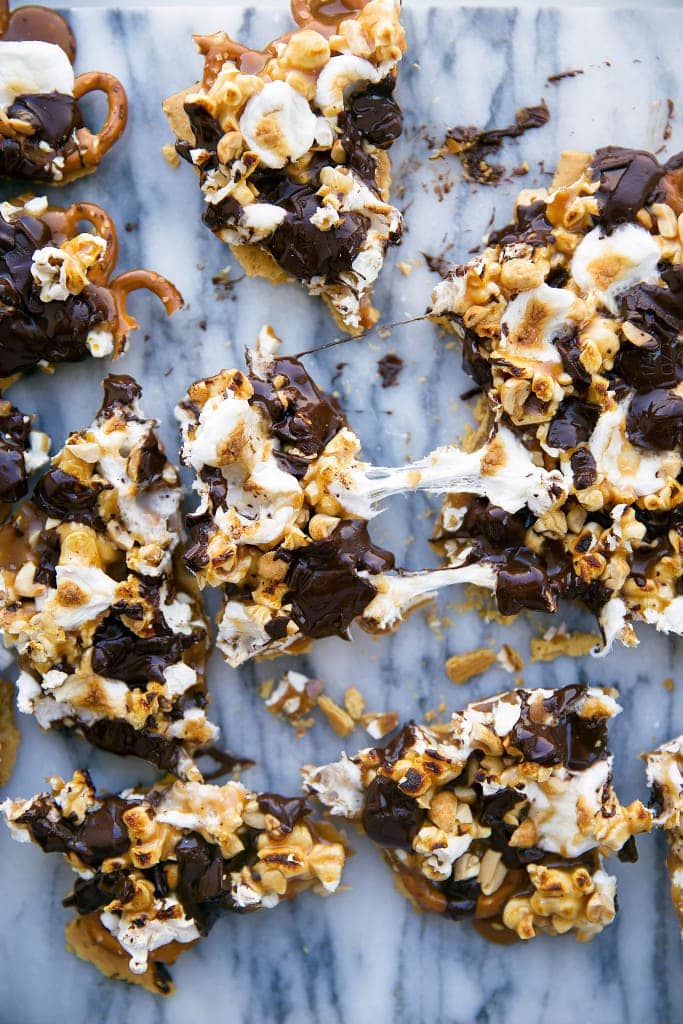
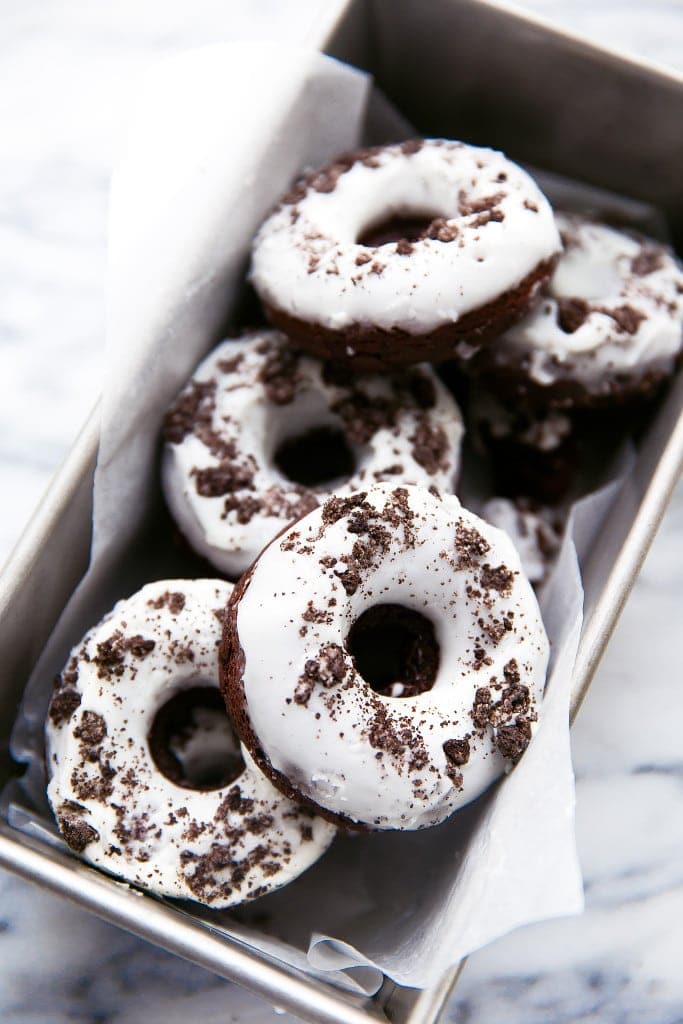
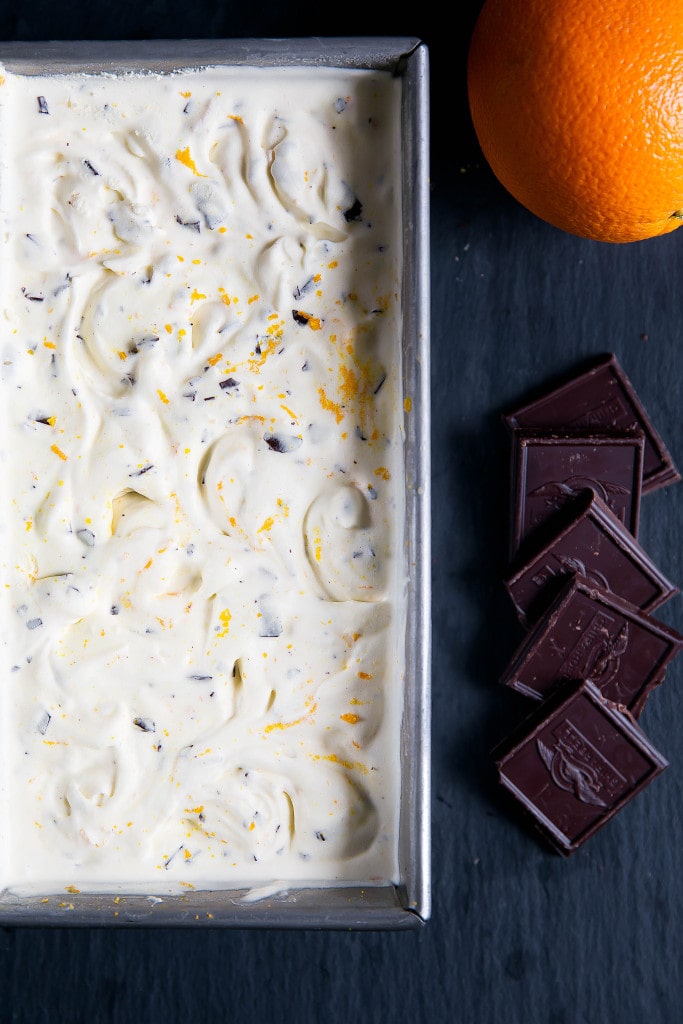
Why I Like It: I’ve had my marble slab for years. The veins have slight blue tones that photograph beautifully. Fun fact: next to black and white, blue tends to photograph the most harmoniously with food. So as you’re hunting for a marble slab, make sure to look for ones with blue tones in them. Sometimes in post-processing I’ll bring up the blues to highlight them, like in my circus bark, and at other times I’ll keep them natural so they seem more of a blue-grey, like when paired with my oreo donuts. It’s super clean, and makes it look like I photograph on a beautiful marble countertop!
Where To Buy: I got this as a gift, but I’m sure you can find similar ones at TJ Maxx and Homegoods.
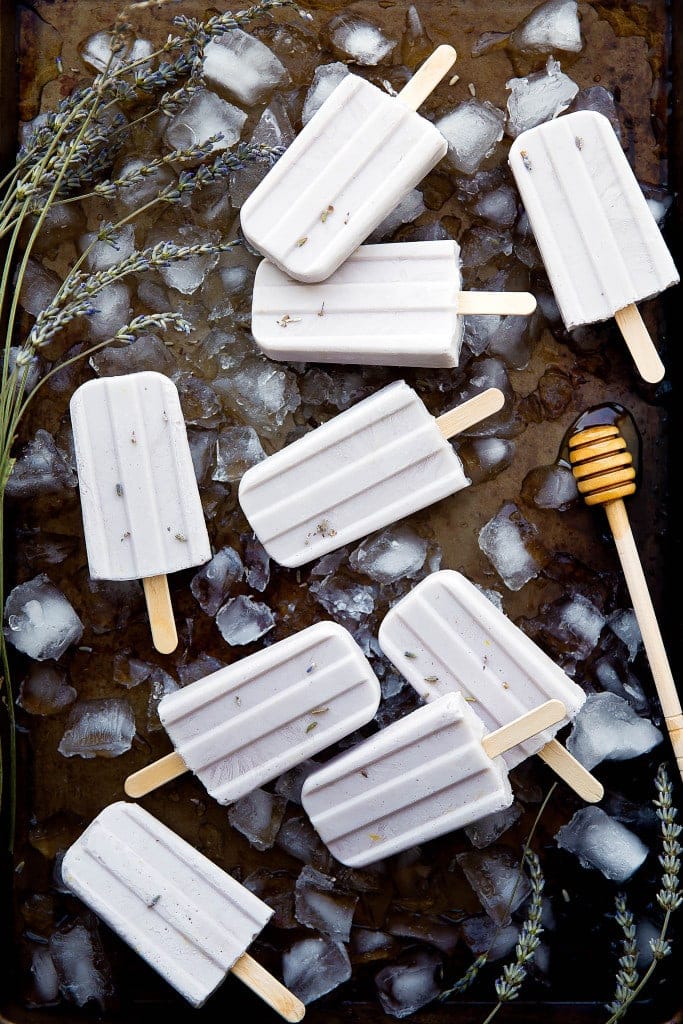
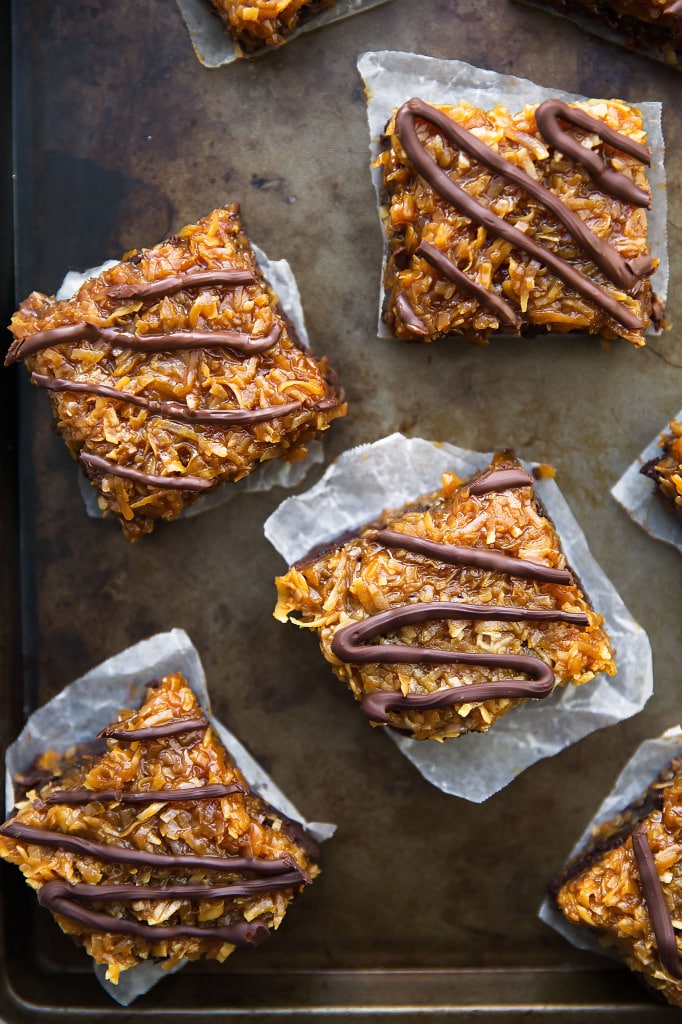
4.) RUSTY/ANTIQUE/DARK COOKIE SHEET
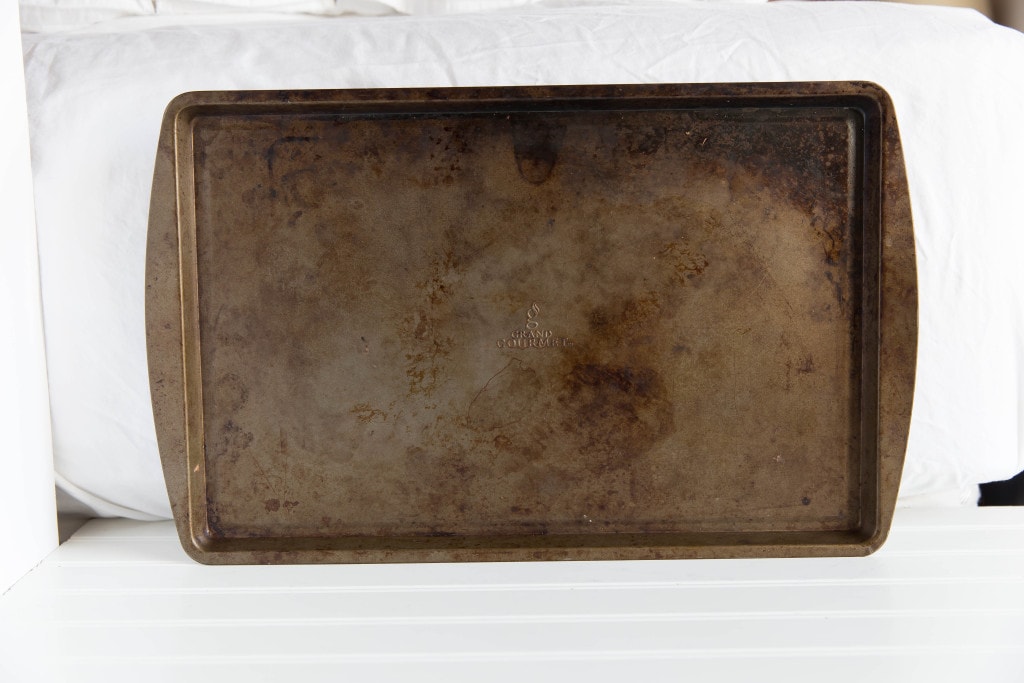
Why I Like It: Rusty cookie sheets are one of my favorite things to photograph on. It makes the shot look rustic and organic, opposed to clean and sterile that a plain black or white background can produce. Some of my best shots have been photographed on rusty cookie sheets. I typically use this background when shooting freeform things, like a group of popsicles or samoa brownies.
Where To Buy: I would bet money everyone has one of these in their house! But if you don’t, head to your local antique store, or ask a relative if they have one they’re willing to pass up.
5.) LIGHTER COOKIE SHEET
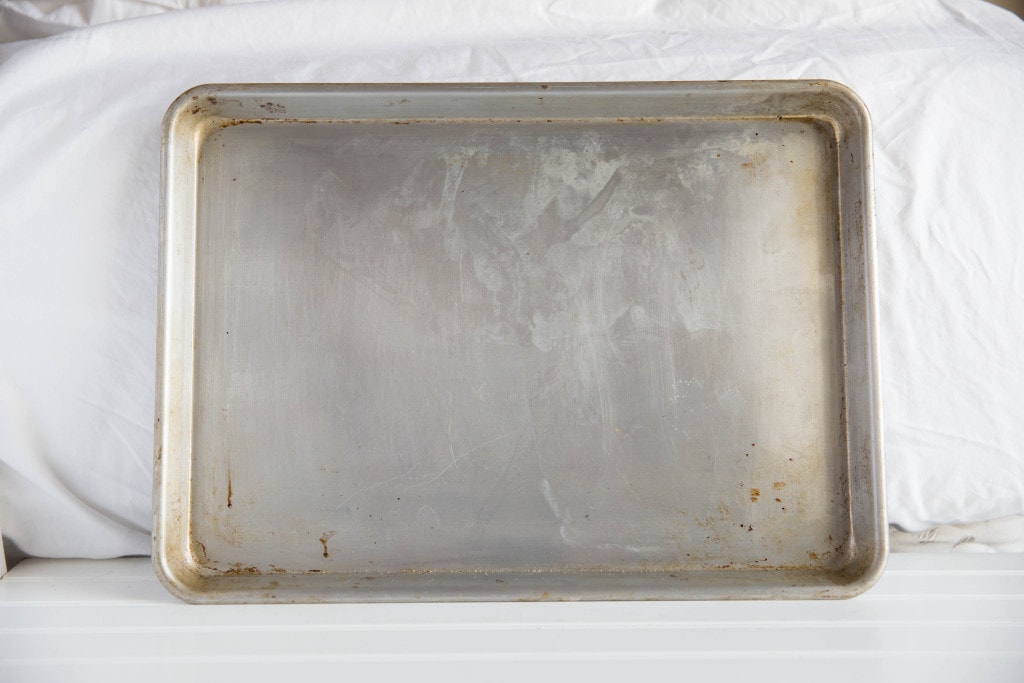
Why I Like It: I’ve just started using my light cookie sheet more, and I’m loving it! Metal photographs really nicely against food because of how matte it is, and at the same time how much it reflects light back onto the photo. Just like in the lemon meringue cupcake photo below on the left, it can take on those beautiful blue hues, or you can place a piece of parchment paper over it for a light grey background like with the cookie dough on the right. I’ll shoot lighter things on my light cookie sheet when I don’t want them stark against a pure white background.
Where To Buy: Again, super versatile, and it’s probably a staple you already have in your house. If not, Costco has some great ones.


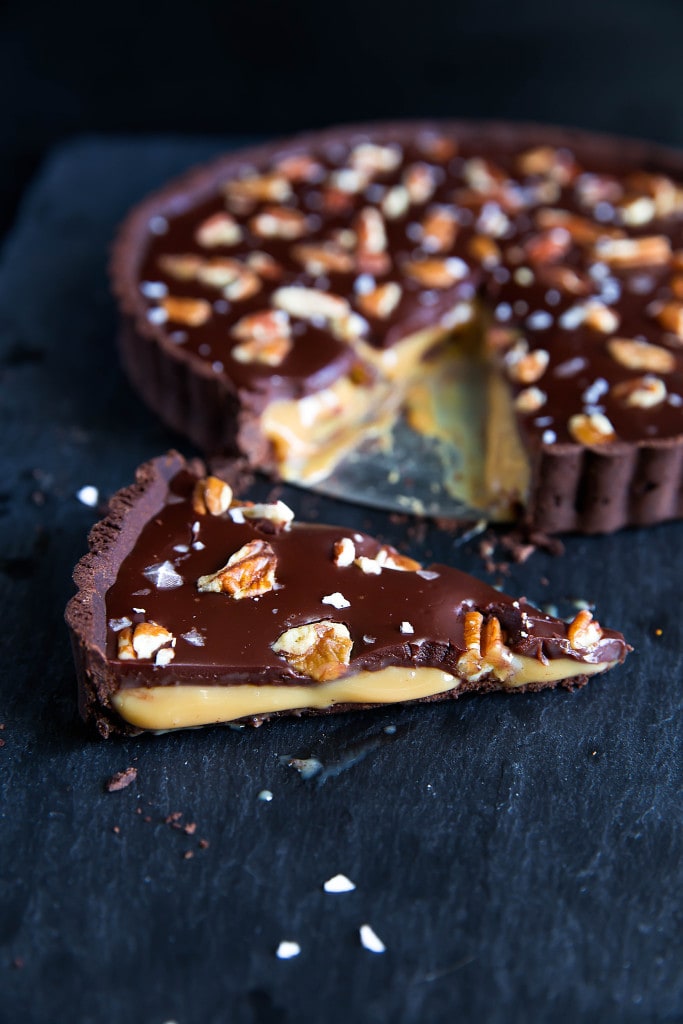
6.) BLACK SLATE BOARD
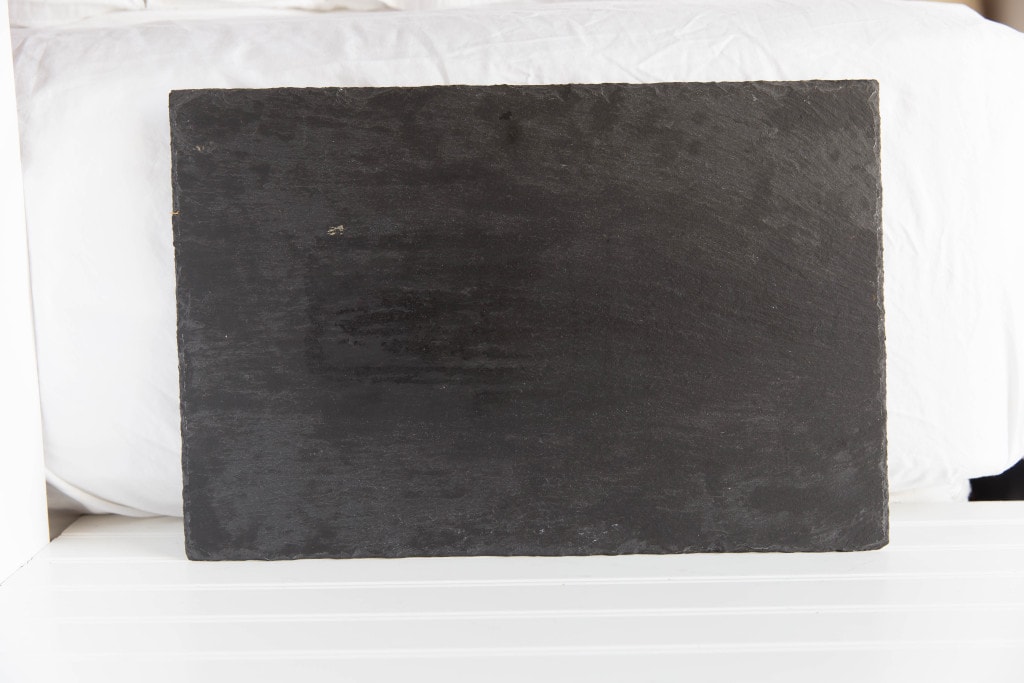
Why I Like It: This one is really fun because of its texture. Sometimes when my black matte board is too plain I’ll reach for my black slate board. Just like my rusty cookie sheet, it has a more organic feel to it, which can be a great contrast against rich things like chocolate or salted caramel.
Where To Buy: I got this baby at World Market. You can probably find similar ones at TJ Maxx and Homegoods.
7.) WOOD SLAB
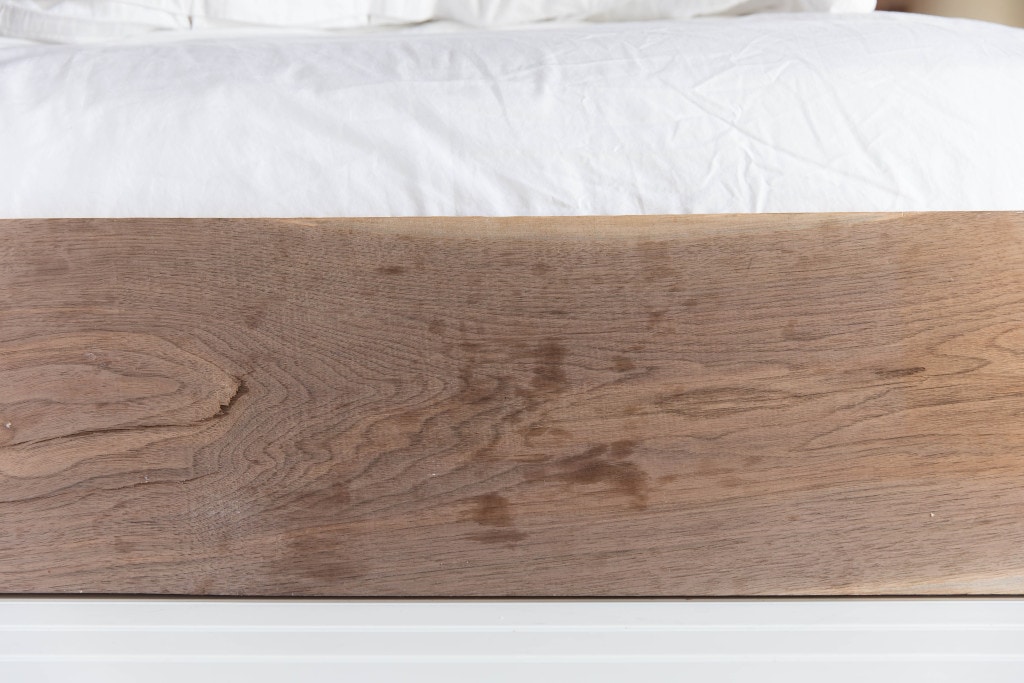
Why I Like It: Wood is a great surface to photograph on. It brings in texture, lines, and different shades of brown. I’ve found that darker things work well with wood, as they pick up the darker tones in the wood. Often, I’ll pair my wood with a black matte backdrop to make it pop.
Where To Buy: I got some beautiful walnut planks at a reuse center. If you have one by you, check there first, or go to a lumber yard and ask to see their scrap piles. You don’t need something big- just a few feet long and wide.
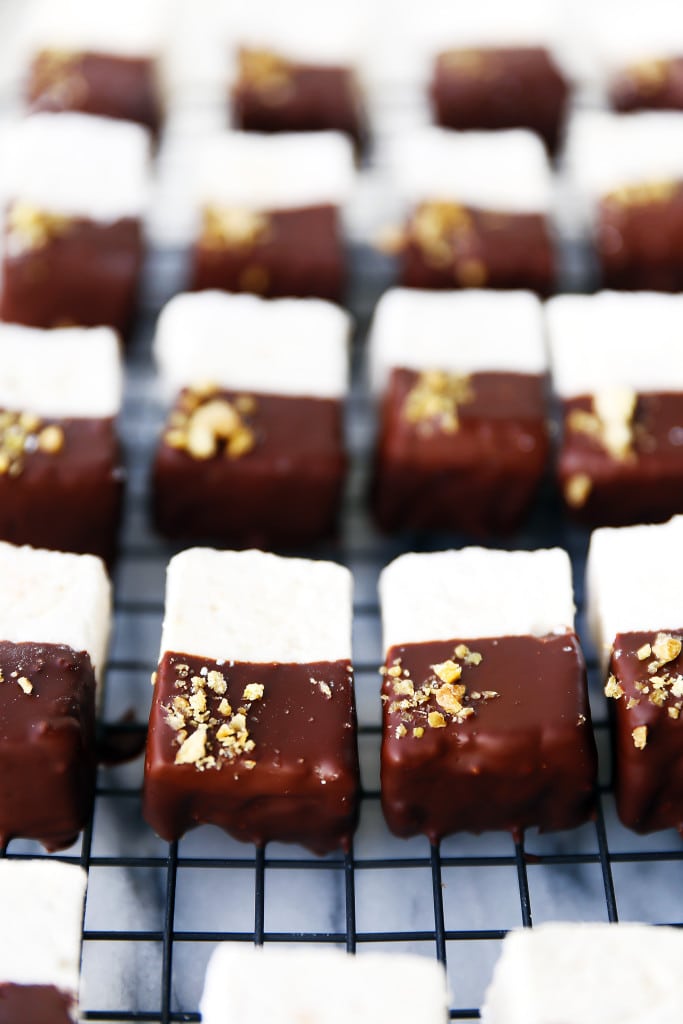
8.) COOLING RACK
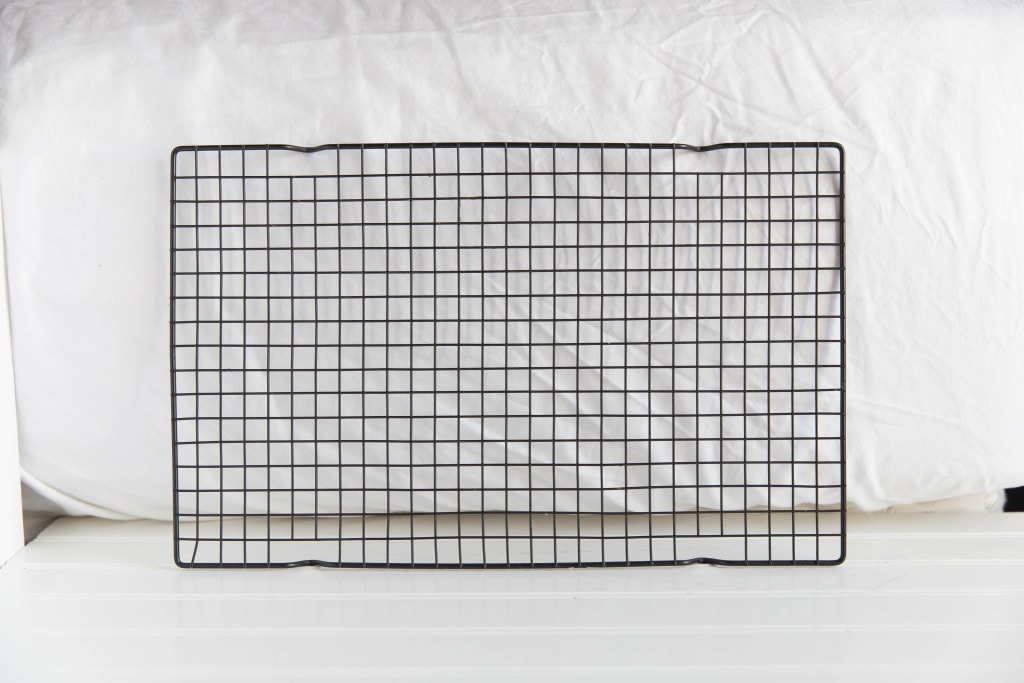
Why I Like It: My cooling rack does double duty; I use it functionally in baking and aesthetically in photoshoots. I love placing it against a white surface so the black lines stand out. I’ve found the best things that photograph on a cooling rack are things that are repetitive (donuts, marshmallows, cookies, fudge, etc). Everything comes together to create a structured composition.
Where To Buy: I think I got mine at the grocery store. Any kitchen supply store will do.

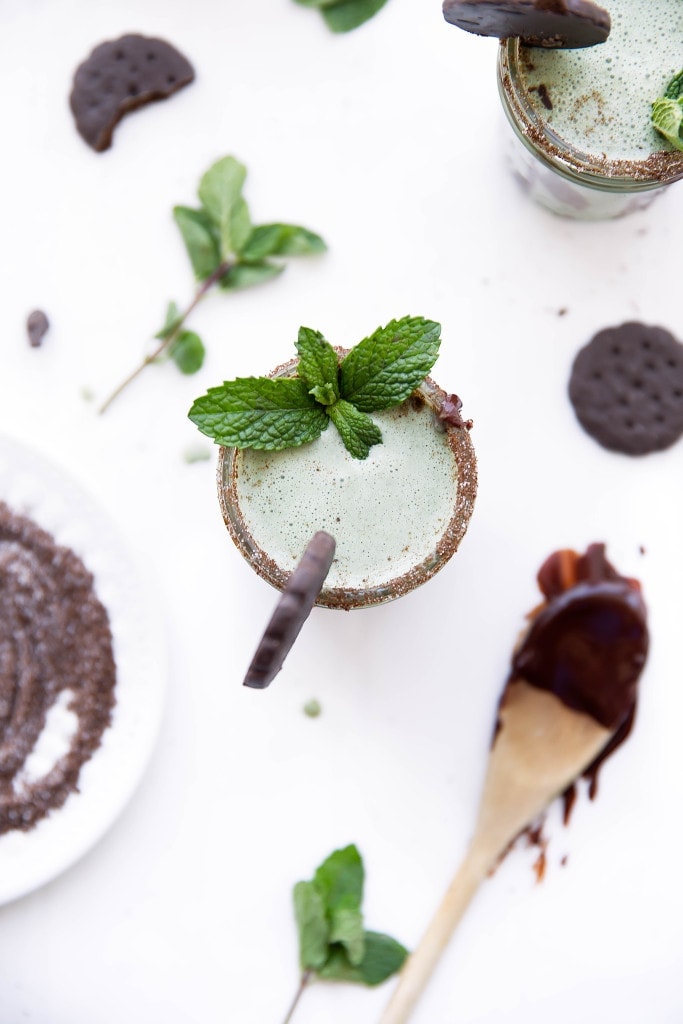
9.) PARCHMENT PAPER
Why I Like It: I love shooting on parchment paper partially because it’s so easy and partially because it looks so good! It gives an amazing blur to the background that you can’t get on a plain white board. It’s almost like the surface disappears and all you see is the subject of the photograph. I’ll shoot on parchment when photographing darker things that I want to pop, like flourless chocolate cookies or a thin mint milkshake. Sometimes I’ll crumple it up to give it some texture, and sometimes I’ll lay it flat in two or three layers.
Where To Buy: Grocery store!

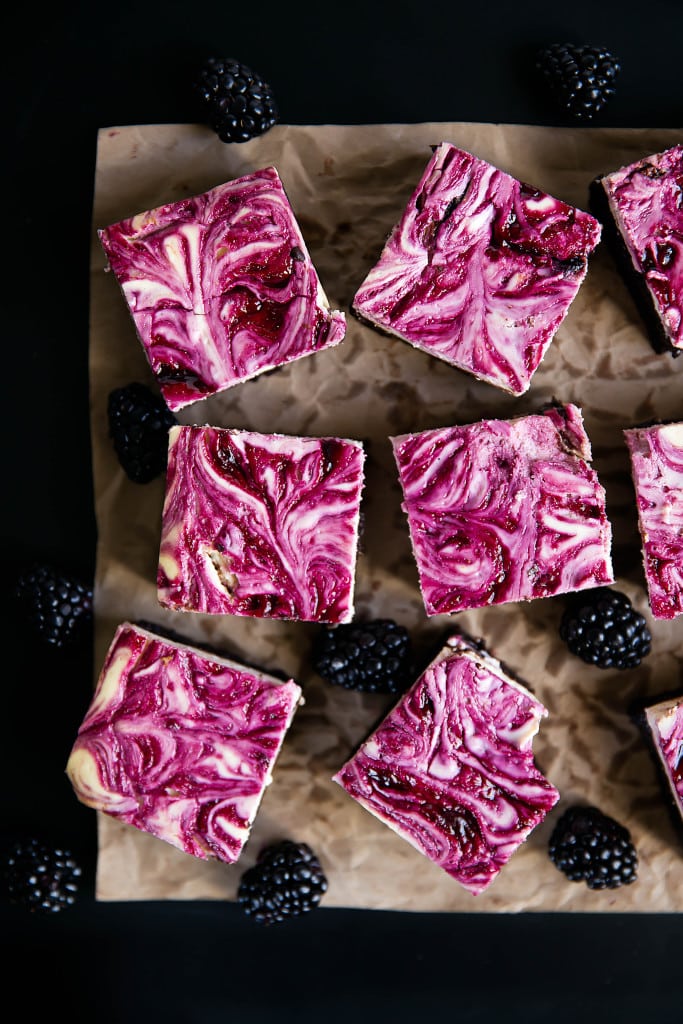
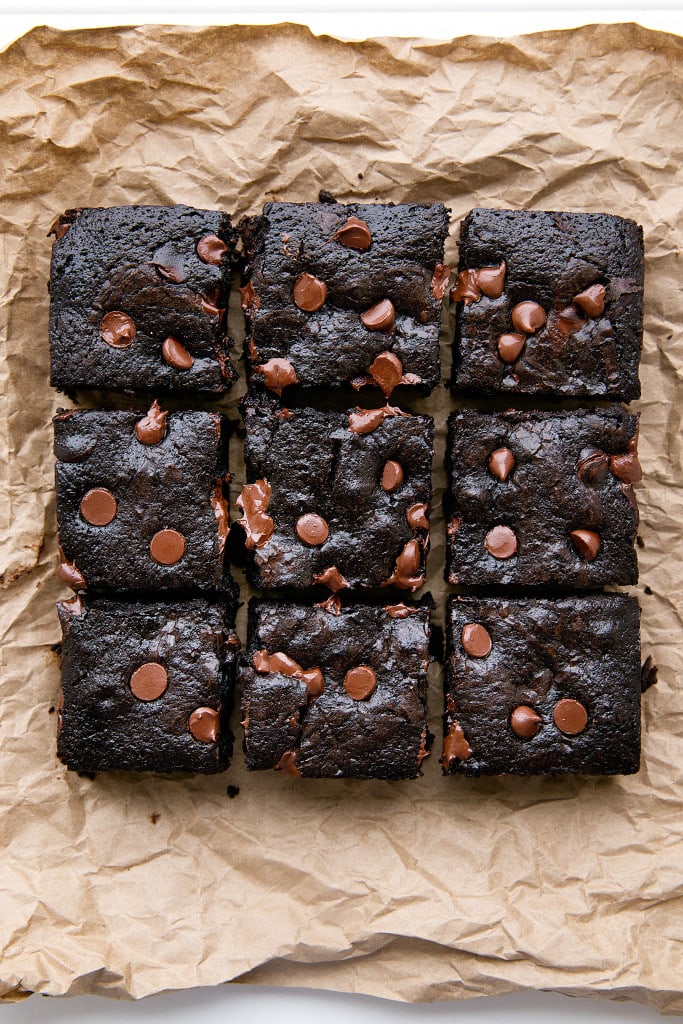
10.) BROWN PAPER
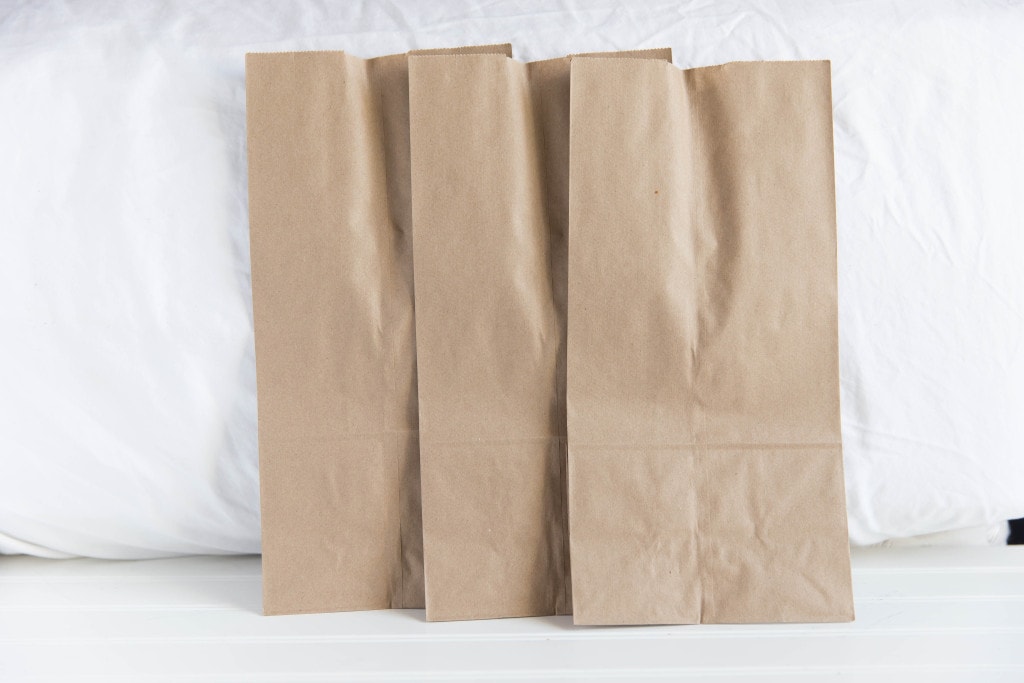
Why I Like It: Sometimes I’ll open up brown paper bags, crumple them up, and use them as a surface. They work well against black and white alike, and bring a little bit of color into your photograph. Warmth can be really nice in food photography, and brown bags bring a definite warmth to photos. I shoot on these when I want something with structure to look more homemade, like in both photos below of square brownies.
Where To Buy: Grocery store!
Hi Lady,
I just signed up for your newsletter a few days ago and already I love them! I wish you could also add links to all the recipes you’ve referenced above. Other than the props ideas being really great, it would be nice to also be able click on the food on top of them. Thanks!
What sizes do you use for your boards/slabs? Thanks!
All different sizes! I have some that are huge and some that are tiny!
Quick Question! What are the measurements for the boards/slabs that you have? These tips were so helpfully but I want to make sure I purchase the right sizes! 🙂