


- Recipe Index

- Desserts
- Cakes & Cupcakes
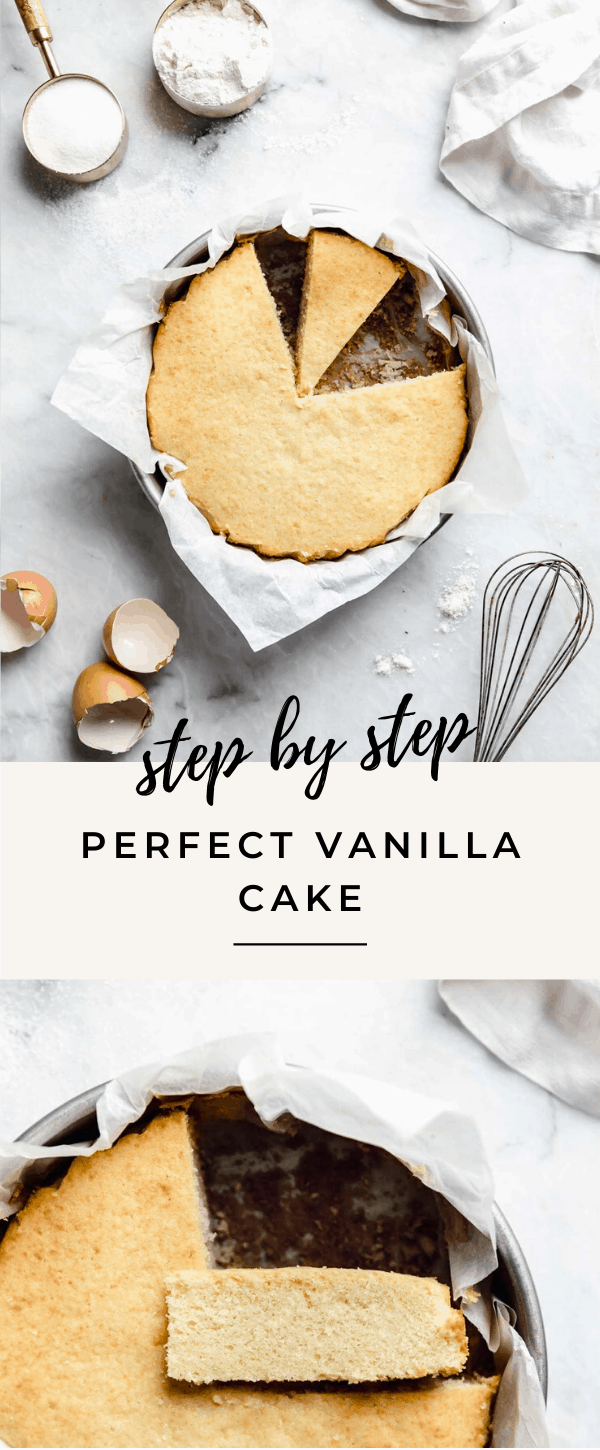
- How to Make the Best Vanilla Cake Ever
How to Make the Best Vanilla Cake Ever
We’re breaking down exactly how to make homemade vanilla cake to take any guess work out. This easy homemade vanilla cake recipe is light and fluffy with a silky crumb, but holds up like a dream with frosting! It’s perfectly sweet, moist, tender…it’s pretty much the best vanilla cake recipe you’ll ever make!
The Best Vanilla Cake Recipe
Hey babies and happy March. We’re here today with a new series that we are so so so so so so so so so SO excited about. Introducing Back to Basics, a series all about solid, basic recipes any baker should have in their repertoire. We’re kicking it off with the best vanilla cake recipe ever.It’s fluffy, moist, buttery, and the perfect vessel for your fav frosting.
Say goodbye to dry, flavorless vanilla cake.
I don’t know about you, but homemade vanilla cake is the BANE of my existence. Every single time I have made vanilla cake it turns out dry, bready, flavorless, or just generally mediocre. Bleh.
So, you can image my surprise when we tested this vanilla cake recipe and it was the best ever. Like EVER. I couldn’t believe my taste buds. Super moist, vanilla-y, with a beautiful crumb just dense enough, without being too heavy. Only in my wildest dreams would I have imagined a plain old vanilla cake could’ve turned out this well.
How to make homemade cake?
Listen guys, I know homemade cakes can be a little intimidating. But I’ve struggled through it so you don’t have to. A few tips before we get started:
- Make sure all your ingredients are at room temperature. SO IMPORTANT. This will help everything come together smoothly and allow you to beat the air into the batter to get that fluffy cake you’re looking for.
- Use high quality vanilla. Rodelle Vanilla is my vanilla extract of choice and they are THE BEST. Especially in vanilla cake, where like the only flavor is…vanilla, duh.
- Don’t over mix your batter! Obviously you don’t want huge clumps of straight flour in your batter, but as soon as everything is smooth, resist the temptation to keep mixing, and trust that you’ve gotten enough air in it during the early stages.
- Bake at a low temperature. By baking your cake at 325°F, you ensure a slow steady bake that keeps all the moisture locked in.
Alright. Let’s get cookin’ good lookin’.
Step One: Beat the oil and butter together.
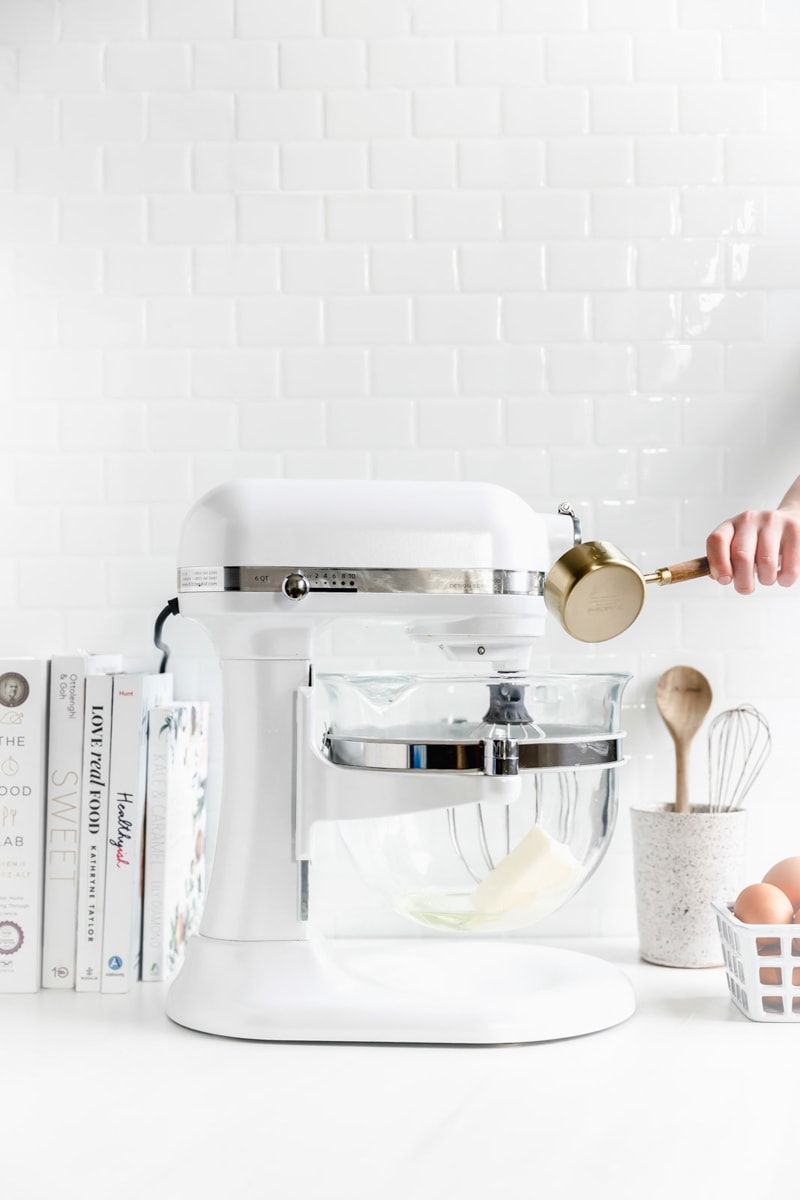
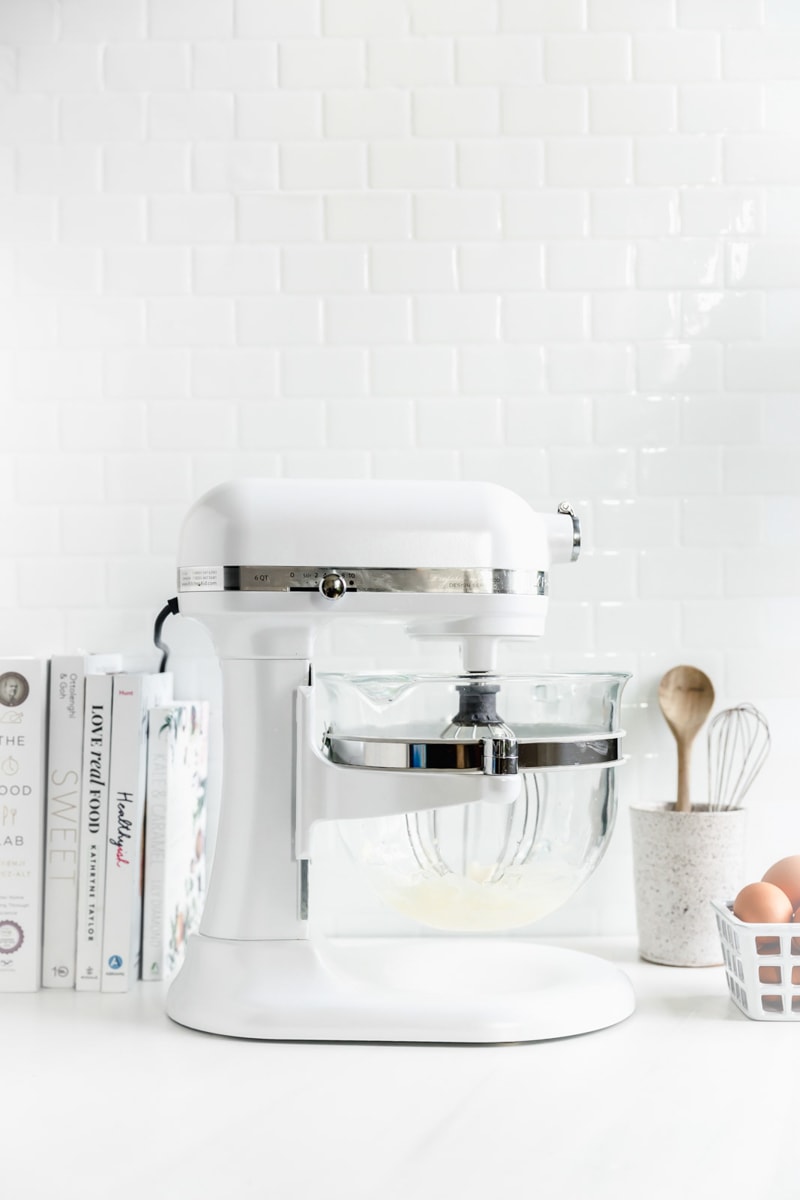
The first step to this glorious cake is beating the butter and oil together with the whisk attachment until they are completely homogenous, about 3 minutes. You’ll know this step is done when the oil and butter are a pale yellow, with no chunks of butter.
I cannot stress enough how crucial it is that your butter is at true room temperature.
It needs to be so soft that when you pick it up the whole thing smooshes in your hands with no cold corners, melted centers or any weirdness. Otherwise, the oil and butter won’t be able to come together completely. We suggest leaving the butter out the night before you make this cake.
Step Two: Add in the granulated sugar slowly.
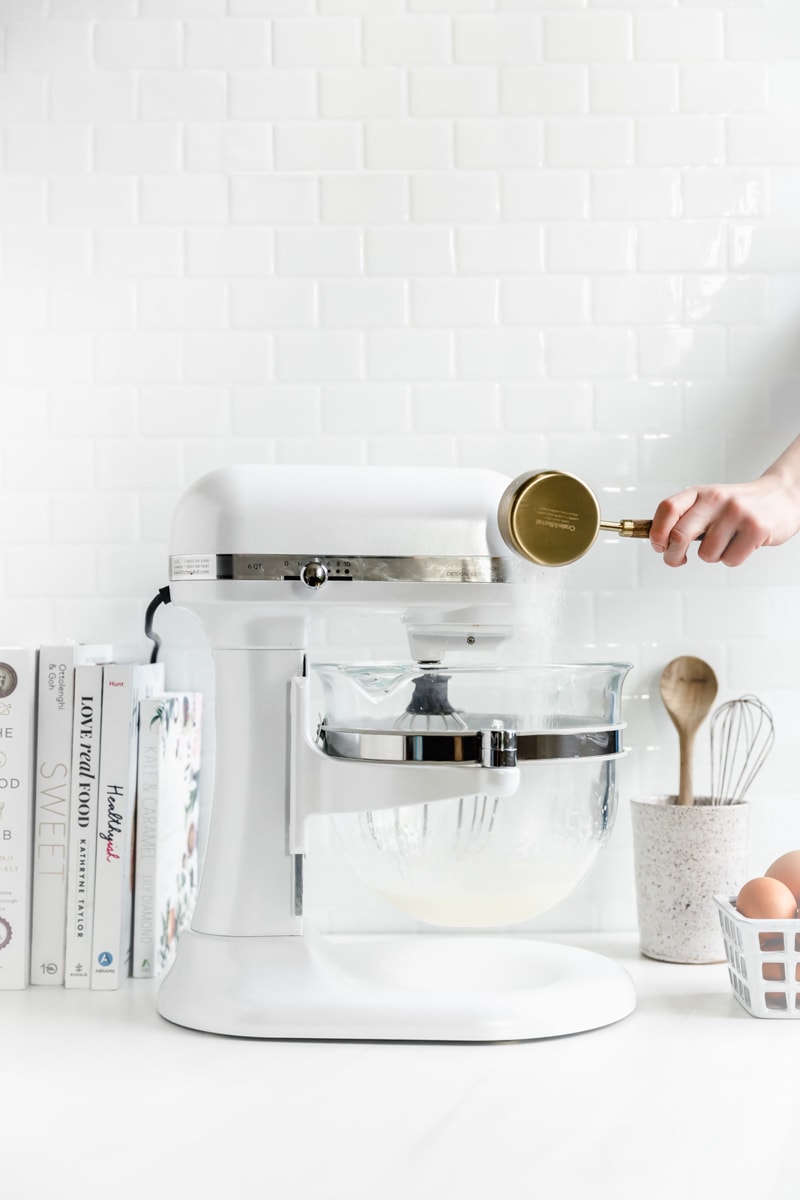
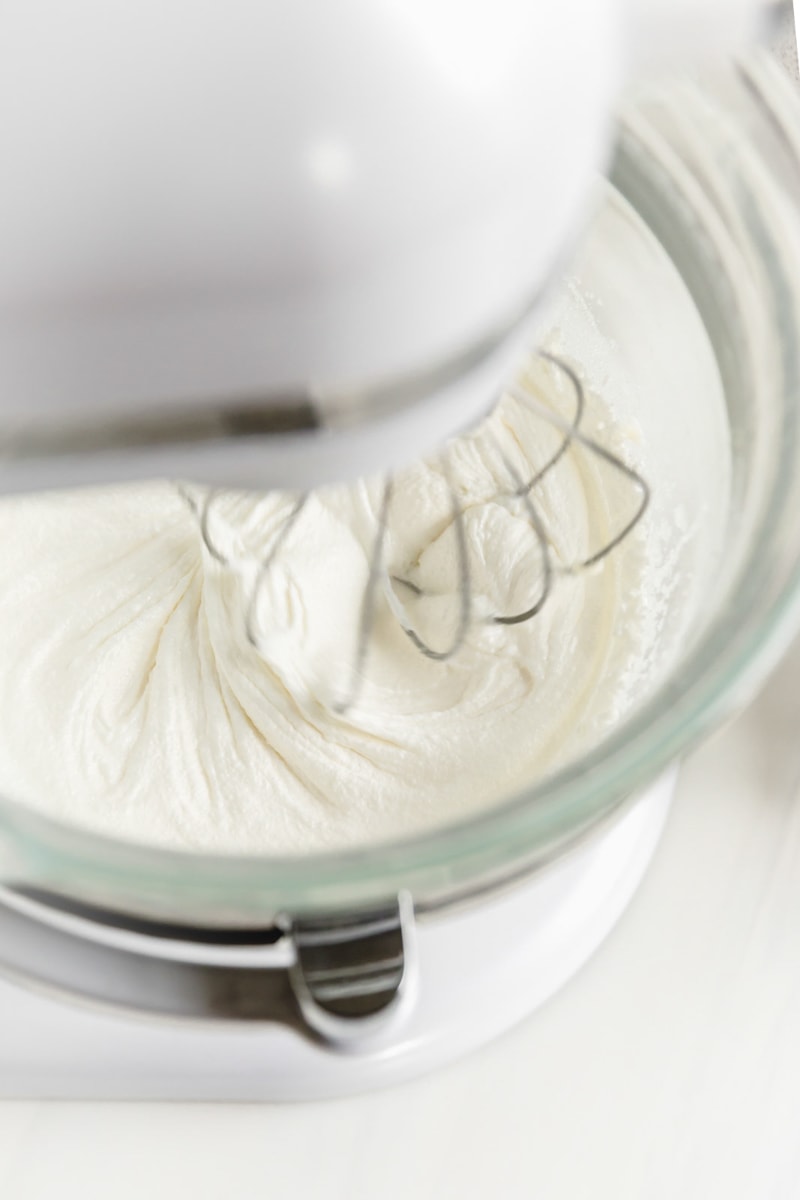
With the mixer on medium speed slowly add in the granulated sugar. By beating the batter while adding the sugar, the individual sugar granules will aerate the oil and butter mixture, creating the perfect base for a fluffy cake. Continue to beat the batter for 3 minutes until it is very pale yellow (almost white) and fluffy!
Step Three: Add in the eggs one at a time, followed by the vanilla extract.
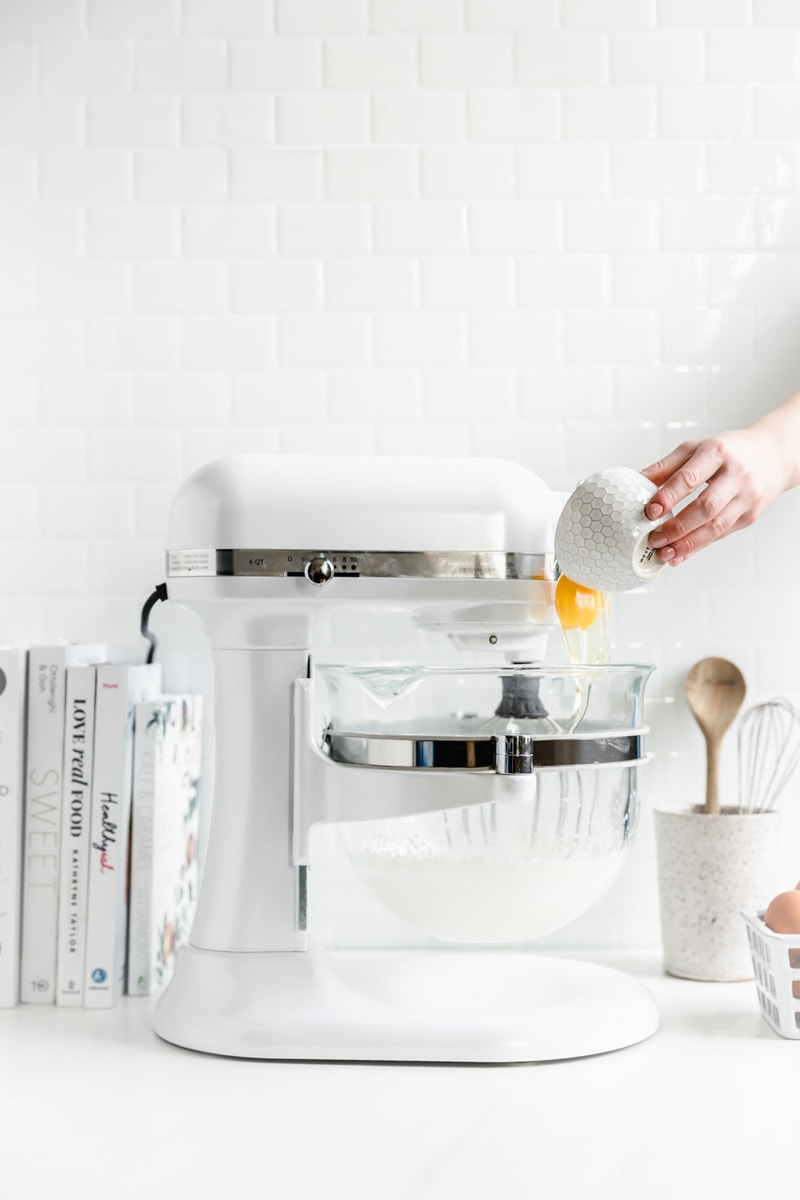
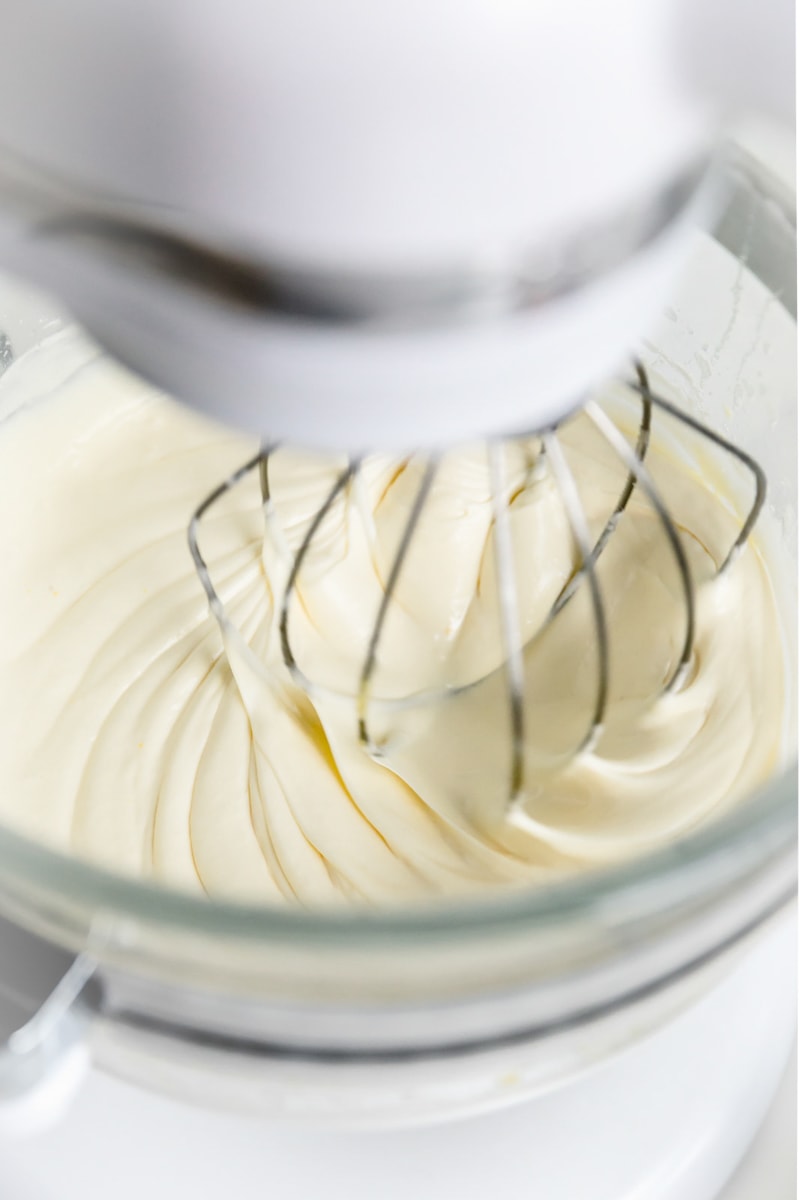
Make sure the eggs are at room temperature so that they do not cool down the batter. Add in the eggs one at a time to make sure each individual egg is incorporated. After all the eggs are in, add in that high quality vanilla (so worth it), and beat the mixture for another 3 minutes until it becomes pale yellow and you see little bubbles form on the top of the batter.
Step Four: In a separate bowl, sift the dry ingredients together.
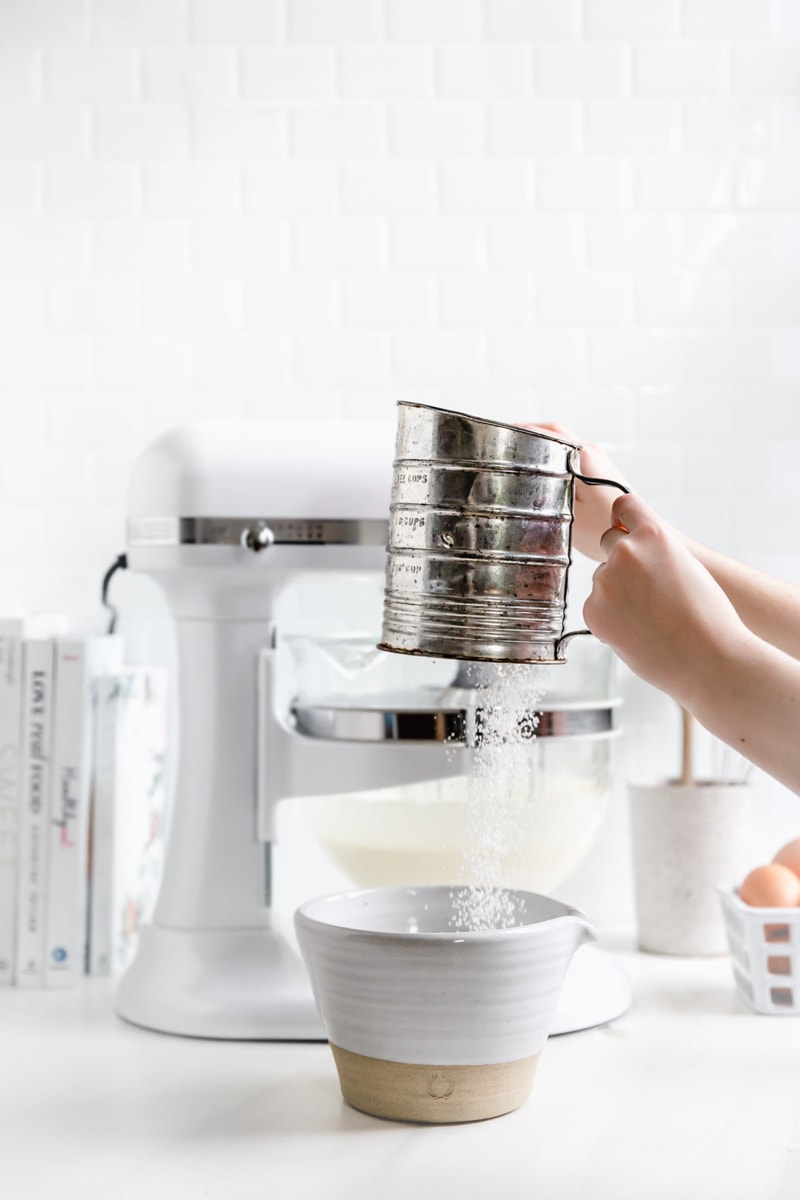
Sift together the cake flour, baking powder, and salt. Listen, I usually am NOT a devout sifter. Confession: when I’m making cookies or other baked goods, I often just throw everything in together and don’t even mix it (don’t judge me okay), but with cakes it is SO important to get everything evenly distributed. I have this amazing crank sifter that I love, which makes it super easy, but you can also just sift through a mesh strainer as well!
Cake flour vs All-Purpose Flour?
We tried both! While the all-purpose flour worked just fine, it produced a slightly denser cake with a crumb that was just a littttttle too bready. The cake flour made for a softer, velvety crumb, so that’s what we’d recommend! Though if you’re in a pinch, all-purpose will work, just do 2 2/3 cup of all-purpose flour instead of 3 cups of cake flour.
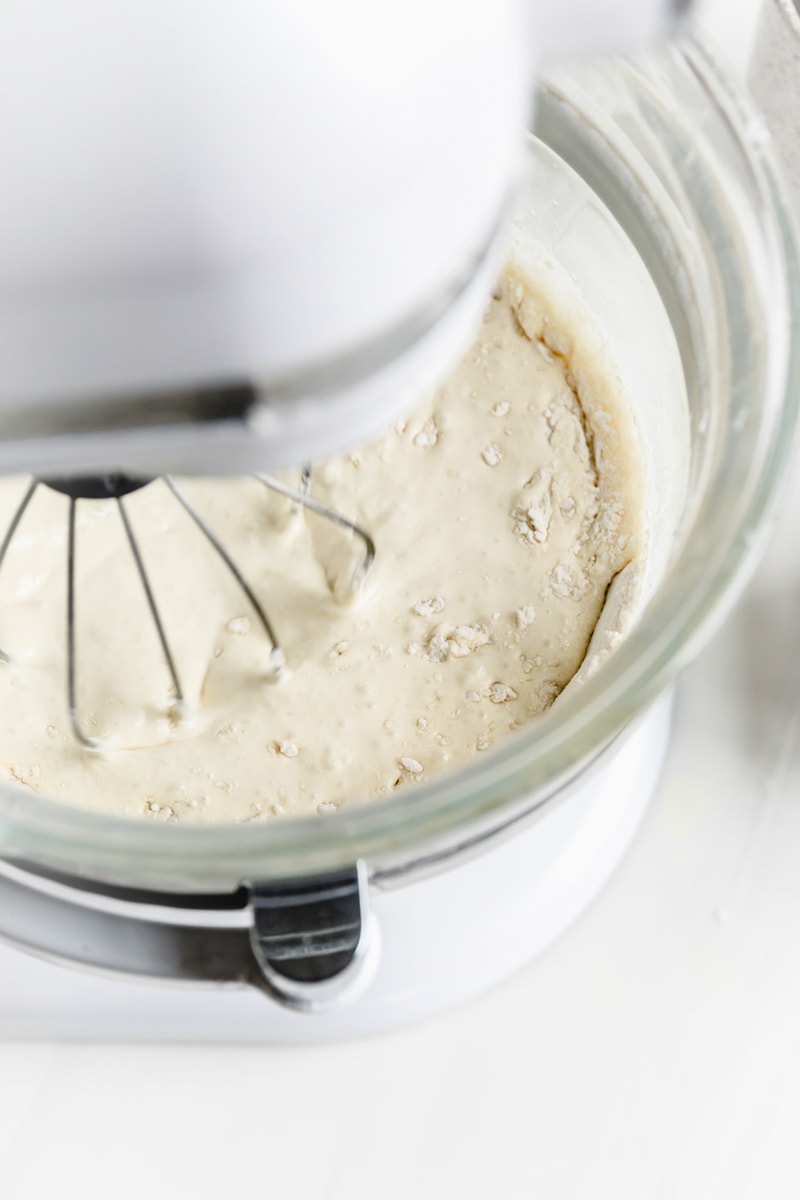
Step Five: Alternate mixing the buttermilk and dry ingredients into the wet.
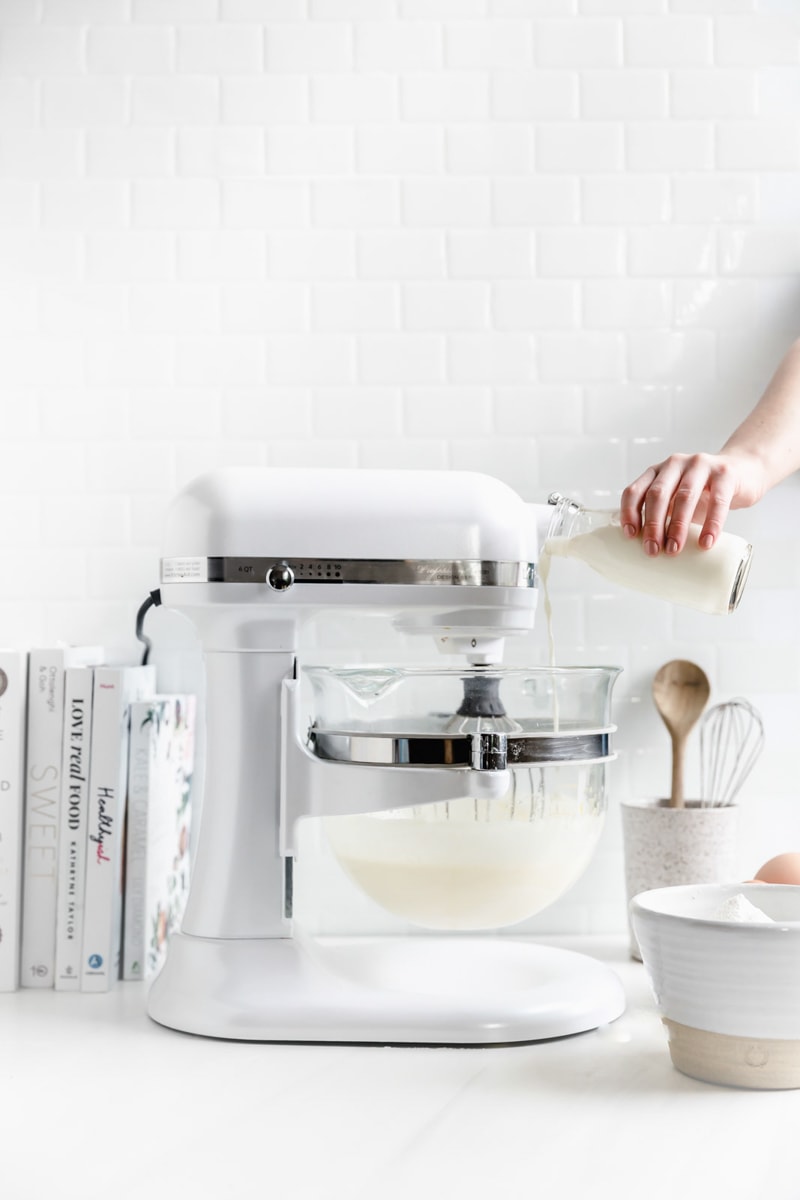
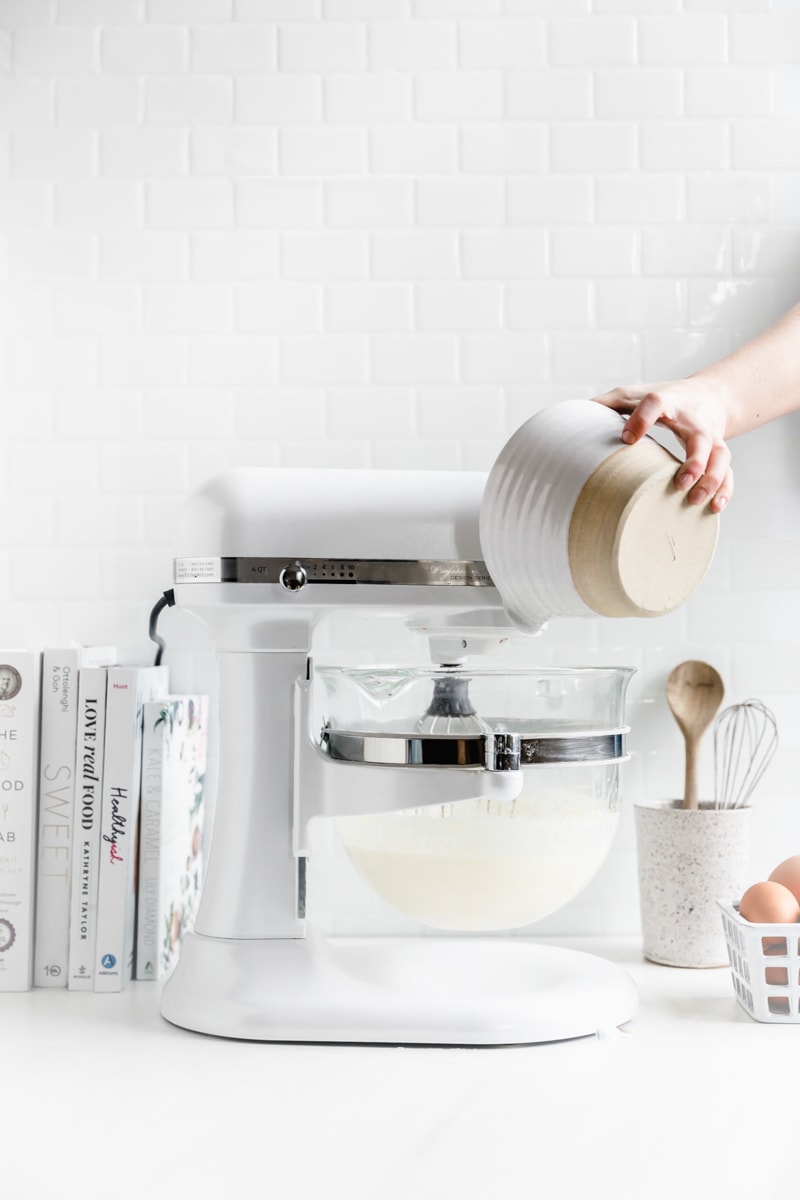
Go flour, buttermilk, flour. As long as you end with the dry you good. Once everything has just come together and no big lumps remain, your batter is good to go!
Why alternate wet and dry ingredients in cake?
Adding all the liquid in at once can cause your batter to separate. And adding all the dry ingredients at once can result in over mixing and tough cake. By alternating the ingredients, beginning and ending with the dry, it allows you to keep all the air you worked so hard to get into the batter without overworking the cake.
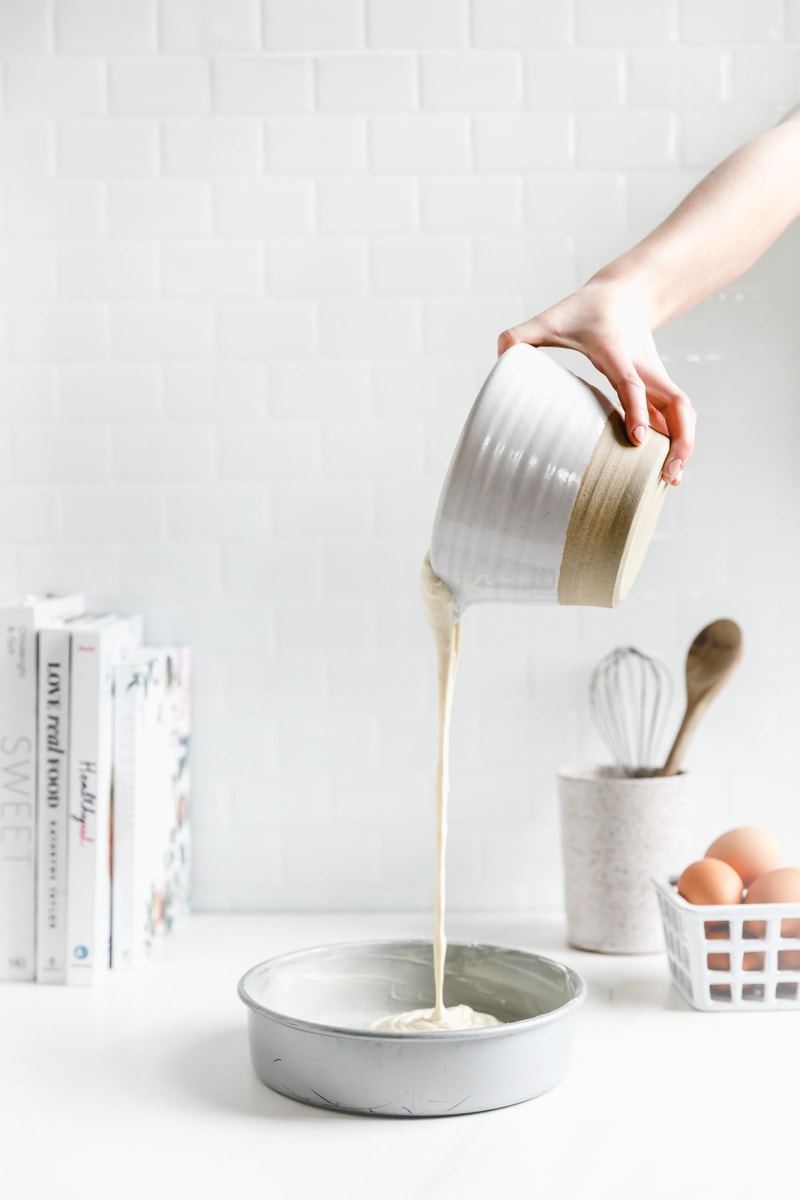
Step Six: Pour the batter into two greased and floured 9 inch (or 8 inch) round cake pans
How to grease cake pans?
You can also grease your pans with a cooking spray, or line them with parchment paper, but greasing and flouring the pan allows for a quick release and keeps all the moisture in.
- Grease and Flour Method: To grease and flour the pans, simply take room temperature butter and rub it alllllll over those pans. Like a massage. Then spoon flour into the pan, twisting it around until the grease is completely coated around the pan. Bang against the counter to release any loose flour and dump it out, leaving a thin layer around the entire pan.
- Parchment Paper Method: You can line the whole pan with parchment paper or cut out a circle of parchment paper to just line the bottom of the pan and then grease and flour the sides! This will give you a cleaner cake and a super easy release.
Divide the batter evenly between the two pans. Bang the pans against the counter to get rid of any air bubbles.
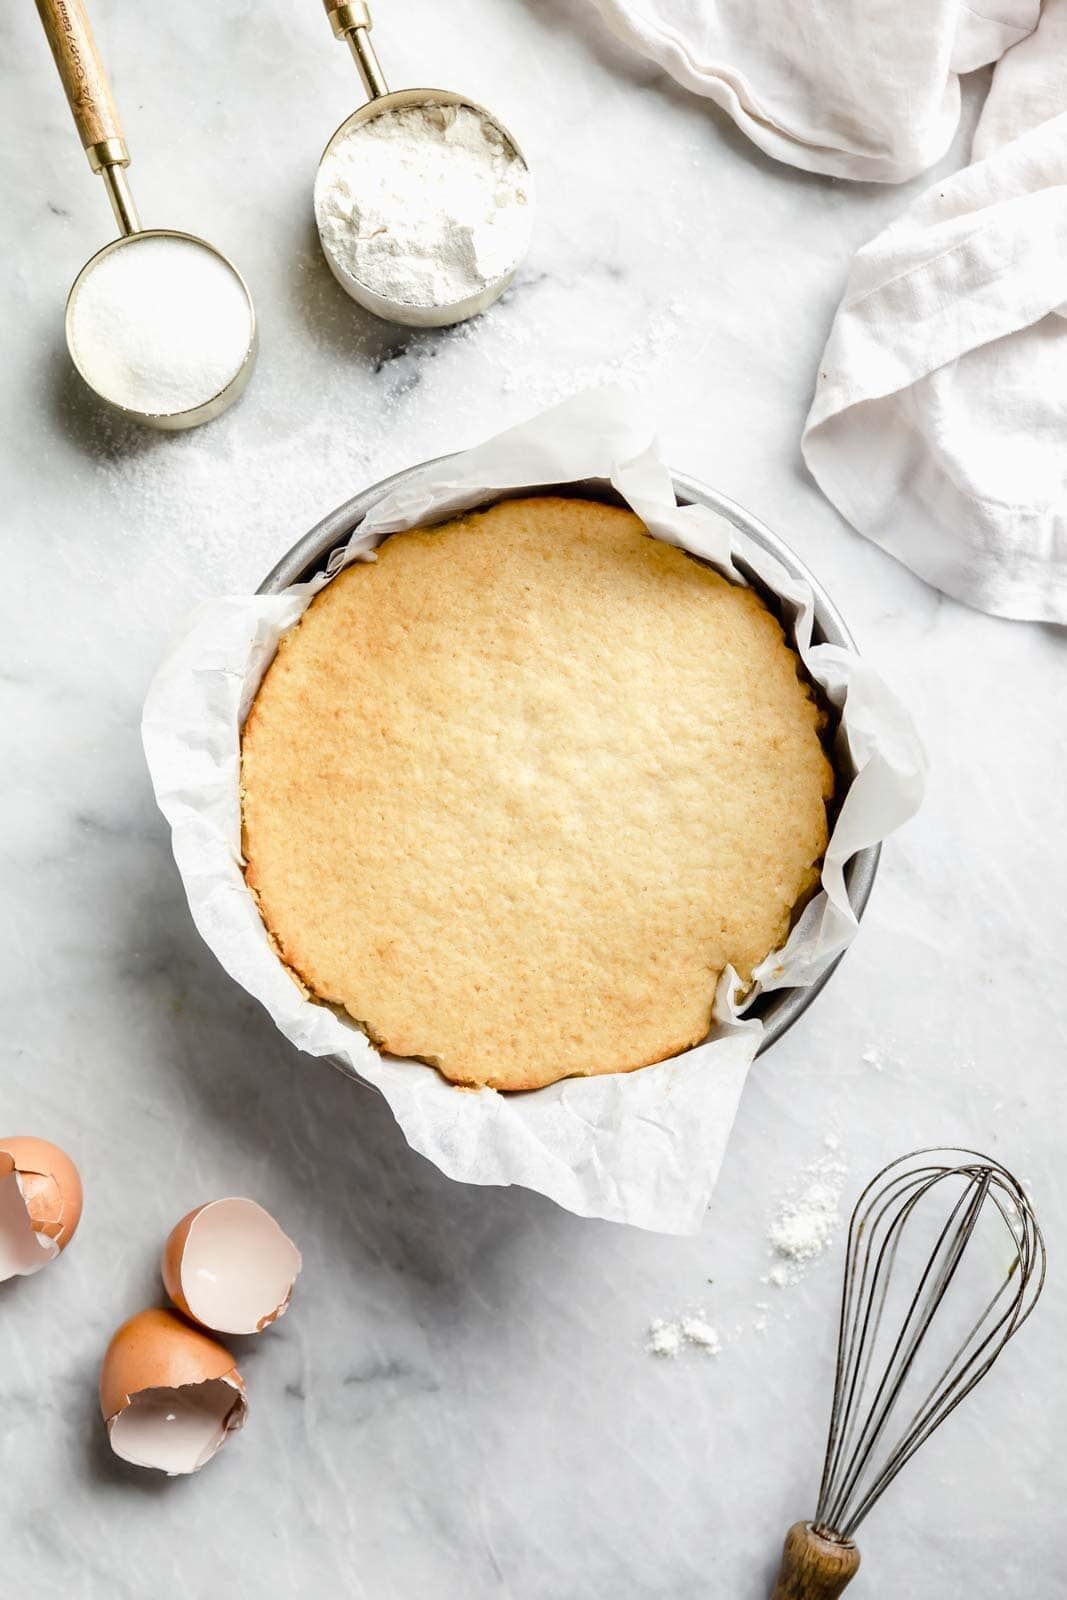
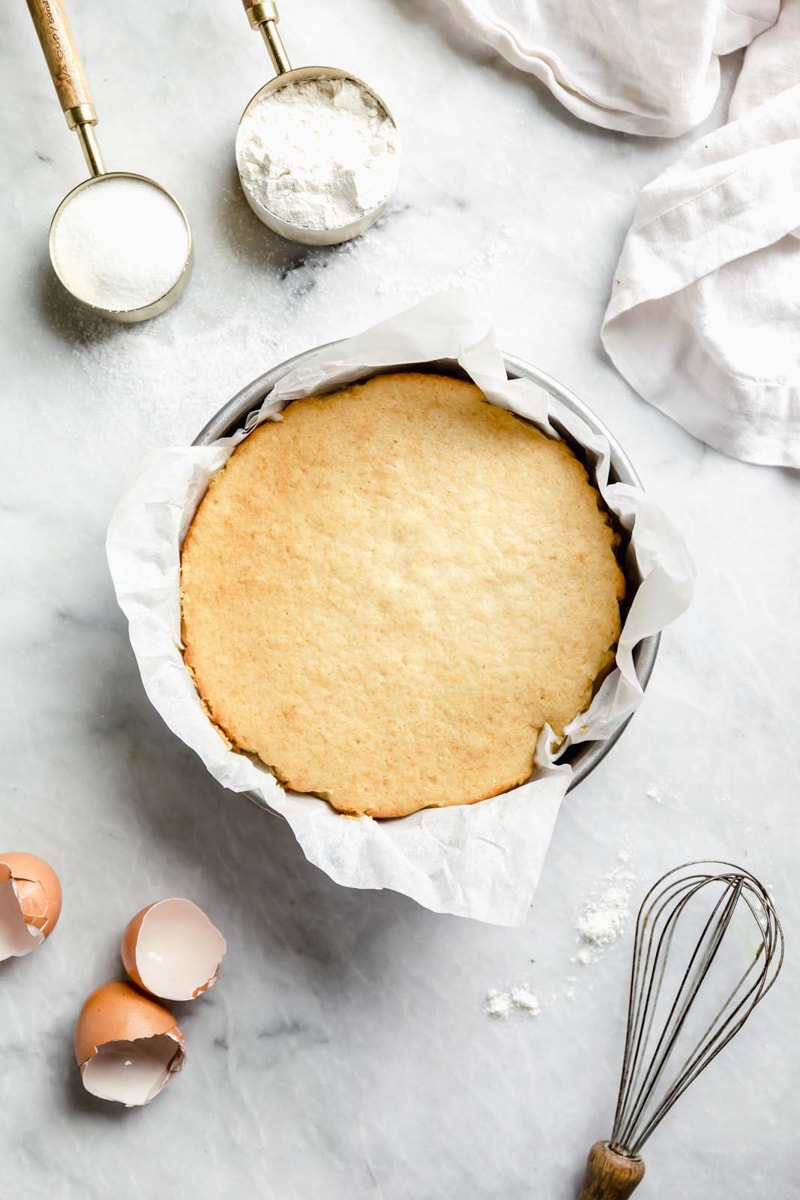
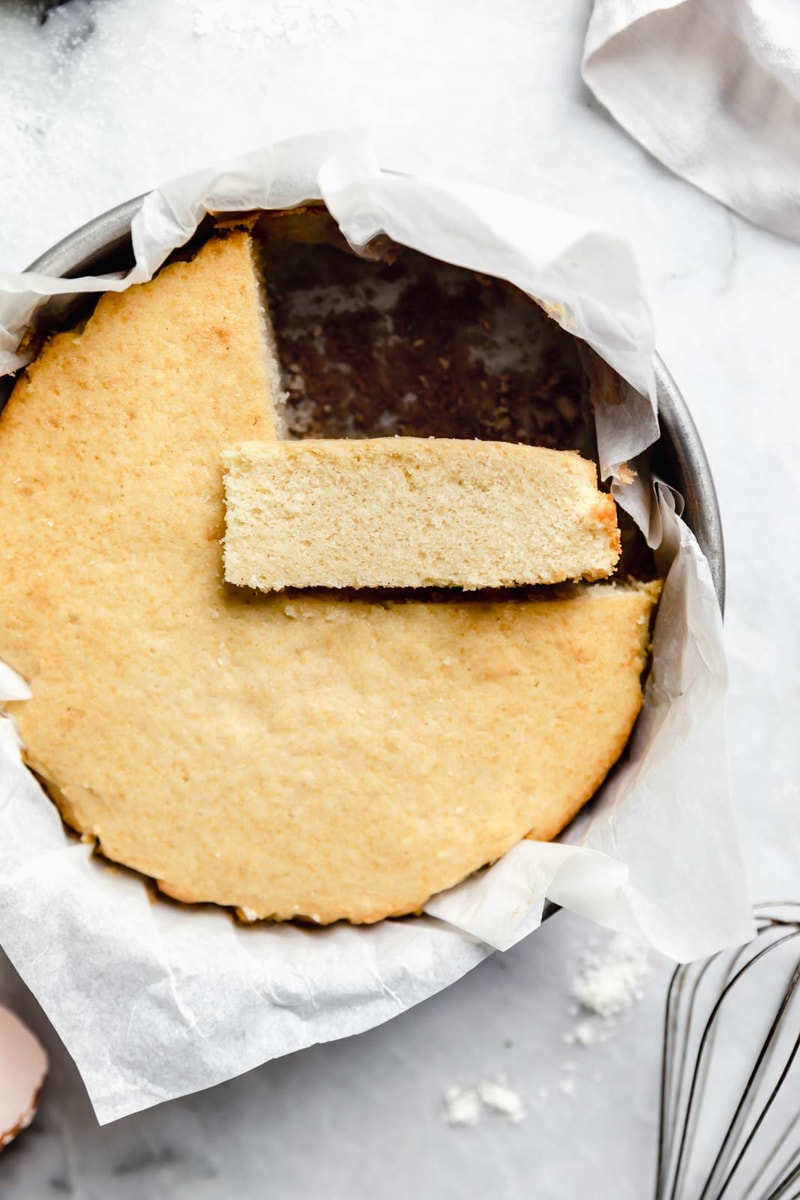
Step Seven: Bake at 325°F for 30 minutes or until your cake looks like this!
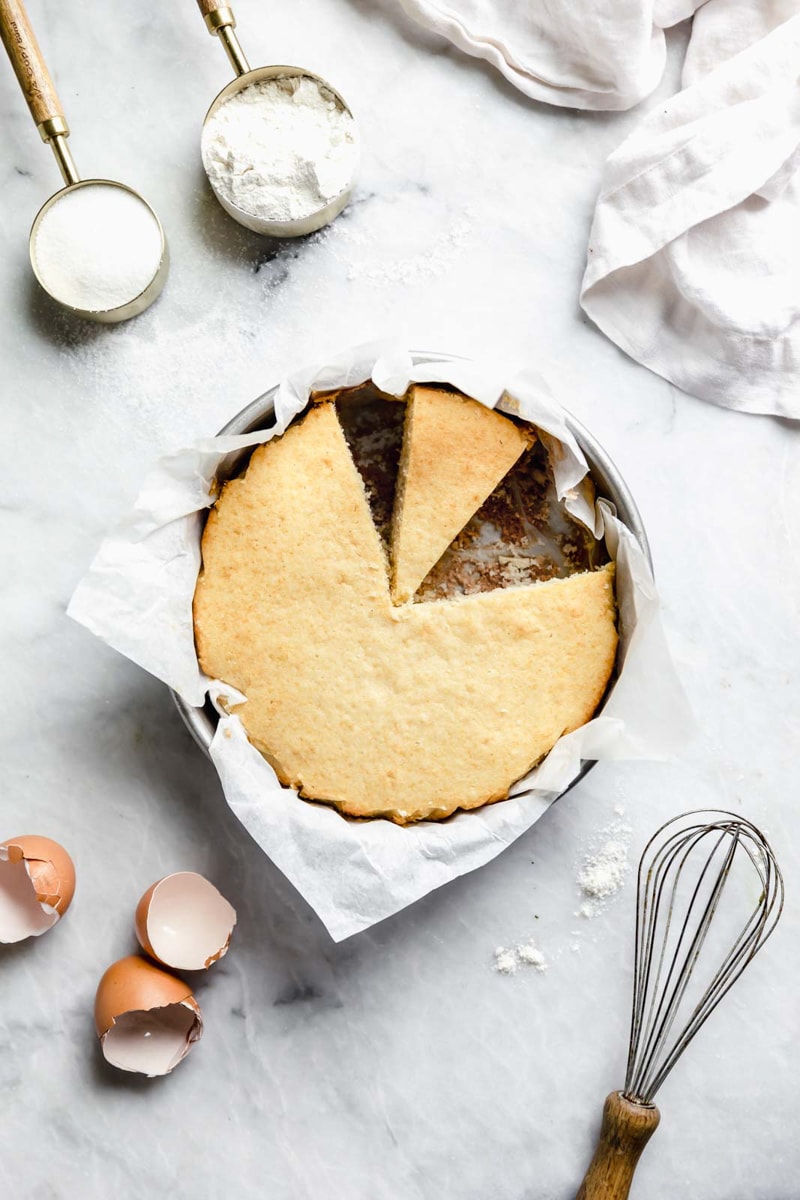
(Well obviously don’t cut your cake like we did here, but like, we had to try it)
How to know when you’re vanilla cake is done?
Take the cakes out of the oven once they are juuuust golden and spring back to the touch. These cakes create an even rise aka no dome aka easy assembly for you! Allow your cakes to cool in the pans for about ten minutes and then release the cakes from the pans and place onto a cooling rack.
I cannot WAIT for you to try this cake. Frost it with chocolate frosting flufffy vanilla buttercream, or a dreamy cream cheese icing, fill it with a yummy homemade jam… the possibilities are endless with the best vanilla cake EVER.
Let us know what other classic recipes you’d like to see on the blog in the comments below!
XX
PrintThe Best Vanilla Cake Ever

- Prep Time 15 minutes
- Cook Time 35 minutes
- Total Time 50 minutes
- Yield Two eight inch rounds
- Category Dessert
- Method oven
- Cuisine American
The Best Vanilla Cake Ever
Step by step instructions on how to make the best vanilla cake ever. EVER. This homemade vanilla cake recipe is anything but ordinary: moist, tender, flavorful and the perfect base for any recipe.
- Prep Time 15 minutes
- Cook Time 35 minutes
- Total Time 50 minutes
- Yield Two eight inch rounds
- Category Dessert
- Method oven
- Cuisine American
Ingredients
- 1/2 cup (113g) unsalted butter, at room temperature
- 1/2 cup (105g) vegetable oil
- 1 1/2 cups (312g) granulated sugar
- 4 large eggs, room temperature
- 2 tablespoons vanilla extract
- 3 cups (360g) cake flour
- 1 teaspoon salt
- 2 1/2 teaspoons baking powder
- 1 1/3 cups (320g) buttermilk
Instructions
- Preheat the oven to 325°F. Line 2 8-inch round pans with parchment paper and grease the sides with cooking spray. Set aside.
- In a stand mixer fitted with the whisk attachment, beat the butter and oil on low speed until combined so the oil doesn’t fly everywhere. Gradually increase the speed to medium-high and beat until smooth, about 2 minutes.
- With the mixer running, slowly pour in the granulated sugar and continue to beat on medium-high speed until the mixture is light, fluffy, and turns a very pale yellow color, about 2 minutes.
- Use a silicone spatula to scrape down the sides and bottom of the bowl, then add the eggs and vanilla extract. Beat on medium-high speed until the mixture is light and fluffy, about 2 minutes.
- In a separate mixing bowl, whisk together the flour, baking powder, and salt. With the mixer on low speed, alternate adding in the dry ingredients and the buttermilk in 3 additions (you’ll add half the dry, then all of the wet, then the other half of the dry). It’s okay if the batter still has a few lumps in it–you don’t want to overmix.
- Divide the cake batter evenly between your prepared pans, using the spatula to spread the batter into a flat, even layer. Bake until the cake has risen, the top springs back to the touch, and a butter knife inserted in the center of the cake comes out clean, 30 to 40 minutes.
- Place the cakes on a cooling rack and allow them to cool slightly. To remove from the pan, drag a butter knife around the edge of the cake, then carefully flip the cakes out onto a cutting board, peel away the parchment paper, and re-invert it, right-side up onto a cooling rack to cool completely.
- Frost with your favorite buttercream and enjoy!
Notes
- Make sure ALL ingredients are at a true room temperature. If your butter is not at room temperature you will not be able to combine it with the oil!
- If you don’t have buttermilk on hand, make this easy substitute from ingredients you already have!
- If you don’t have cake flour, you can sub it out fro 2 2/3 cup all purpose flour.
- Keep a close eye on the cake while they bake because every oven is different.
- Freeze your cakes before assembling for easy frosting!
- Prep Time 15 minutes
- Cook Time 35 minutes
- Total Time 50 minutes
- Yield Two eight inch rounds
- Category Dessert
- Method oven
- Cuisine American
Hi! I was wondering if there is a way to adapt the recipe to make it in a 9×13 pan for a sheet cake?
Scoured the internet for a good vanilla cake after I was commissioned for a bridal shower, and ended up on this one. If you’re looking for an amazingly good vanilla cake, look no further. It’s the best, and so simple to make. I added some cinnamon and nutmeg based on my frosting/filling layers, and it added a subtle spice to it. Thanks for this!
Ooh cinnamon and nutmeg! That sounds like such a cozy spice mix to add in. Enjoy xx
This was delicious! Turned out just like the pictures!